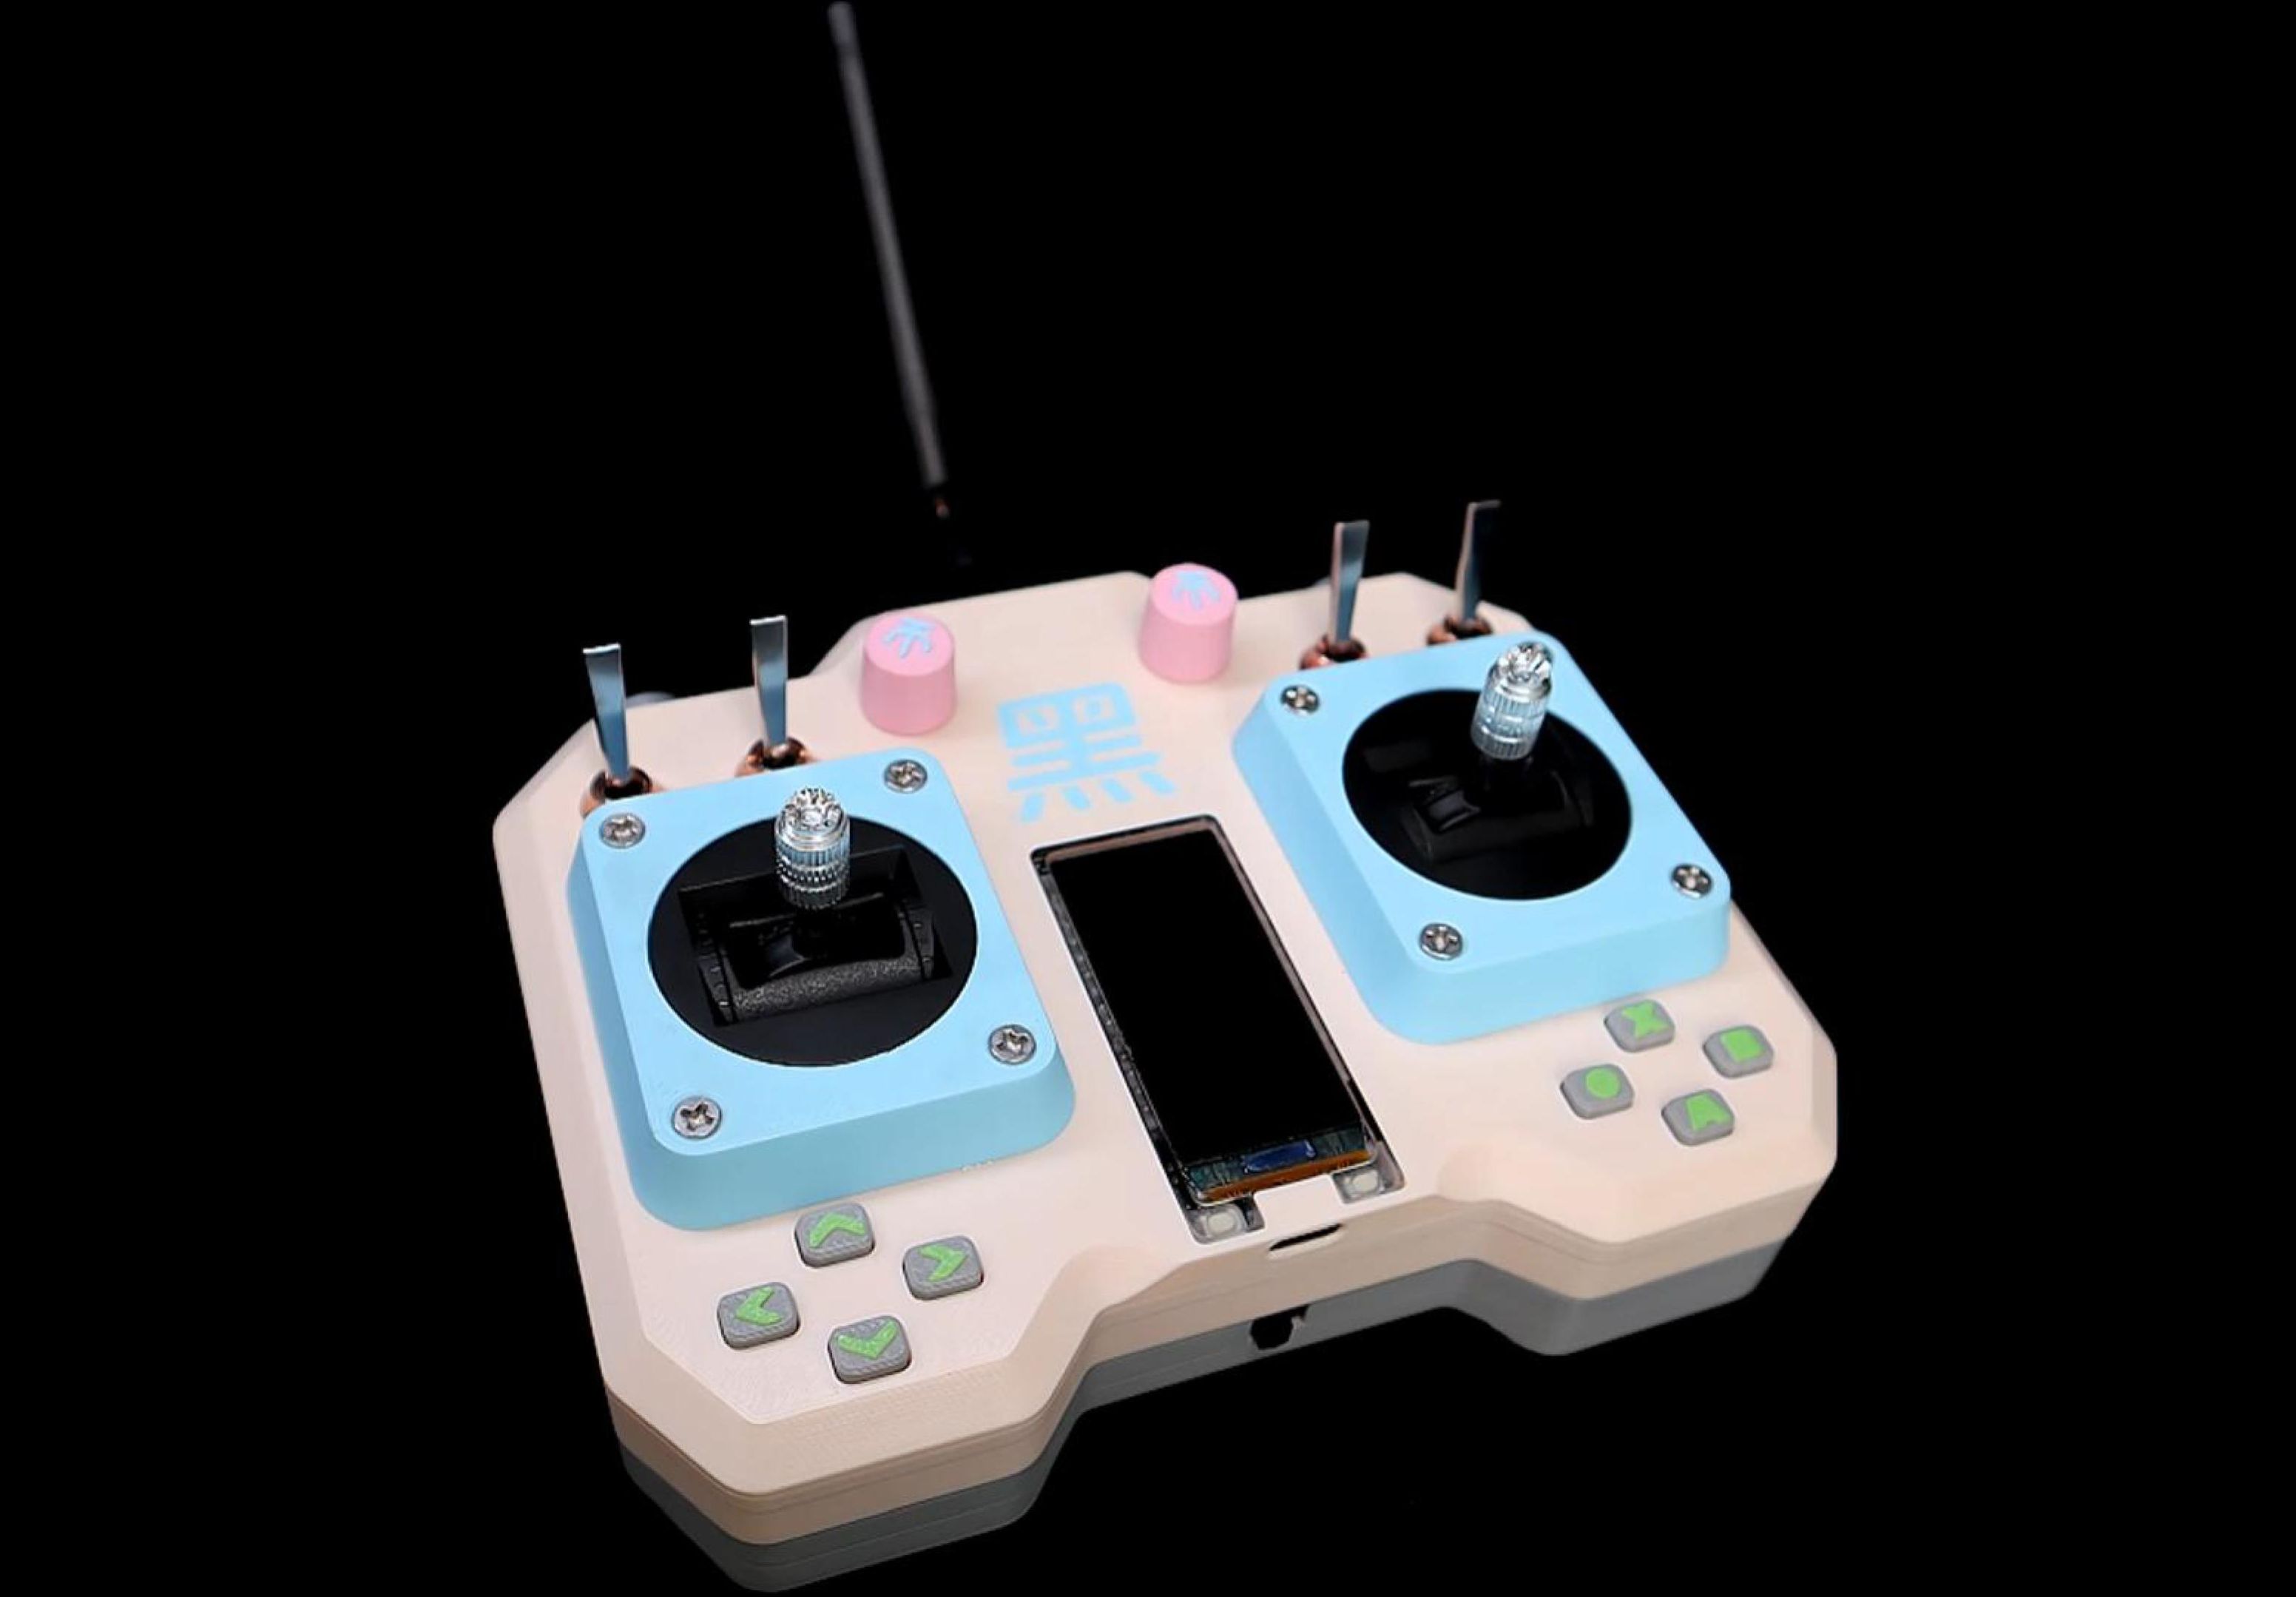
 Completed
ESP32 Multi-Functional Remote Control
PRO ESP32 Multi-Functional Remote Control
License
:GPL 3.0
Description
Finished Product Display

Project Description
When we play with various RC models, robots or other toys, they all have remote controls, which are very easy to get confused.So I want to make a universal multi-functional remote control.
It can not only control many devices, but also connect to a computer via Bluetooth and be used as a Bluetooth gamepad to play 3A games. Even some small games can be programmed and played on the remote control.
Project Functions
1.This remote control is based on the ESP32-S3 chip. For ease of production, a development board with a screen is used. The 1.91-inch screen has an ultra-high resolution of 240*536, with excellent display effects.
2. The remote control is equipped with four regular buttons, four toggle switches, two potentiometer knobs, two high-precision model aircraft joysticks, eight function buttons, two on-board buttons, and one MPU-6050 electronic gyroscope.
3.The communication module adopts the 20dBm nRF24L01 module and is equipped with a 3dBi gain antenna. The remote control distance can reach more than 2000 meters.
4. Two high-capacity 18650 lithium batteries with 2600mAh ensure the long battery life of the remote control. Moreover, the development board integrates a charging and discharging module, getting rid of battery anxiety.
Design Principle
The working principle of the remote control is very simple. It continuously reads the states of various buttons and joysticks, combines the button values and the analog values of the joysticks into a self-designed structure. Then it sends these data to the receiving end through nRF24L01. After receiving the data, it parses out each data and responds accordingly.
Shell Design
There are three requirements for the shell:
1.It should be comfortable to hold.
Through a large number of chamfers and rounded corners, it fits the hand, making it not catch the hand, and it can be held firmly without slipping.
2. Easy to manufacture.
By separating parts, the irregularly shaped parts are separated to leave as many flat surfaces as possible to facilitate subsequent 3D printing. At the same time, separating parts also makes it convenient for multi-color printing.
3. Appearance
On the basis of meeting the first two points, make it as beautiful as possible or add some unique features of your own.

Manufacturing Process
1. First install the list to procure all components (see annex for detailed list)

2. Solder the components to the fabricated PCB. (See the attached component list)
And install the development board and battery on the board. Connect the power supply of the development board and the PCB with a wire through the middle hole.


3. 3D print the shell and all the buttons and knobs. (See the attached printing files. The shell includes a version without characters)

4. Install the electronic part and the shell.

5. Finally, install the keycaps and antenna. Then the hardware of the remote control is completed.

Remote Control Test Code
The principle is to continuously poll all the buttons and then display the button states on the screen. The programming is based on the Arduino environment. The graphics library used is TFT_eSPI. For detailed code, please see the attachment.
Actual Test Effect
For specific details, please watch the video: DIY万能遥控器_哔哩哔哩_bilibili
Update on September 27, 2023.
Menu System Structure

Preview of First-level and Second-level Menus
First-level menu.

Some second-level menus.


Menu and Remote Control Effect Test
I used the previously used tracked chassis for testing. The effect is good.

Menu Source Code and Icons
For the complete source code and icons, please see the attachment.
Designed by 黑人黑科技 (from OSHWHub)
Link:https://oshwhub.com/bukaiyuan/ESP32-hang-mu-yao-kong-qi
Design Drawing
 The preview image was not generated, please save it again in the editor.
Intellectual Property Statement & Reproduction Instructions
This is an open-source hardware project. All intellectual property rights belong to the creator. The project is shared on the platform for learning, communication, and research only; any commercial use is prohibited. If your intellectual property rights are infringed on EasyEDA, please notify us by submitting relevant materials in accordance with the Rules for Complaints and Appeals of IPR Infringement.
Users must independently verify the circuit design and suitability when replicating this project. All risks and consequences are borne by the user, and the platform assumes no liability.
 Empty
Empty


Comment