 Ongoing
CocoPI
PROCocoPI
License
:GPL 3.0
Description
Copyright belongs to @linkk
link: https://oshwhub.com/linkk/yfaRSYKOSPNxSv4FkzHecddCCK5bDEta
I used to learn Linux for a long time, but with little gain.
Therefore, I decided to make my own Linux board, in the process of doing projects to improve myself.
However, limited by my ability level, only completed the key, LCD, TFT function verification, and now I have given up the interest, so if you want to reproduce it, please think twice.

I named this design CocoPI-Zero. There are three main reasons for this name:
1. Cocoa beans is the raw material of chocolate.
2、My name is pronounced similar to cocoa in my hometown accent.
3、When I started this project, I was watching the anime "LoveLive Love and Concert! Superstar!!!" One of the main female characters is named Coco.
The design and layout of the board is based on Wizards' Quark, which is very small and delicate.

In terms of face value alone, I think CocoPI-Zero is ahead of most Linux development boards on the market today.
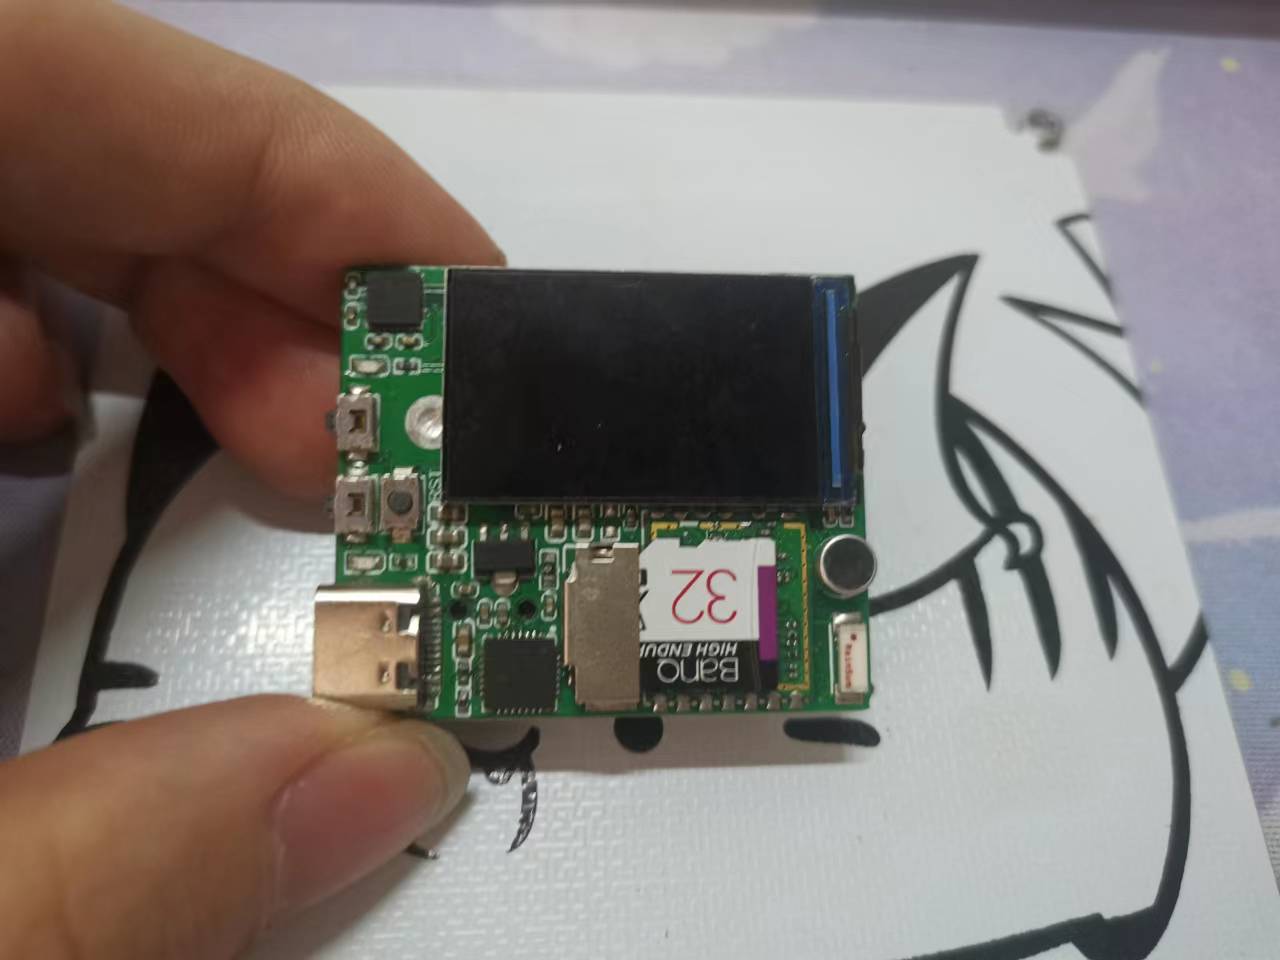
CocoPI-Zero is small, but it has all the essentials. Although CocoPi is small, it is equipped with most of the hardware suitable for embedded Linux beginners to start.
1, for learning the most basic device driver LED.
2, can be used to learn the interrupt system and input subsystem keys.
3, used to learn the IIC driver MPU6050.
4, SPI screen for learning SPI driver, UI interface development.
5, on-board audio driver chip PAM8403, and a MIC.
6, for serial port debugging USB to TTL chip CP2102.
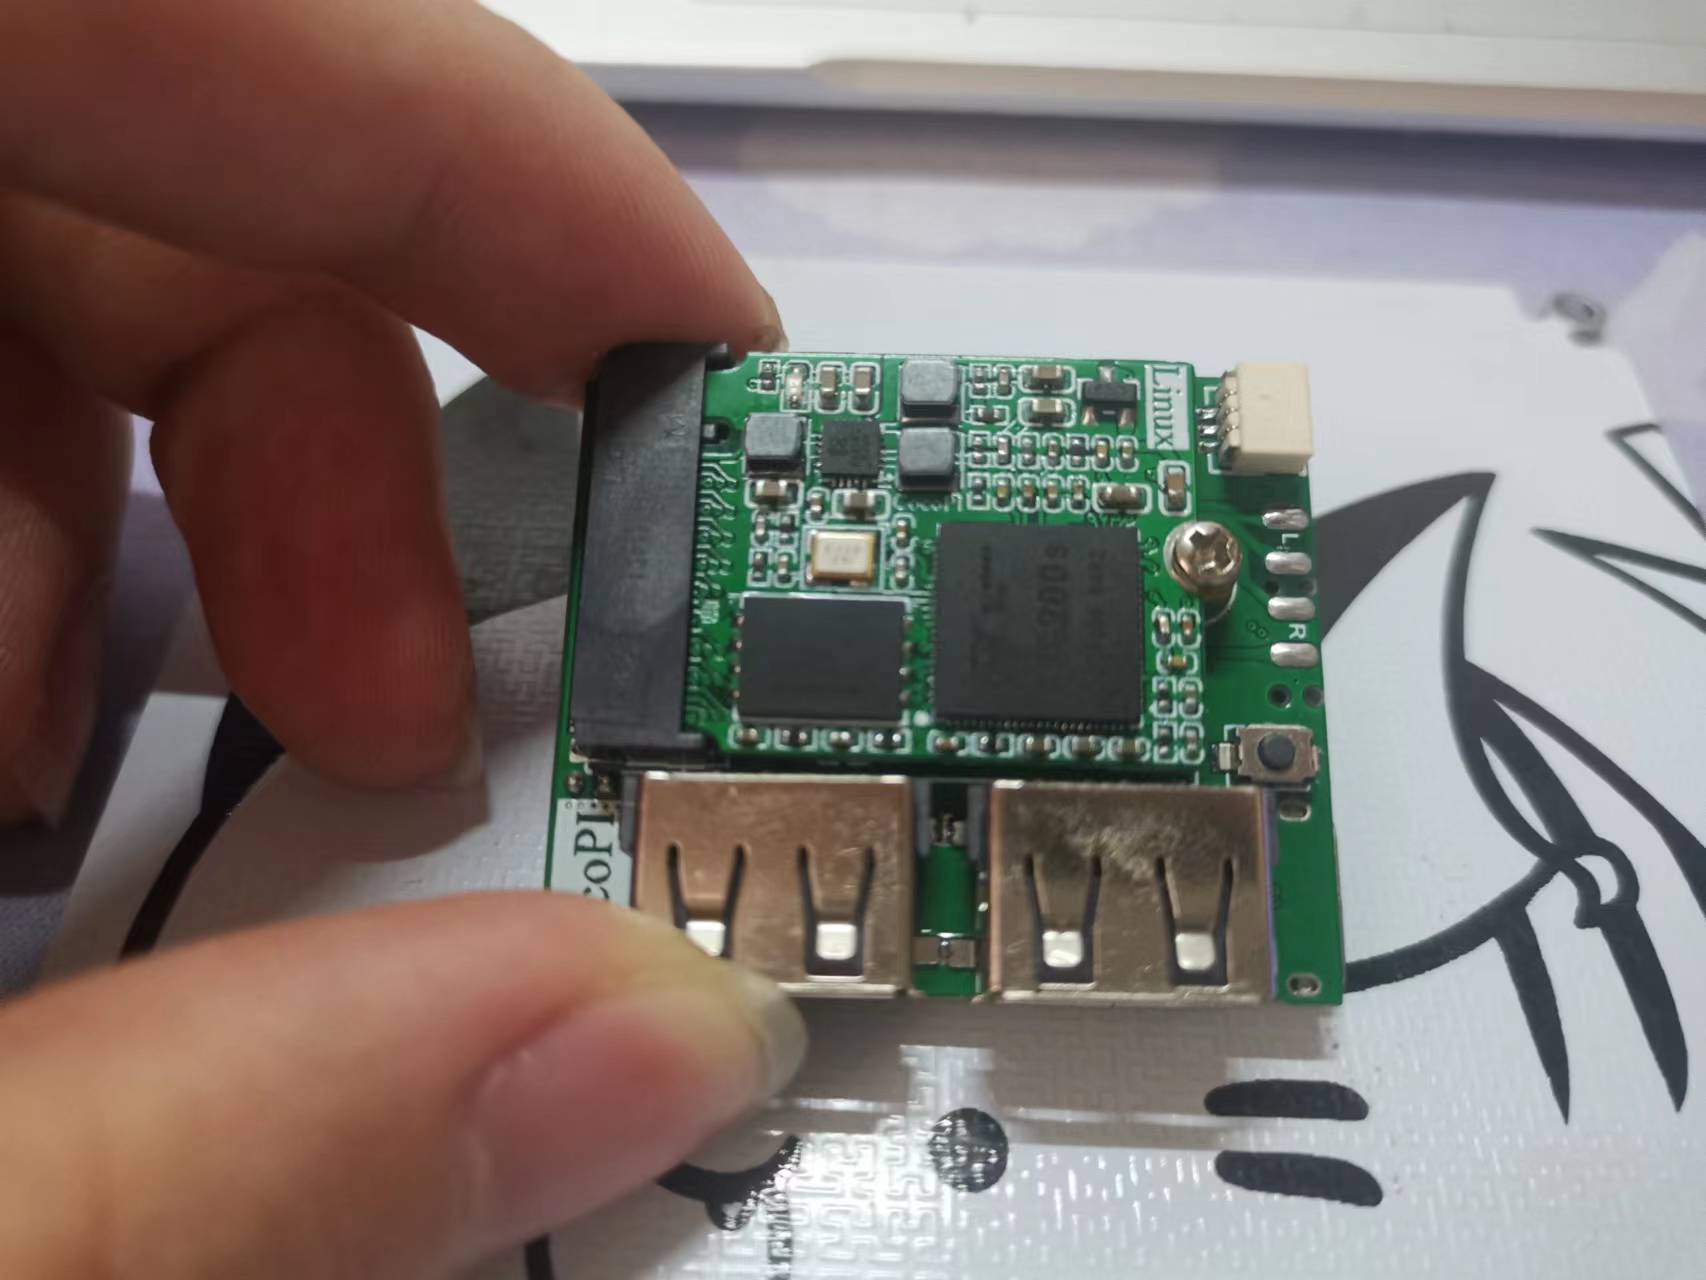
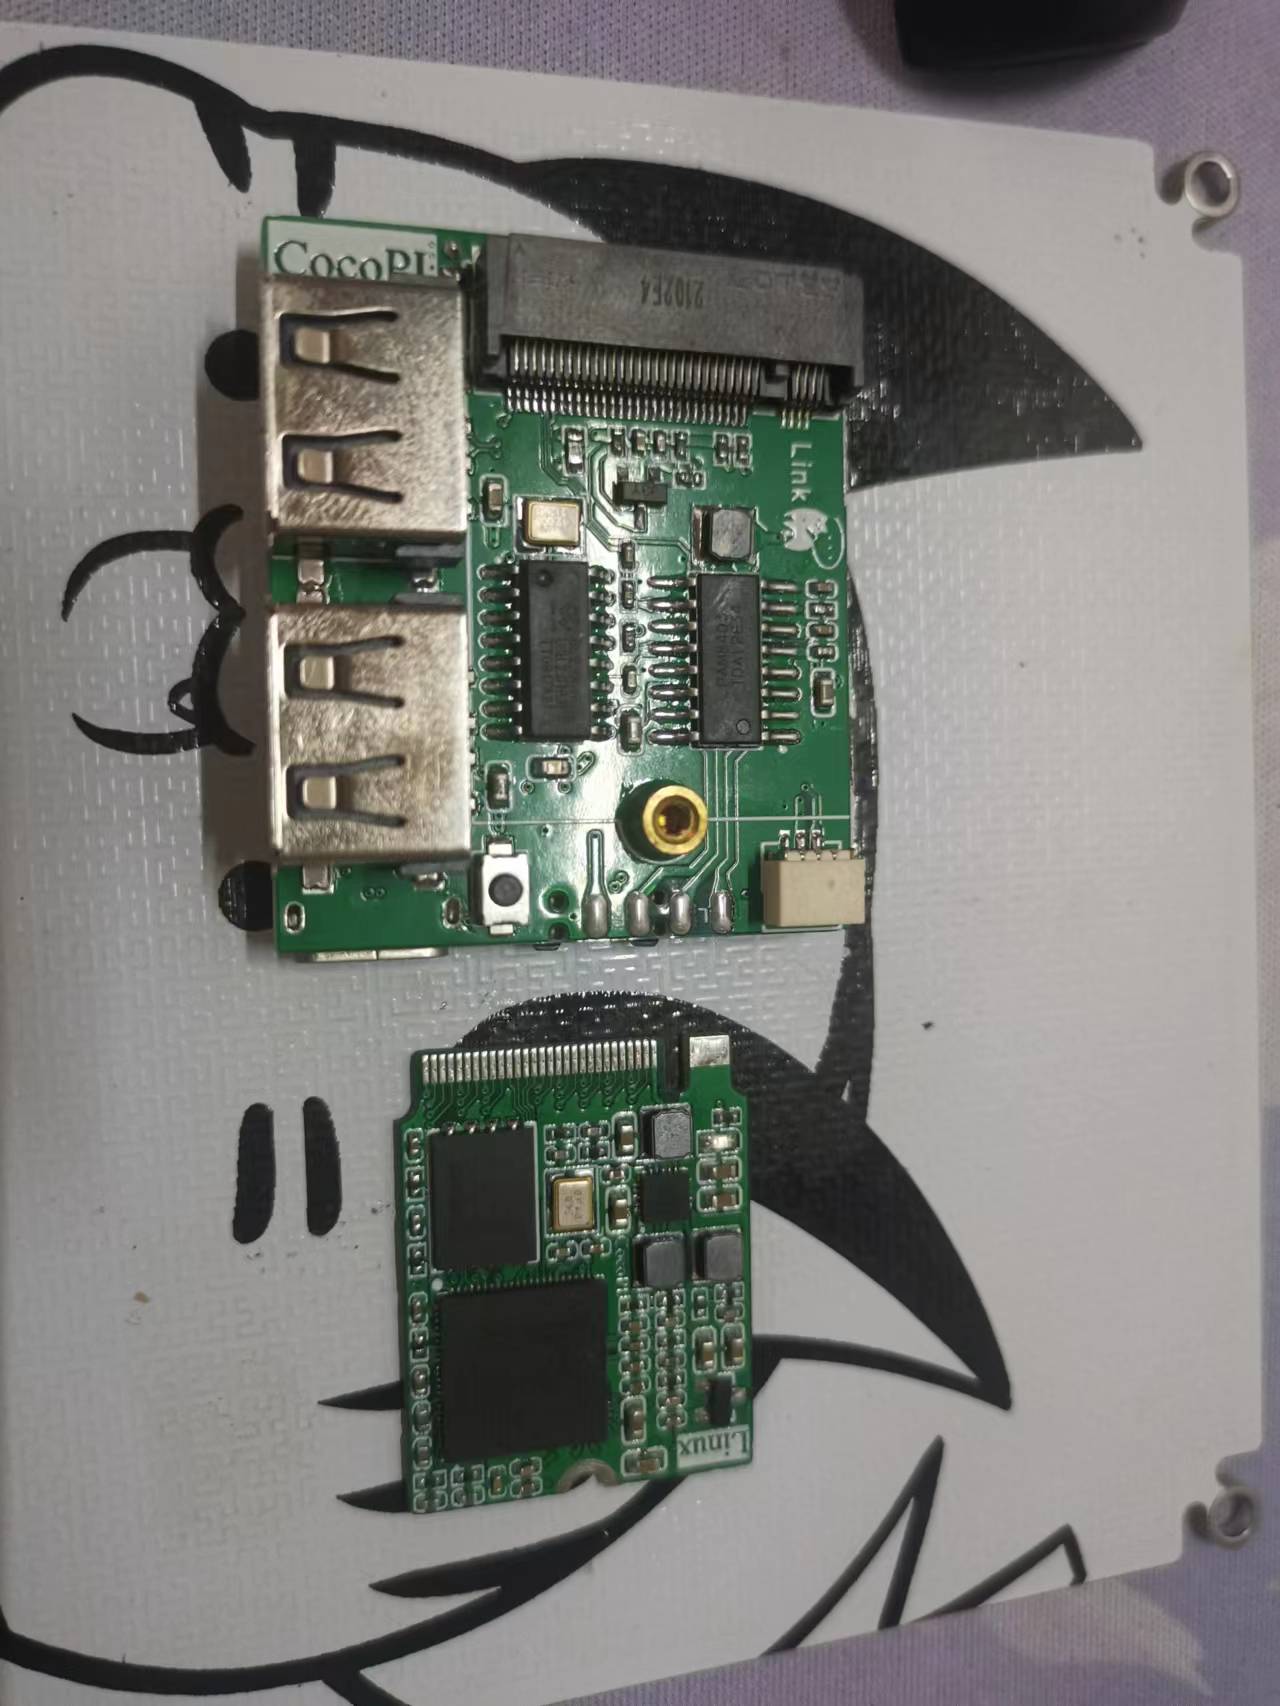
7, USB expansion chip SL2.1A, provides three USB ports (2 USBA, 1 Typec).
8, RTL8189 module for WiFi connection.
9, TF card, W25Q256, for storing system or files.
10, Expansion IO one, this project is used for external WS2812B light bar.

Linux learning suggestions:
You can go to learn the basic Linux commands first, for example: https://www.bilibili.com/video/BV184411B7ne?share_source=copy_web .
Then you can learn the Linux introductory video of Positive Atom: https://www.bilibili.com/video/BV1vE411h7Fi?share_source=copy_web .
Then you can learn Linux driver development, we recommend watching the video of Xunwei Electronics: https://www.bilibili.com/video/BV1Vy4y1B7ta?share_source=copy_web .
Finally, I would like to thank all my friends and colleagues who have helped me.
And thanks for the support of this project from Lichuang Starfire open source activities.
Design Drawing
 The preview image was not generated, please save it again in the editor.
BOM
 Bom empty
 Clone
CloneProject Members
 Empty
Empty


Comment