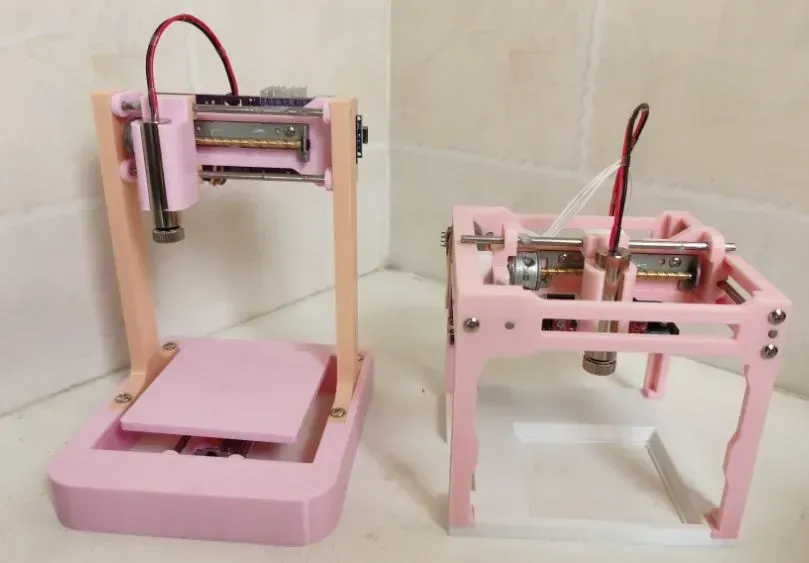
 Completed
Open source Xingguang series mini laser engraving machine (Xingguang 2, Xingguang 4)
PRO Open source Xingguang series mini laser engraving machine (Xingguang 2, Xingguang 4)
License
:CC BY-NC 3.0
Description
Open source mini laser engraving machine Starlight 2 and Starlight 4 complete set of information Douyin nickname: Wandering Star Bilibili: Wandering Star-dy
Fans have already assembled hundreds of sets of circuits and model structures. You can use them with confidence. There are assembly videos on Douyin and Bilibili. Search for Starlight 2 and Starlight 4. You can also see more of my fun projects on the video platform
Portal: My Tictok account: Click to visit the Wandering Star Douyin homepage My Bilibili account: Click to visit the Wandering Star-dy Bilibili homepage
Starlight 2 and Starlight 4 schemes are basically the same, the difference is the structural difference, the frame structure and frame screws of the printed parts are different, and other parts are universal; attached are physical pictures
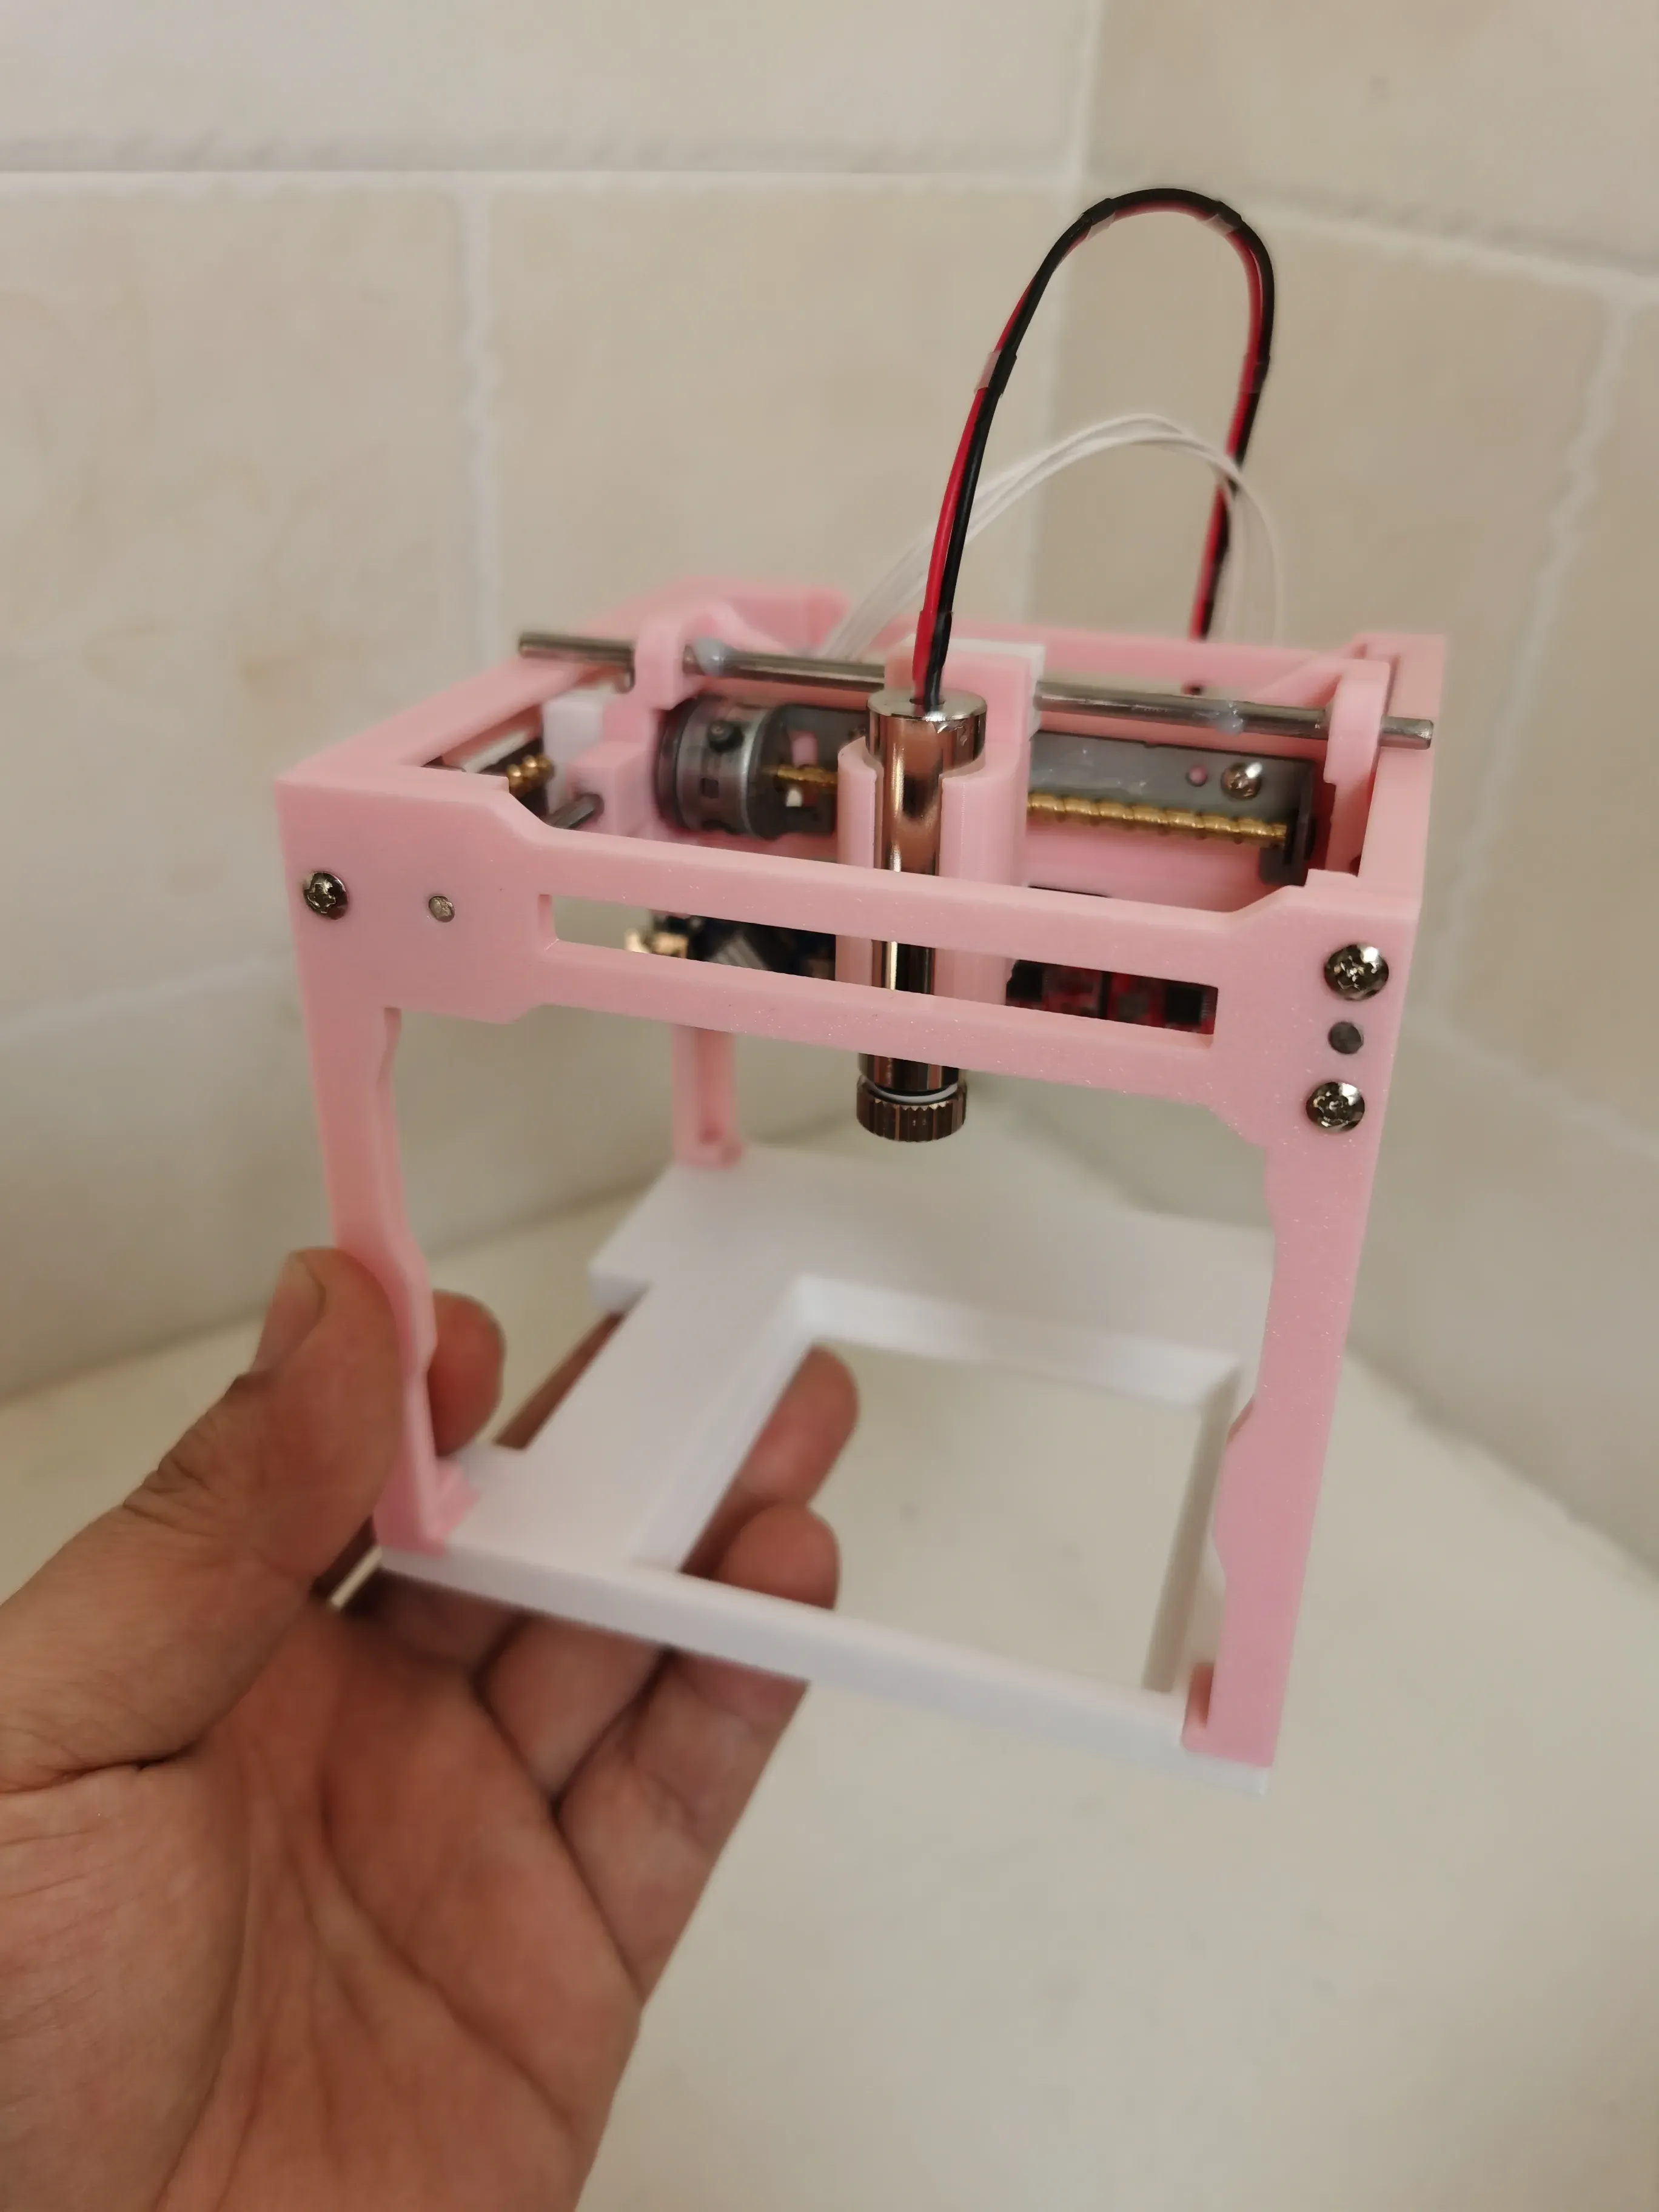
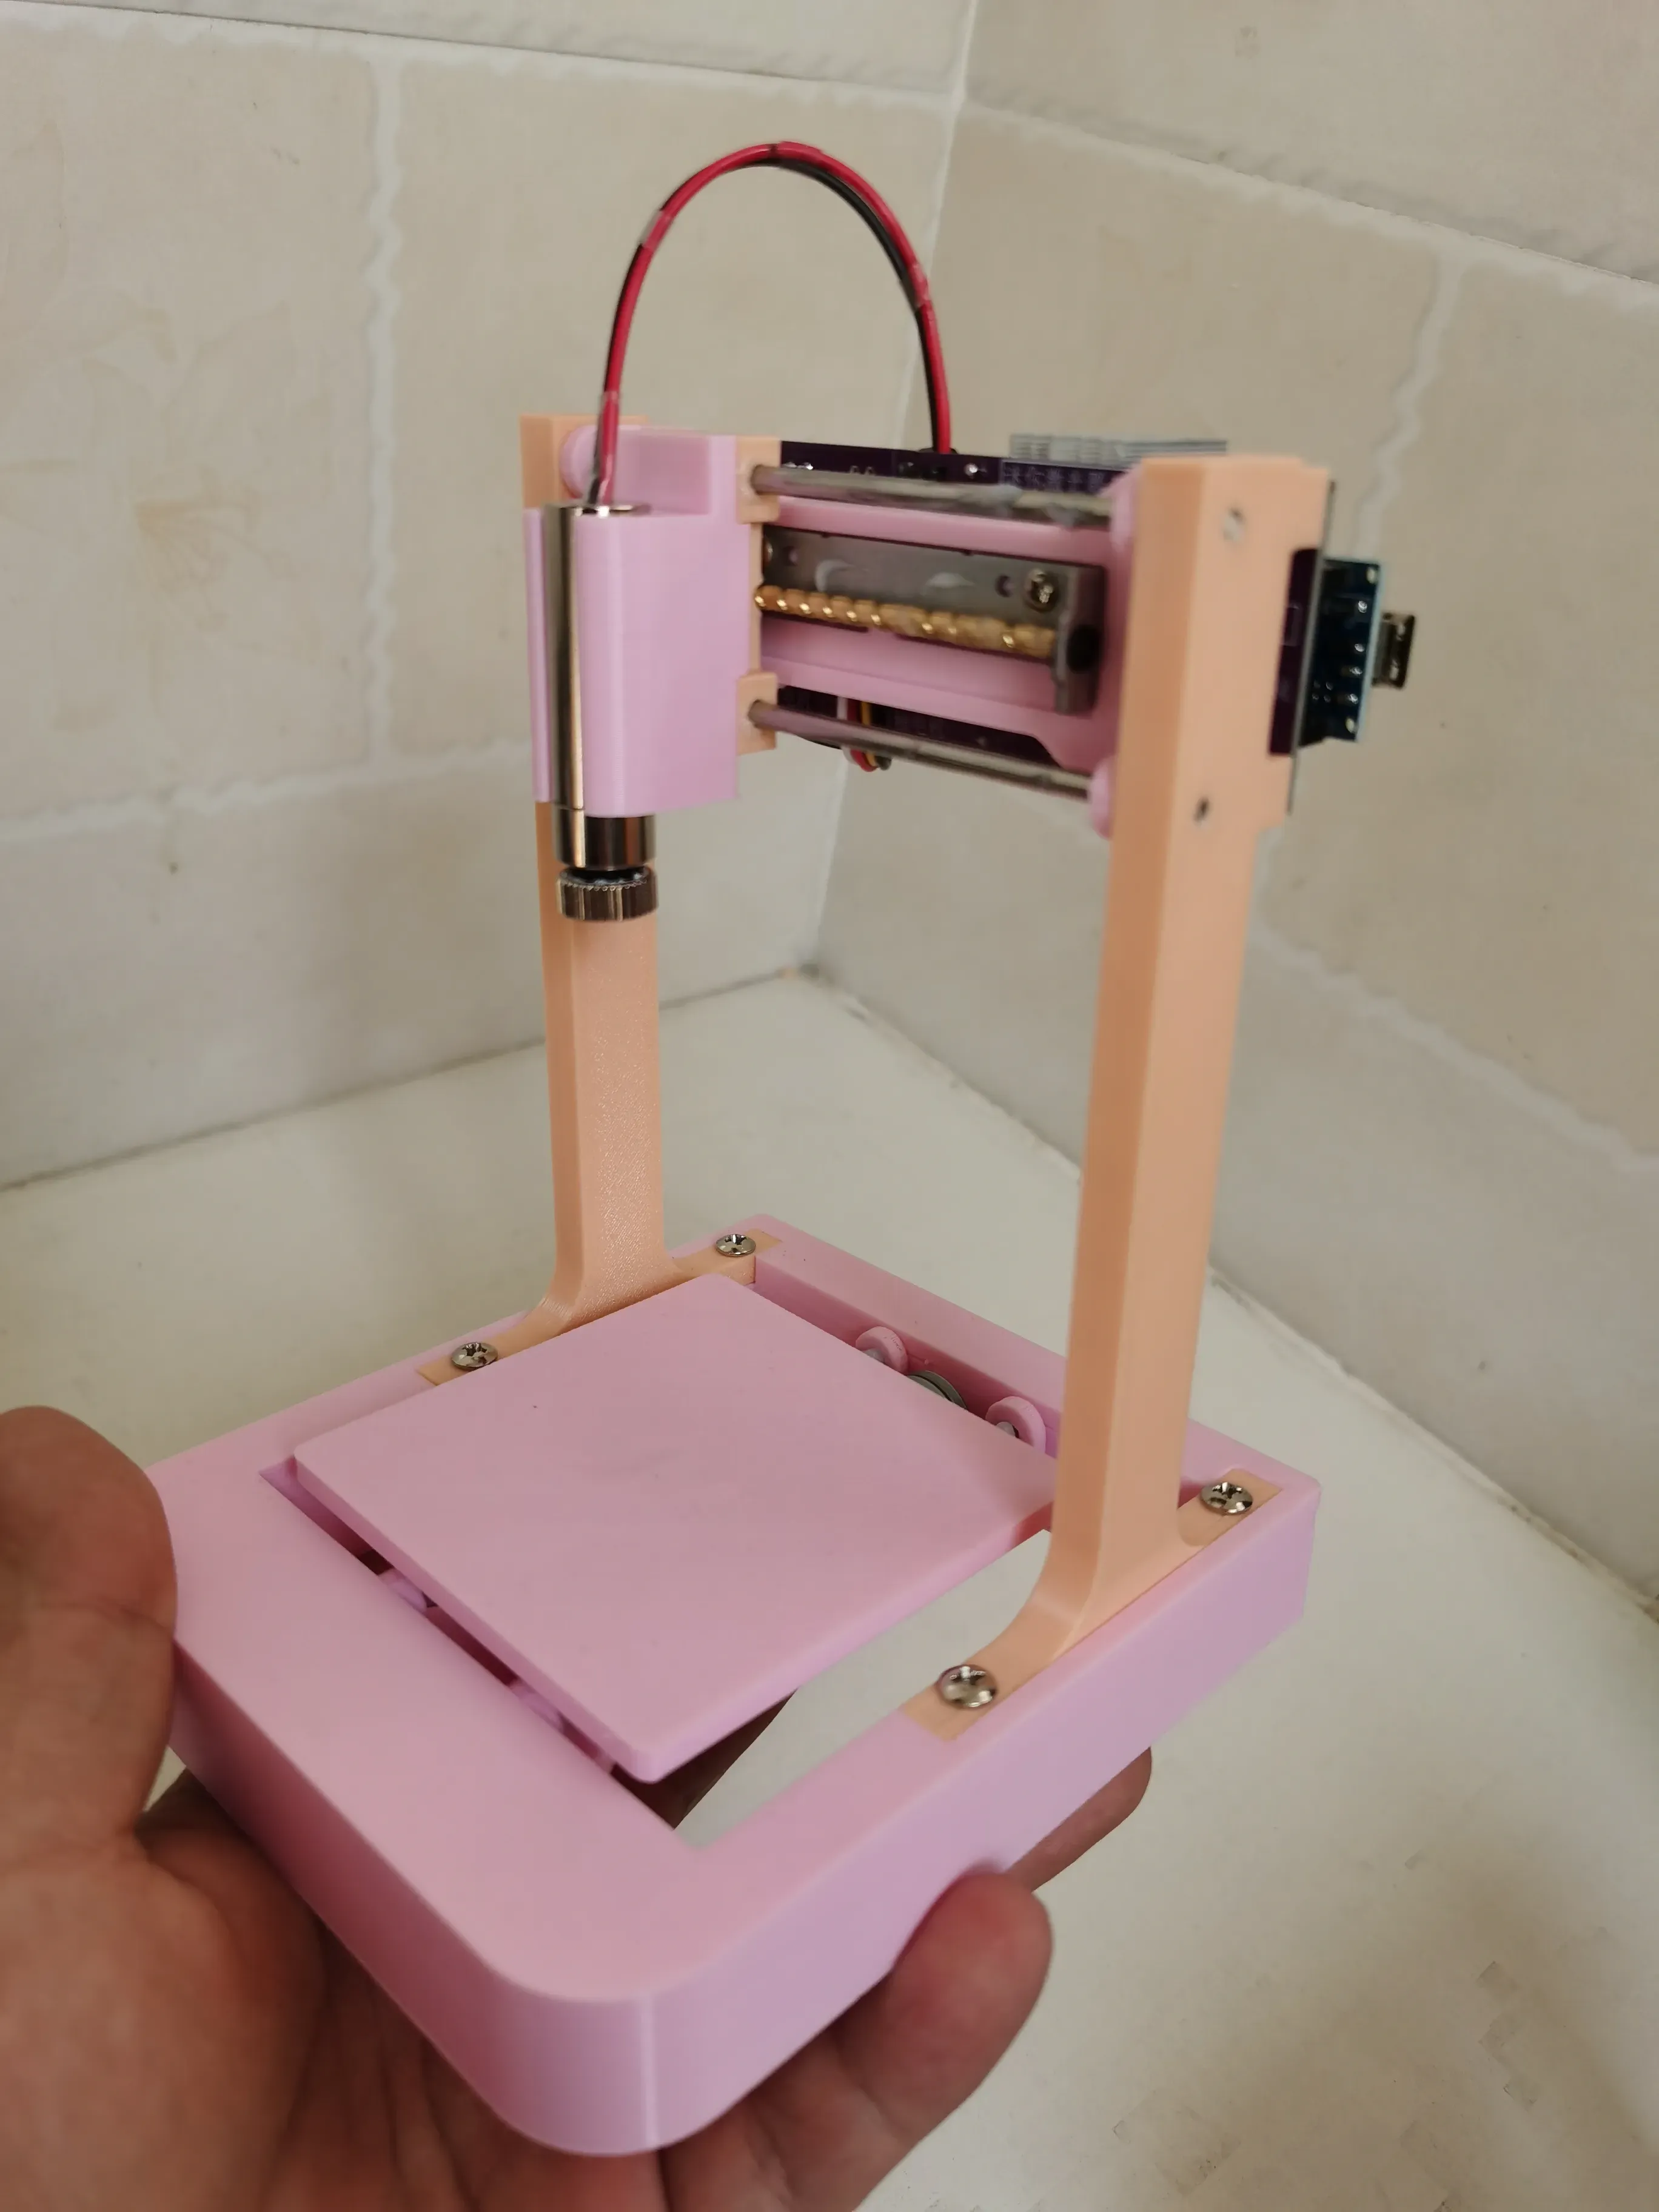
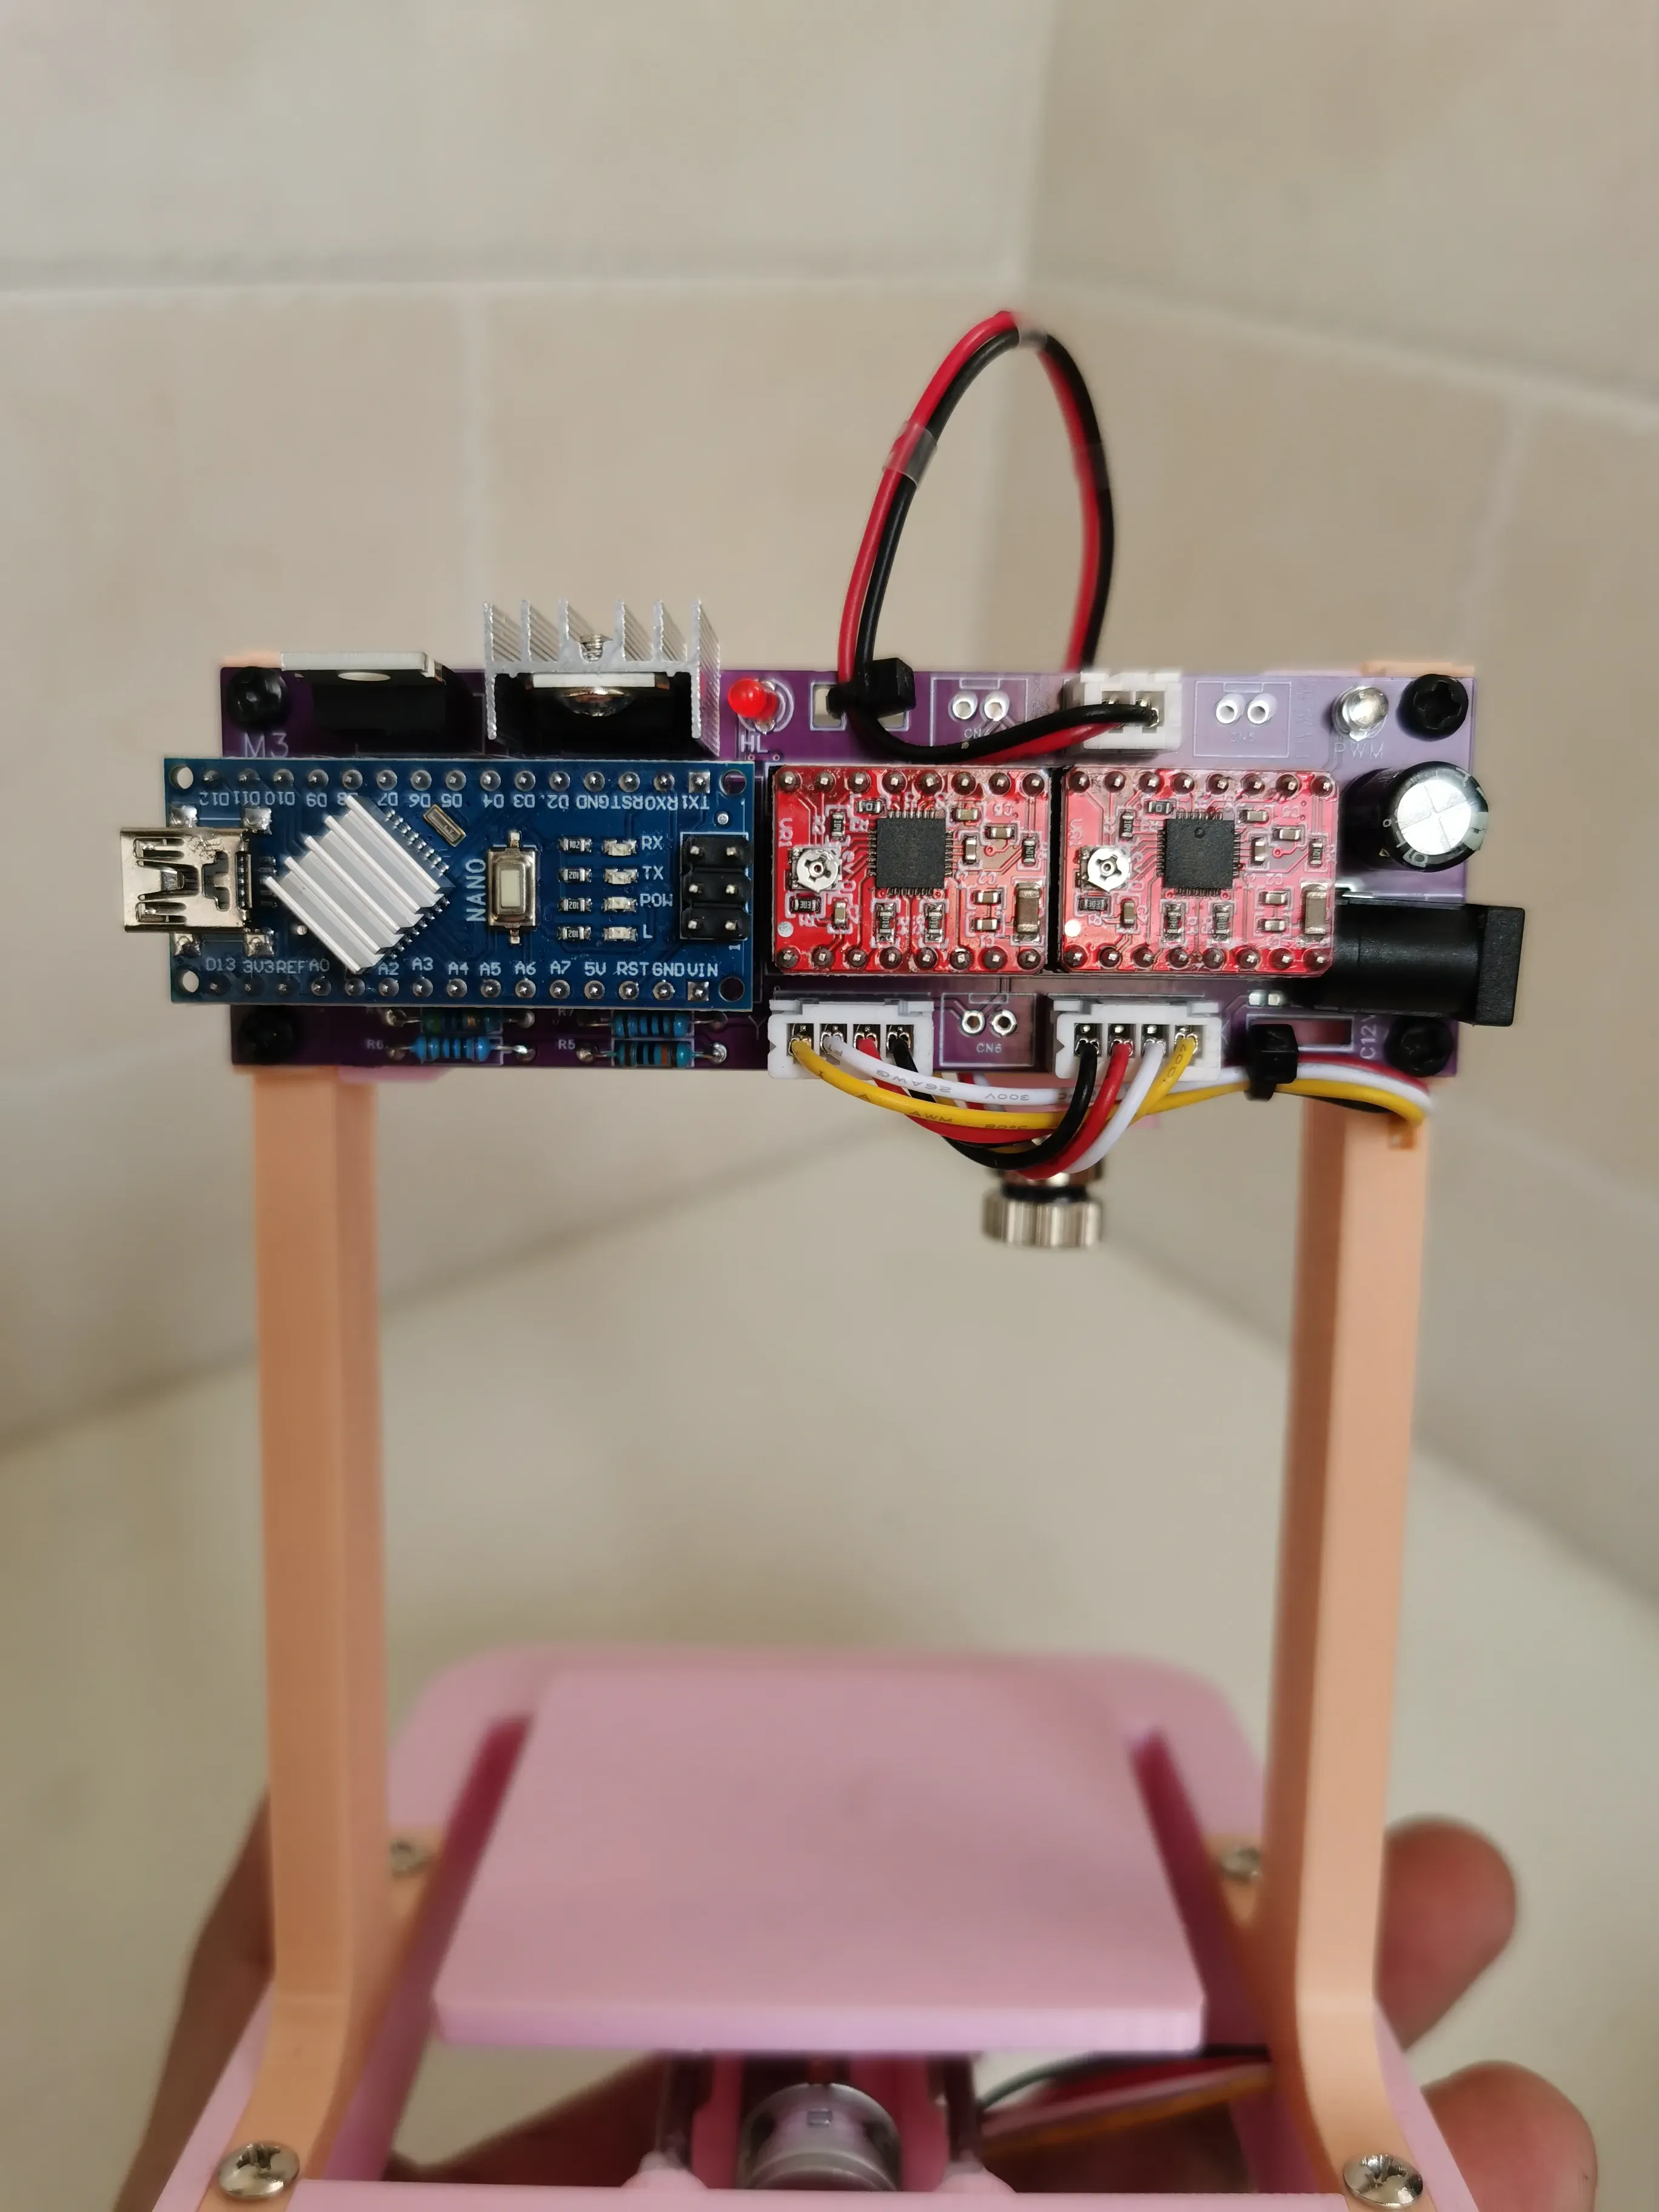
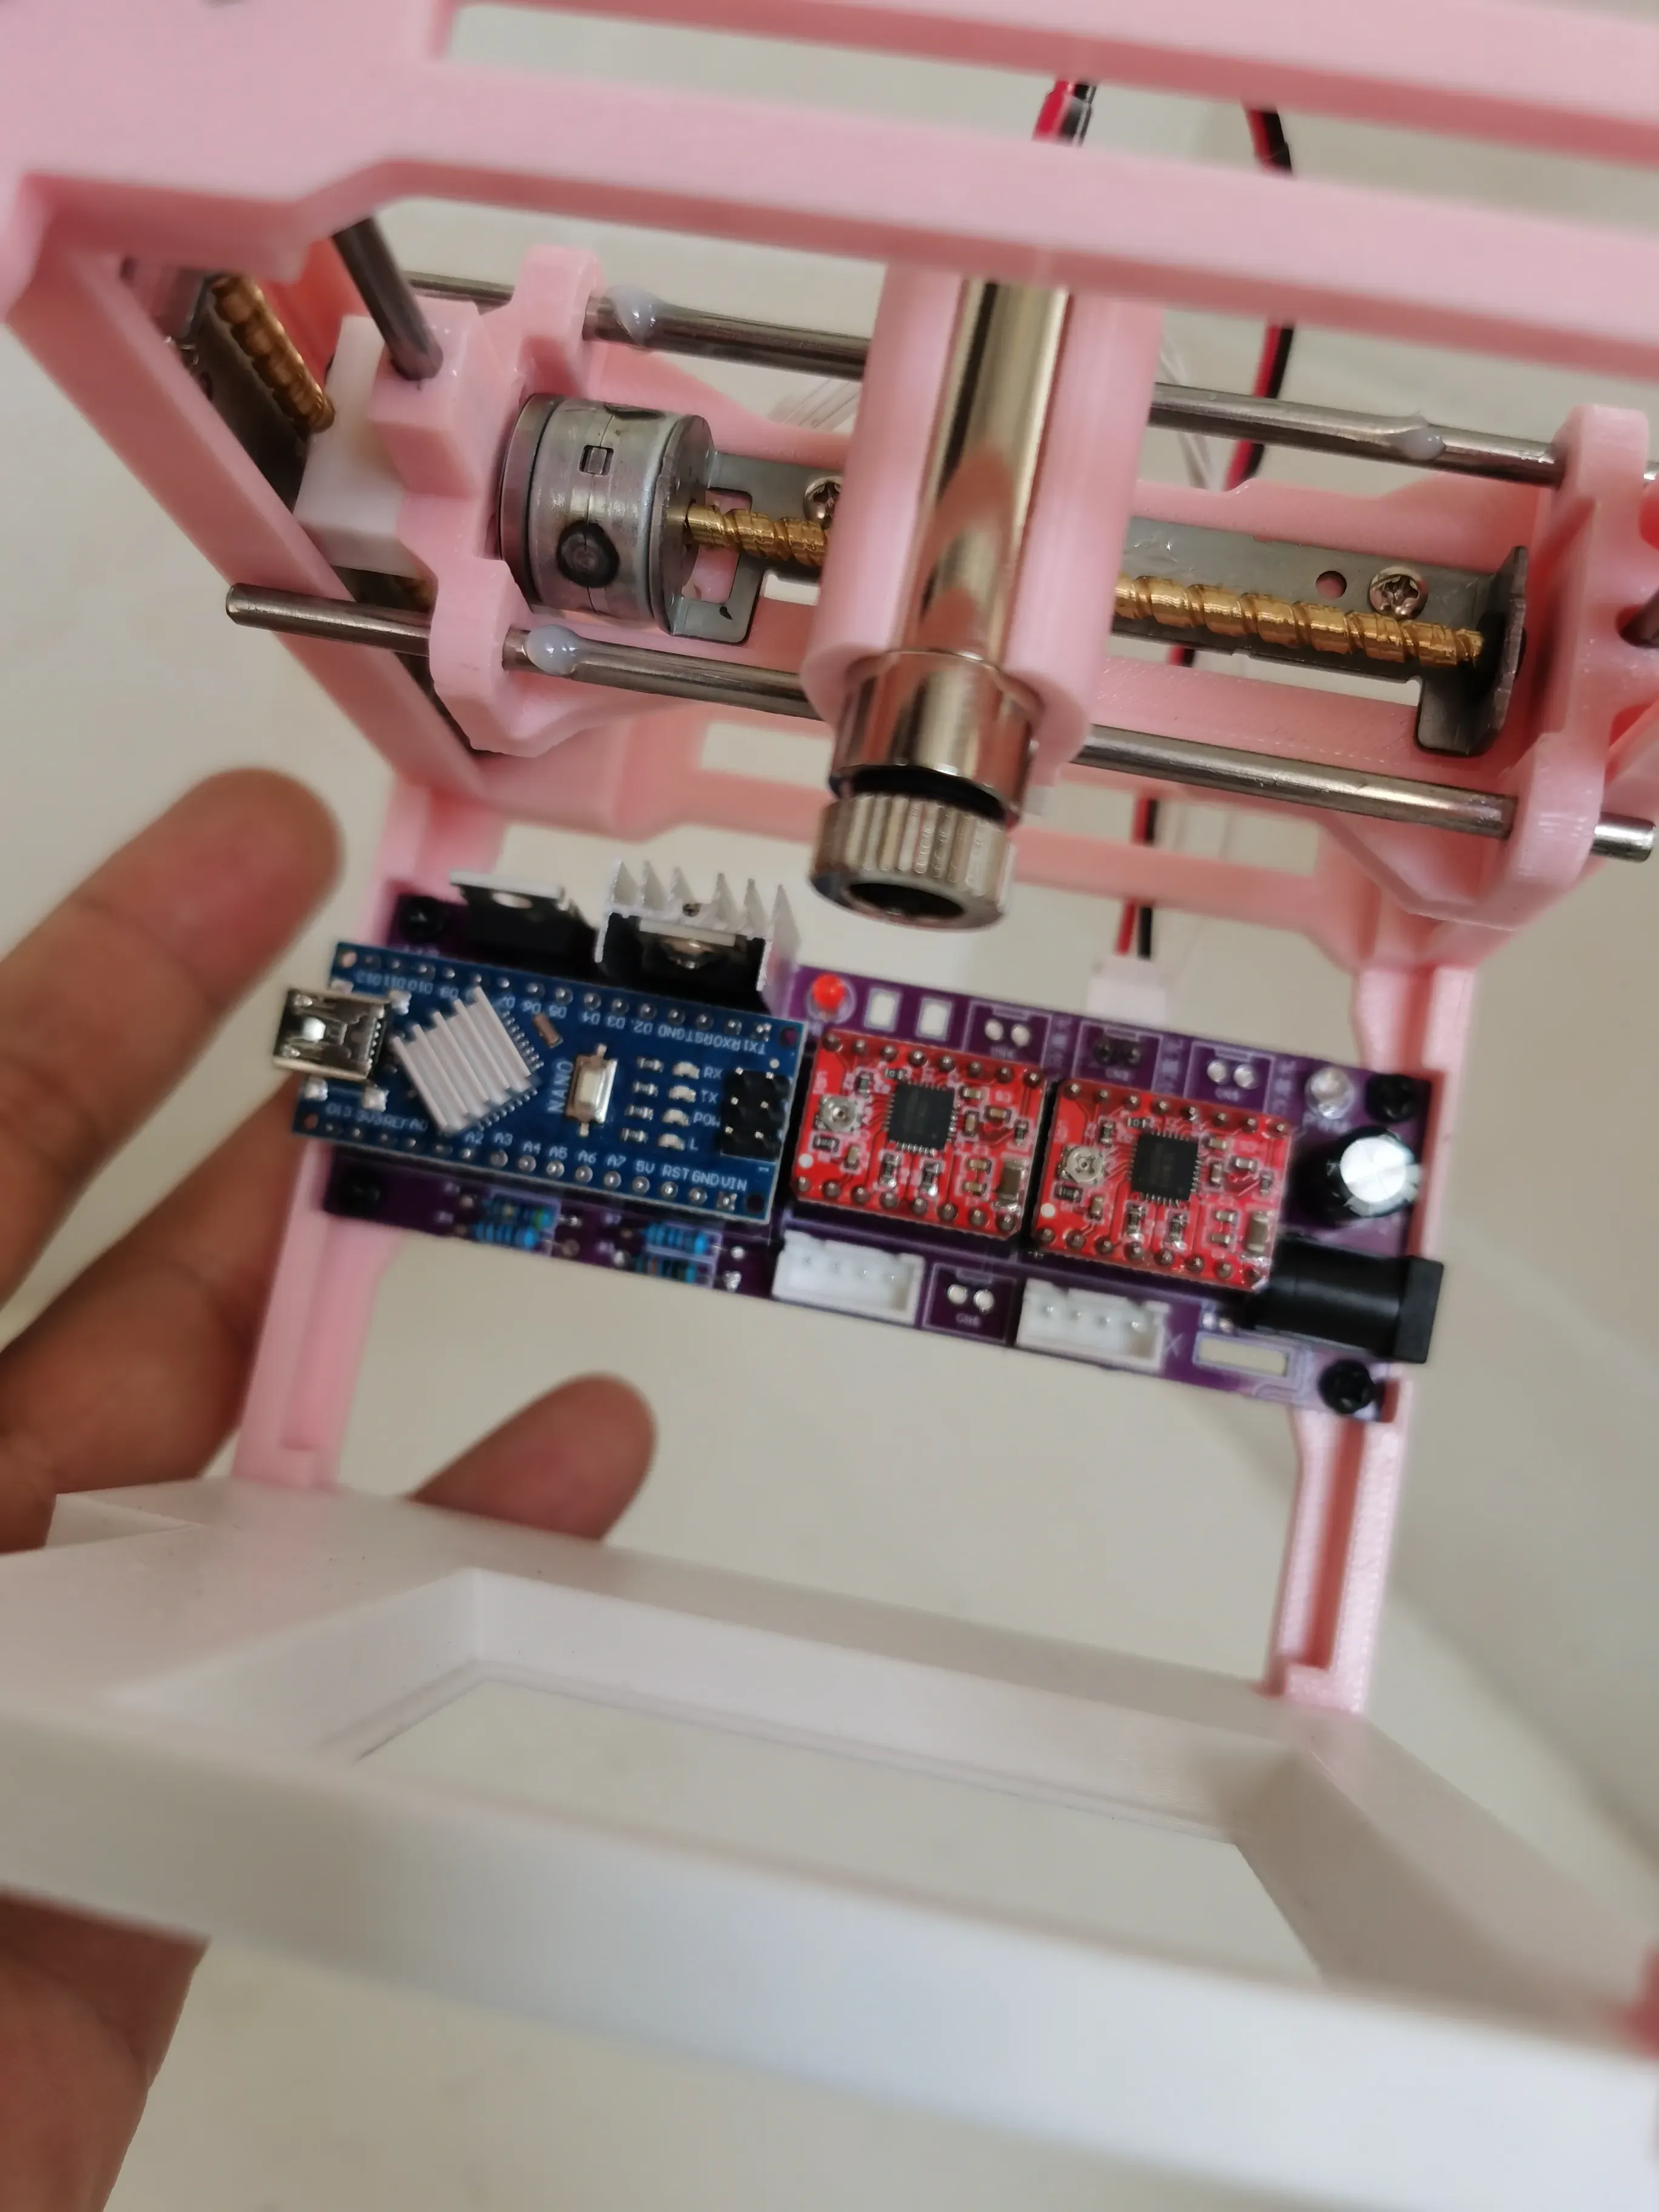
The complete set of STL model files for Starlight 2 and Starlight 4 has been uploaded to my makerworld account (Author: Wandering Star).
PS: There is no way for artisans to make money. All the information is free and open to the public. I put the model in Maker World to mix some points. If you can help me, please help me. Thank you very much!
Attached link: Click to visit my makerworld homepage , you can find other fun small productions I designed here, makerworld downloads the model for free, but it allows me to get some points, haha, if you don't want to set the printing parameters yourself, I also uploaded the printing configuration, bamboo series printers can be directly printed, attached Starlight 2 model makerworld link: Click to jump to Starlight 2 print model , Starlight 4 model link: Click to jump to Starlight 4 print model
When printing, the two parts of the card motor threaded rod need to improve the printing quality to ensure accuracy. It is recommended to have a layer height of less than 0.15 and slow down the printing speed. The commonly used materials are petg and pla. I usually use petg to print because of its good toughness. Other parts can be printed according to normal habits (0.2 layer height, 3 layer wall thickness, 15% filling, 3 layer top and bottom). Only the bracket for fixing the laser head needs to be supported, and other printed parts do not need support. Another thing to note is that due to the existence of the Z seam, the holes passing through the optical axis will be bored with a 3.05mm drill bit after I finish printing to ensure accuracy and smoothness. Brothers without a drill bit will need to use the optical axis to poke it several times before assembling it smoothly. If it is not smooth, it will cause movement of the card Stay!
Attachment has uploaded the complete set of accessories for Starlight 2 and Starlight 4. The assembly video and tutorial are accompanied by audio & video links. For more content, please refer to other adjacent videos of the assembly video
Starlight 2 Assembly Video: Mini Laser Engraving Machine Introduction (Click to watch)
Starlight 4 assembly video: Starlight 4 assembly video (click to watch)
And a tutorial video of the hand-rubbed version of the mini laser engraving machine: [The work of the wandering stars] The cost is less than 100, and a laser engraving machine is made with an old-fashioned computer optical drive (click to watch)
Third, because Starlight 2 and Starlight 4 share a main board, this main board was originally designed for Starlight 2, supporting 4.5V, 5V, 12V two-line laser heads, 1 12V normally open fan, 2 stepper motor drivers It is also suitable for other DIY models with similar structures. If you are ready to DIY, you can also use it. The circuit board can be directly ordered for free on JLC. The main board screen printing standard has the component model specifications corresponding to the position on the circuit board. Novices can also operate it mindlessly, and there are circuit board welding videos, related precautions, and firmware burning. Share the firmware source code GRBL V1.1 and the laser engraving software lasergrbl (this is open source content on GitHub, so it is called sharing). In addition, there is a preset parameter file attached, and the detailed assembly is used in the tutorial
Main board welding and firmware burning tutorial video: Starlight 2 main board welding and firmware burning (click to watch)
Attachment: GRBL V1.1 firmware, Xloader firmware burning software, laserGRBL laser engraving machine operation software (this file is too large to upload, you can download it by yourself, or download it in the group file of my QQ communication group), development board CH340 driver Statement: These materials are open source content of others, aiming to share and respect originality. The content I open source is the model, scheme and circuit board I designed
Regarding the list of components on the circuit board, because some components are not found in the component library, the BOM table is inaccurate. I provide you with an accurate list of components, and you can also explore the principle of the circuit by yourself, which is intuitive and simple
- Proofing PCB × 1 single FR4 double layer, other options can be selected without charge
- Arduino nano development board × 1, atmega328p chip 9-12 yuan each, free shipping
- A4988 stepper motor driver × 2, unit price 3-3.5 yuan a, two costs 7 yuan (related electronic components can find a buy, save shipping costs, wholesale components are usually low unit price, not free shipping, the following is not repeated)
- N-channel switch MOS tube model IRFZ44N × 1, TO220 package, four or five cents each
- Three-end voltage regulator tube model LM7805 × 1, TO220 package, three cents each, TO220 heat sink × 1, M3 * 4 screwdriver × 1, used in combination with the voltage regulator tube, the total cost is about 1 yuan
- F3 Light Emitting Diode × 2, one power indicator, one laser signal indicator, unit price around 0.03, (optional, optional)
- 1/4W plug-in resistor, one for 4.7Ω, 47Ω, 2K, 10K, 100K each, (unit price 0.01 each, but usually sold for 1 yuan for 100)
- XH2.54 terminal block (female seat): 4P straight needle × 2, 2P straight needle × 4, can also replace a 2P curved needle for Starlight 4 (not valuable unit price 0.02, buy it according to your mood)
- DC female seat 5.5 * 2.1 pure copper × 1 (more than one cent each)
- Direct electrolytic capacitor: 16V100UF 5 * 7 specification × 2, 16V470UF 8 * 12 specification × 1 (a few cents each)
- Specification 2.54MM straight female 1 * 8P × 4, specification 2.54MM straight female 1 * 15P × 2 (about one cent each)
The above are all the components required for the main board, all of which are plug-ins, convenient for beginners to solder, and the cost is about 20 yuan
The following are other parts required to assemble the mini laser engraving machine
- Laser head 5V 250mW, diameter 12mm (about 23 yuan each)
- Laser goggles (buy one separately for about 3 yuan, buy one more for about 1 yuan)
- Data cable (can be matched with the data interface of the development board. The cost of the development board is calculated on the main board. Actually, you can buy it together with the development board. It costs about 50 cents per piece. There are also development boards with C port, just like mobile data cables).
- A set of framework (the model STL file has been uploaded, and those who have a printer can print it by themselves. The material cost is a few yuan. If you don't have a printer, you can refer to my hand-made version tutorial, or contact me to obtain the framework and a complete set of parts and finished products. PS: The profit path of manual labor is meager)
5. Matching screws:
Starlight 2 matching screws: M3 * 10 four, M3 * 8 four, M2.5 * 10 five, M2 * 4 four, no need for nuts (worth a few cents)
Starlight 4 matching screws: M3 * 4 four, M2.5 * 10 four, M2.5 * 8 ten, M2 * 4 four, no need for nuts (worth a few cents)
- 2 miniature stepper motors, 58mm long threaded rod, 3.75mm pitch, 1.2 yuan each. This motor is from Shenzhen Jiesheng Electric (selling inventory, I don't know, no cooperative relationship). He sells a Japanese electric original 12MM two-phase four-wire miniature stepper motor-C model motor. It is said that there are four to five thousand in stock. The only drawback is that he does not include shipping, and the shipping fee is 6 yuan. If you are clumsy, you can buy more at a lower cost
- Motor cable: Starlight 2 can buy a XH2.54-4P double-headed motor cable 30cm long (about 3 cents per cable), or buy two shorter single-headed cables. Starlight 4 does not need to be bought, just cut a mobile phone data cable (the broken one is fine, don't waste it) and connect it to the motor
- Stainless steel optical axis with a diameter of 3MM and a length of 10cm. You can buy 50 for 7 yuan, but you only need to use 4 to assemble one. I have been preparing kits for a long time, so I buy more. You can also look for retail options
- Grease (butter is also fine, but I use grease from 3D printers. Maybe it's okay to apply some lubricating oil, but it won't run smoothly without lubrication).
- Power supply 12V2A power supply (about 5 yuan each), the power supply port should be 5.5 * 2.1 or 2.5, in order to match the DC female port of the main board. Using 2A is to consider the power supply being falsely labeled. If not falsely labeled, 0.5A is enough
- The Starlight 2 base can be equipped with circular magnets with a diameter of 6mm and a thickness of 1-3mm, 8 of which are optional. Starlight 4 does not require magnets
After all the materials are completed, the cost of the entire set of replicated materials is about 70 yuan. Note that this is the cost of the materials you replicated yourself! The tutorial is recorded for free, the software is also open source, and the materials are shared for free without any other charges. It is recommended that everyone make it themselves, which is more cost-effective and interesting
My Xiaohuangyu username is Wandering Star, and my profile picture is

Tictok, Bilibili also has the same profile picture. In order to prevent counterfeiting, please pay attention to distinguishing that I have more fans. There are some kits of things I designed inside (such as Polaris Mini2, Starlight series, etc.). Considering that many parts are relatively scattered, if anyone needs them later, we can also provide some parts packages. I won't explain it anymore. The humble way of survival for craftsmen...
Open source content, if there are any omissions, please contact me for correction, thank you!
Designed by 流浪的星星 (from OSHWHub)
Link:https://oshwhub.com/hanbing666/mi-ni-ji-guang-diao-ke-ji-dian-lu-ban-xing-guang-2-xing-guang-4
Design Drawing
 The preview image was not generated, please save it again in the editor.
 Empty
Empty


Comment