

 Completed
Multi-function macro keyboard 3Plus
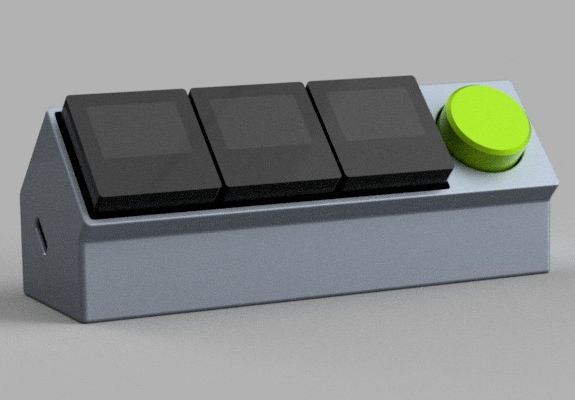
PRO Multi-function macro keyboard 3Plus
License
:CC BY-NC-SA 4.0
Description
After more than a year
Version 2.0 has been updated with lower costs and easier replication
Version 1.0 no longer provides updates
Information
Possible problems that may be encountered:
-
Unable to recognize the serial port: Before powering on , press and hold the first button on the left, and then insert the USB. This step will also enter the burning mode. After burning is completed, restart
-
Compile prompts when downloading firmware,/.pio/build/lolin_c3_mini/firmware.map: No such file or directory: Put the project into a non-Chinese directory
Software
Use platformIO for development, download, convenient and easy to use.
Please refer to the attachment for the software code.
The main implementation is a functional interface switching architecture, which is very easy to add various other functions according to certain writing rules.
Using FreeRTOS for task scheduling, the main tasks are:
-
Key scan
-
Interface display update
-
PC status acquisition
-
Weather acquisition
Attention
When downloading, if you encounter a situation where the serial port cannot be recognized, you can insert USB power while holding down the leftmost button, and then you will see a serial port prompt, release the button
Flashing
Complete all operations using PlatformIO
1. Firmware burning

2 Burn resource files

Assembly


3D printing version 1.3, when installing the buttons, pay attention to the direction of the mechanical keys and the shell.


Updating
2022-12-07
Update 1.1.0 firmware
Use WiFiManager to modify parameters such as wifi and automatically add clock type.
- The clock part has been modified, adjusted in size and type, limited by the size of the resource area, the clock type has been reduced, leaving only the one I often use.
- Fix some previous bugs.
- If weather-related information is not filled in, do not use the weather function, it may restart.
- Add OTA upgrade. When booting up, hold down the third button from the left until the word OTA appears on the third screen.
If you want to reconfigure WIFI, keep pressing the second button from the left when turning on the computer, and the screen will prompt you.
2022-11-11
Update the stl file to version 1.3:
Use three M2.5X5 screws.
Increase the tail USB interface power supply, you can consider buying this board , but I did not test it.
Recently, the three-dimensional monkey has launched transparent 3D printing , and a transparent exploration effect is also available.


License
Hardware
Main control module

Mechanical key display module

Power supply module
 Provide 10V power to the display screen through TPS61040DBVR.

BOM


Panel: Quantity x3 Bottom Printing
Thread: M2.5 * 5 Quantity x3
FPC cable: quantity x3 address
The BOM of the display screen needs to be bought in three times the quantity.
Designed by M0dular (from OSHWHub)
Design Drawing
Intellectual Property Statement & Reproduction Instructions
This is an open-source hardware project. All intellectual property rights belong to the creator. The project is shared on the platform for learning, communication, and research only; any commercial use is prohibited. If your intellectual property rights are infringed on EasyEDA, please notify us by submitting relevant materials in accordance with the Rules for Complaints and Appeals of IPR Infringement.
Users must independently verify the circuit design and suitability when replicating this project. All risks and consequences are borne by the user, and the platform assumes no liability.
 Empty
Empty
Comment