

 Completed
[Mijia | ESP8266] Curtain motor
PRO [Mijia | ESP8266] Curtain motor
License
:GPL 3.0
Description
Able to connect to WiFi, use the lighting platform (official website: lighting technology) to access Mijia, and be able to control the curtain switch with Xiao Ai.
In addition to using Xiao Ai's control, you can also use the low-power wireless switch I made to control (project link: [low power consumption | rechargeable] ESP8266 wireless switch - JLC EDA open source hardware platform)
1. Hardware part:

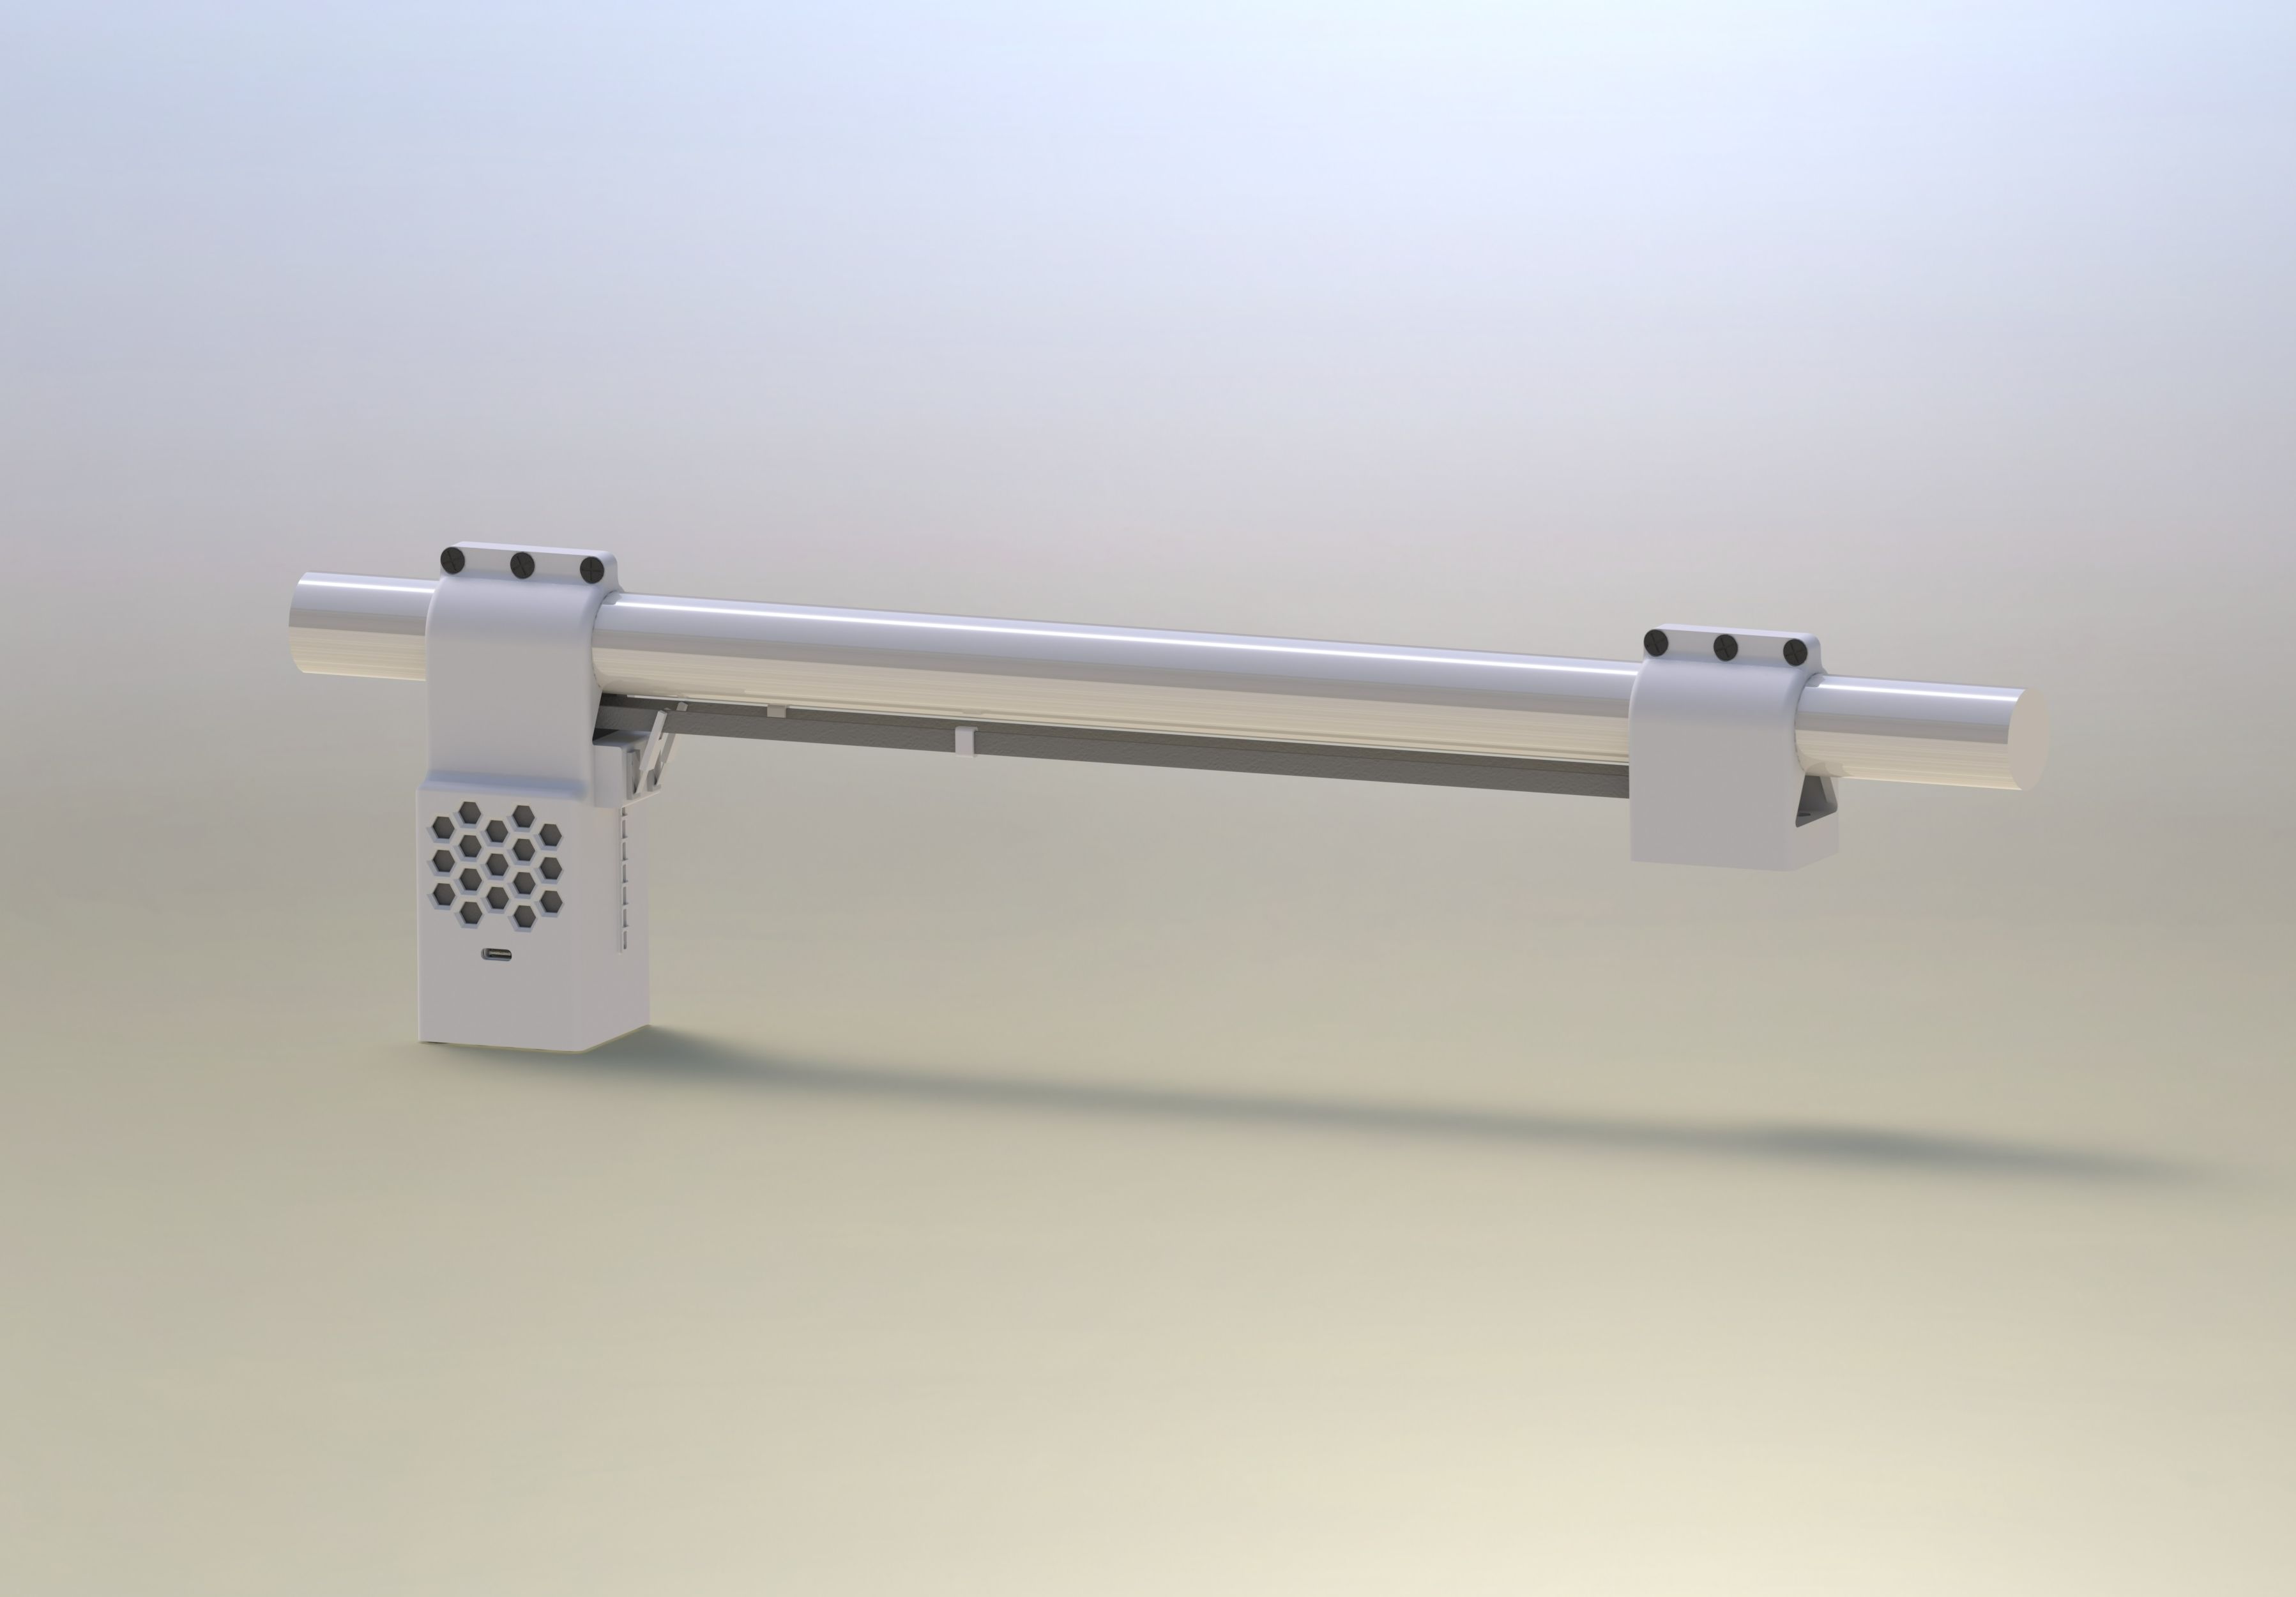
Rendering ↑
The curtain bar in my room has a diameter of 27.5mm, and I share the source files of the enclosure and modify them myself if necessary.
With 12V power supply, theoretically a power supply of at least 12V3A is required, and the interface is DC 5.5*2.5mm.


Curtain motor bottom design ↑
It uses a 42 stepper motor with a shaft length of about 23.5 mm and is driven by a cheaper A4988, or it can be replaced with a more expensive silent drive.
 Motor connection ↑
The synchronous belt model is 2GT-6mm, the synchronous wheel is 20 teeth, the inner diameter is 5mm, the bandwidth is 6mm, and the idler pulley size and model are the same, but the one with bearings should be selected.
 Motor related information ↑
The limit switch is fixed on the shell, and the limit switch extension rod is sleeved on the limit switch to "clamp" the timing belt.
Connect the common ends of the two limit switches together and connect them to GND on the motherboard through wires, and then connect the normally open ends of the two switches to SW1 and SW2 on the motherboard respectively through wires.
The windowed area on the motherboard needs to be stacked with tin.

There are limit blocks fixed on the timing belt in the print file, but I don't use them in the actual installation, I use the copper buckle connected to the timing belt as the limit block, either way.

 Real shot ↑
Installation required: 12 M3 flathead screws (at least 8mm in length, not too long and not too short)
M3*20mm double-pass copper pillars.
8 M3 nuts (thickness approx. 2.4 mm).
M3*3*4.2 inlaid nuts 4pcs.

2. Software part (arduino):
Connect the motherboard to the computer via a data cable,
Lines 45, 46, 47 in the curtain motor code need to be modified,

Among them, the secret key is obtained by adding a separate device to the lighting app, filling in the WiFi name and password, and then compiling and uploading. Name the device in the lighting app, and bind the lighting account in the Mi Home app.
After the upload is completed, open the serial port monitor, wait for the ESP8266 to successfully connect to the server, and then output the address of the single-chip microcomputer through the serial port, which needs to be written into the code of the wireless switch for ESP-NOW wireless transmission.

After the motherboard starts, it starts to try to connect to WiFi, at this time, the indicator flashes rapidly, and after connecting to WiFi, it starts to connect to the mqtt server, at this time, the indicator flashes slowly, and the indicator turns off after successfully connecting to the server, see the attached video for details.
At this time, you can connect a 12V power supply to start testing whether the device is running normally.
If the motor does not rotate and the shaking is severe during the test, please do not panic and try to check whether the motor wiring sequence is correct.
Please make sure that the positive and negative poles of the 12V power supply are connected correctly! Reverse connection will burn out the motherboard components!
Please make sure that the positive and negative poles of the 12V power supply are connected correctly! Reverse connection will burn out the motherboard components!
Please make sure that the positive and negative poles of the 12V power supply are connected correctly! Reverse connection will burn out the motherboard components!
After the program is uploaded, you can use Xiao Ai to control the curtains.
If you happen to own one or more Xiaoai speakers, then you can create a manual scene and place the operation of opening and closing the curtains on the Mi Home homepage or in the notification bar.

However, because the standard version of lighting technology cannot define the device as the curtain motor type, I defined the device as the socket type.
At this time, when you want to use Xiao Ai to control the device, you need to read the full name of the device, which is very inconvenient.
(For example, if I name the device as a curtain and ask Xiao Ai to open the curtains, she will reply that you don't have a curtain device yet, but if I name the device as a bedroom curtain and ask Xiao Ai to open the bedroom curtains, the device will work normally.)
At this time, you only need to replace the operation corresponding to the sound of closing the curtain with opening and closing the bedroom curtain in the Xiaoai training of Xiaoai Audio.

I put all the files required for the project in the attached package, including code files, SolidWorks source files of the shell, . STL files (which can be used directly for printing), etc.
(I am not a mechanical major, and my modeling level is limited, so don't spray)
The video of the curtain motor running in the attachment was taken during the installation process, when the other half of the curtain was not fixed on the timing belt, only the other half was just fixed.
Designed by 小O和小Q (from OSHWHub)
Link:https://oshwhub.com/littleoandlittleq/dian-dong-chuang-lian
Design Drawing
 Empty
Empty
Comment