 Completed
【 LC · Taishan Pi】 Intelligent projector -Sony CXN0102
PRO 【 LC · Taishan Pi】 Intelligent projector -Sony CXN0102
License
:CC BY-NC-SA 4.0
Description
Project Description
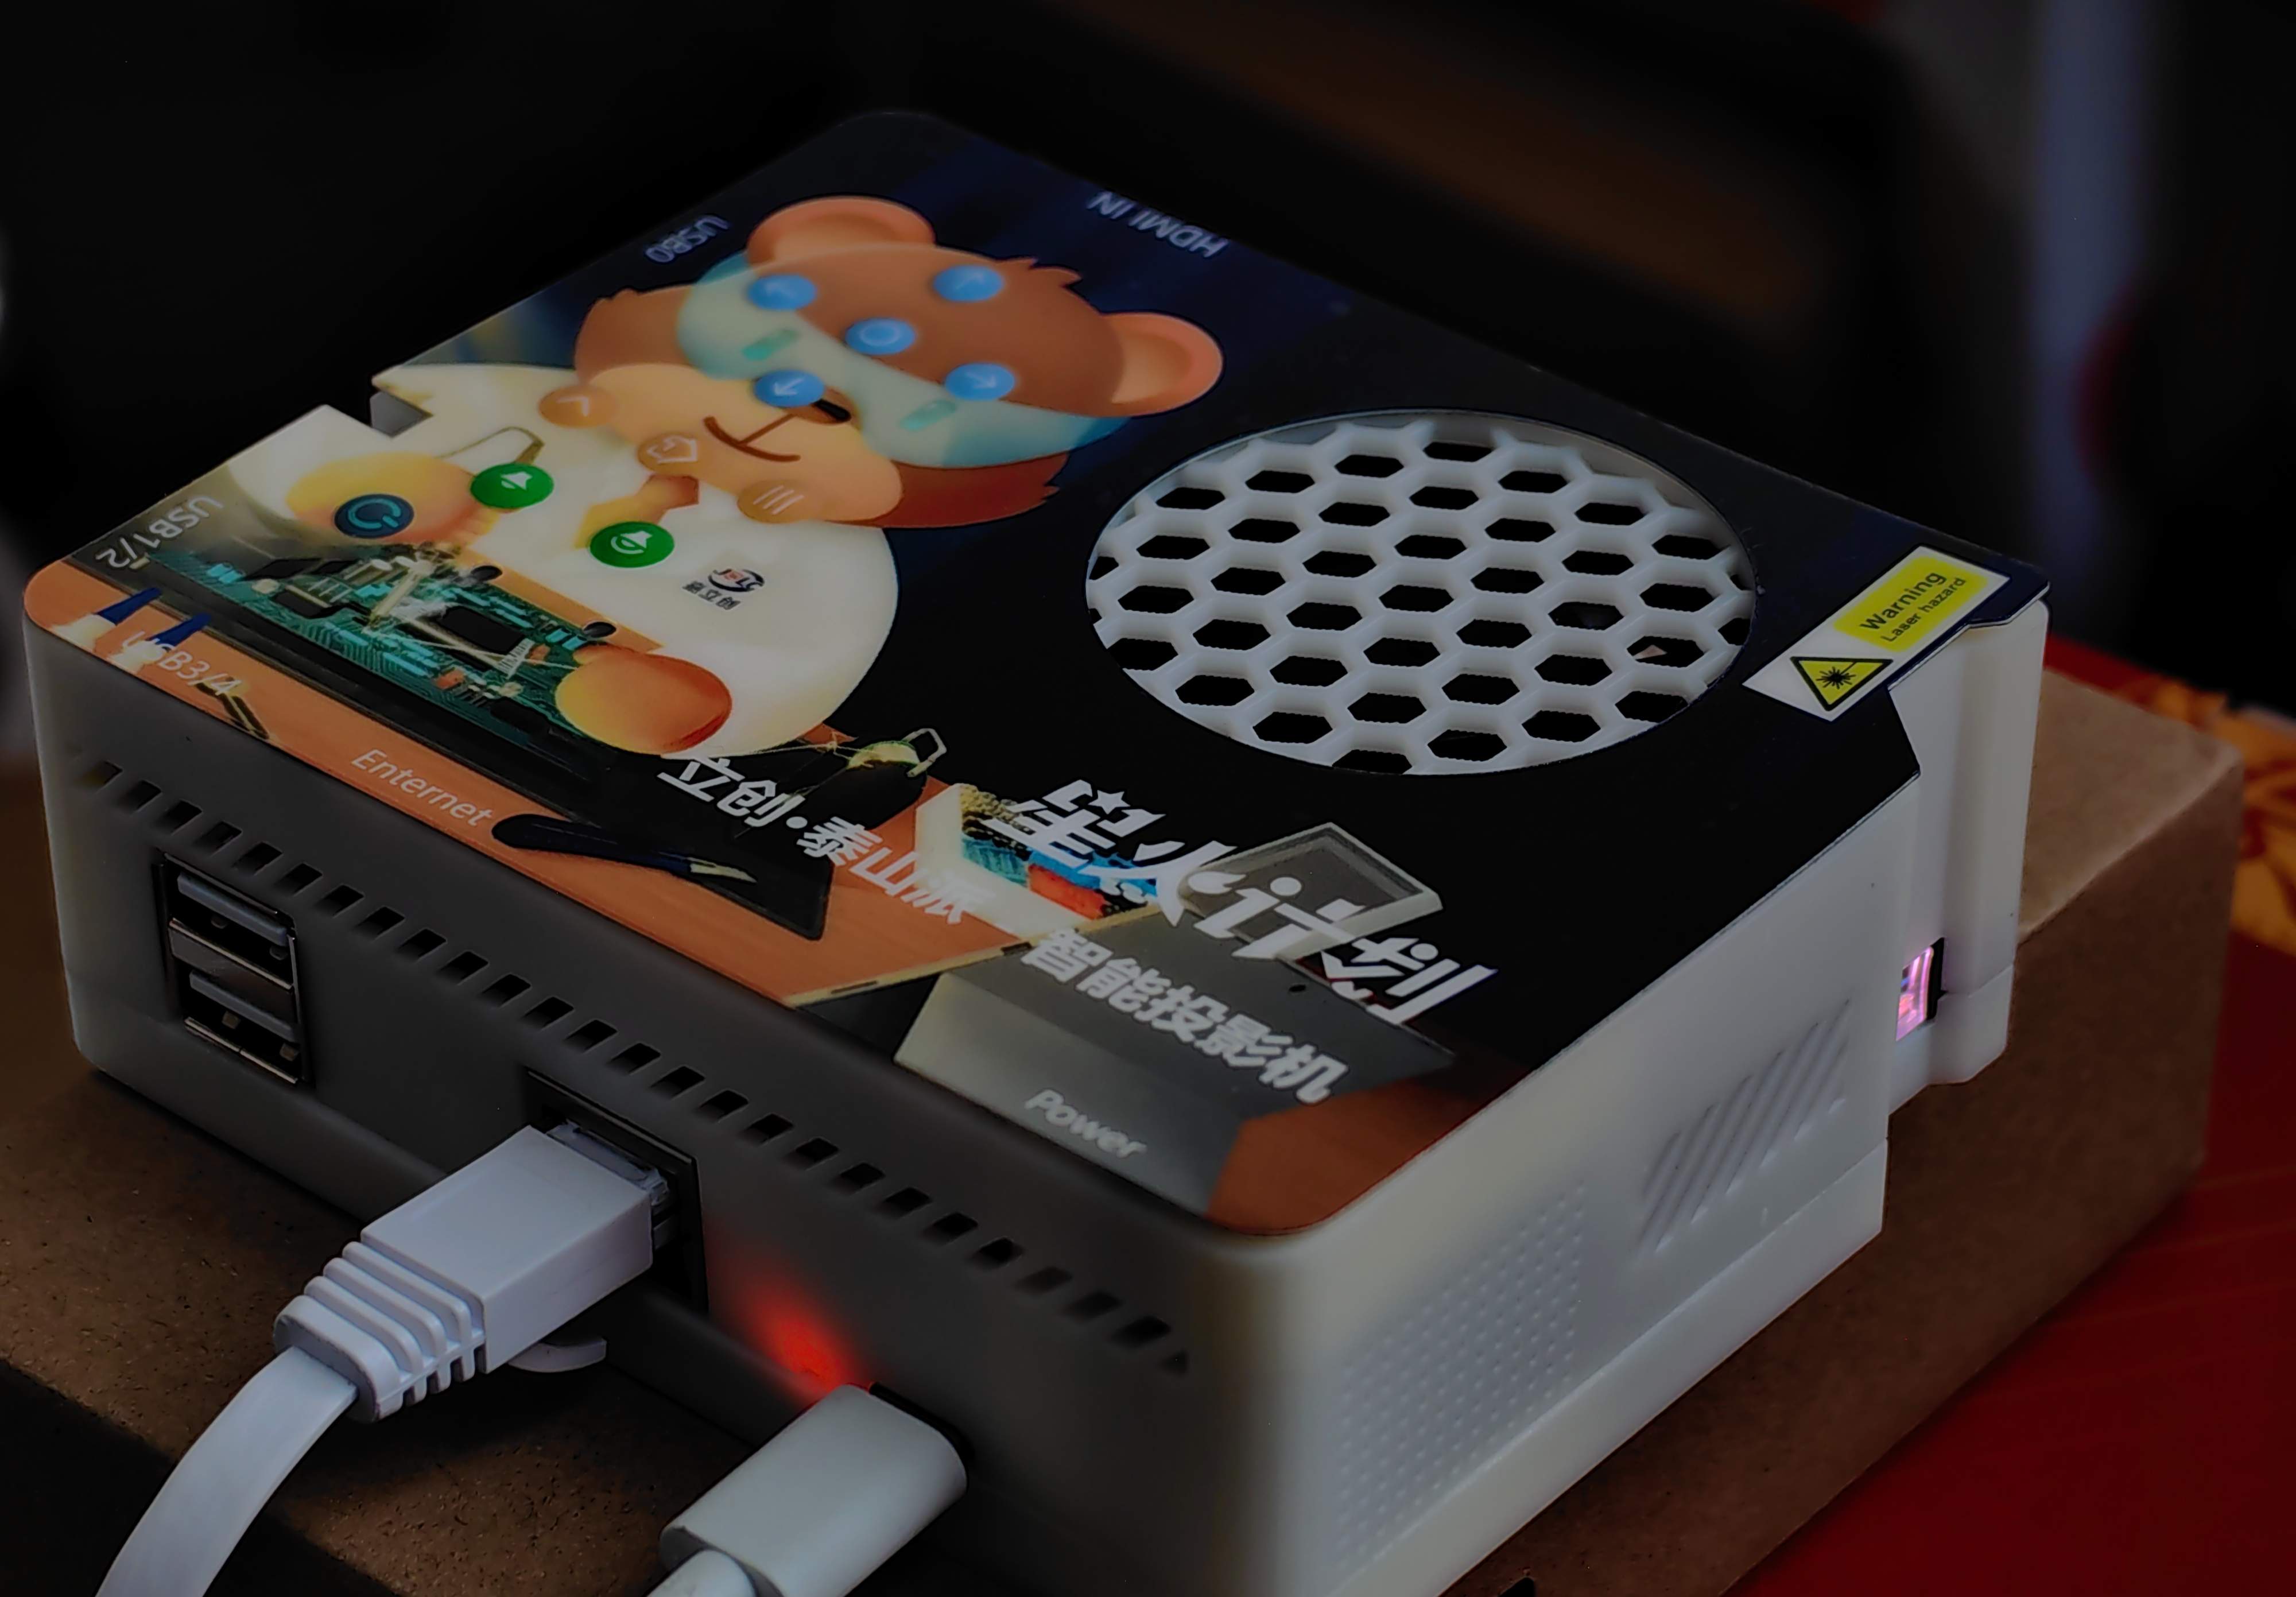
This project is based on the "LC Taishanpi Development Board" (referred to as Taishanpi) through the ICN6211 bridge IC to drive the Sony laser galvanometer CXN0102 optical machine (referred to as the optical machine), with a resolution of 1280×720, and the Android TV system is made by modifying the official repo version of the Android SDK.
Note that the laser galvanometer is not suitable for bumpy scenes, so it is not recommended for vehicle use.
In order to protect your optical machine, please do not directly unplug and turn off the power, please press the power button to turn off or standby first, and then unplug the power after the optical machine is turned off!
See the end of this article for more renderings.
Open Source Agreements & Statements
- This project uses the CC-BY-NC-SA 4.0 (Creative Commons License-Attribution-NonCommercial-ShareAlike) open source license;
- The item is shared as is, without warranties of any kind, either express or implied;
- To read and understand this project, you need to have considerable knowledge of electronic software and hardware, and determine whether there is any risk, and the author is not responsible for the consequences such as personal injury and damage caused by the use of this project;
- Exchanges, reproductions, and derivatives are welcome, and speculators who make profits through the reproduction of this project without permission are not welcomed;
- If you do not agree with the above information, please close this page immediately, and if you do, please continue reading.
- Some commercial closed-source APPs are used in the firmware of this project, if there is any infringement, please contact to delete.
- In the event of any discrepancy between the description in this article and the Gitee hosting information provided below, the latest commit of the latter shall prevail.
Project-related features
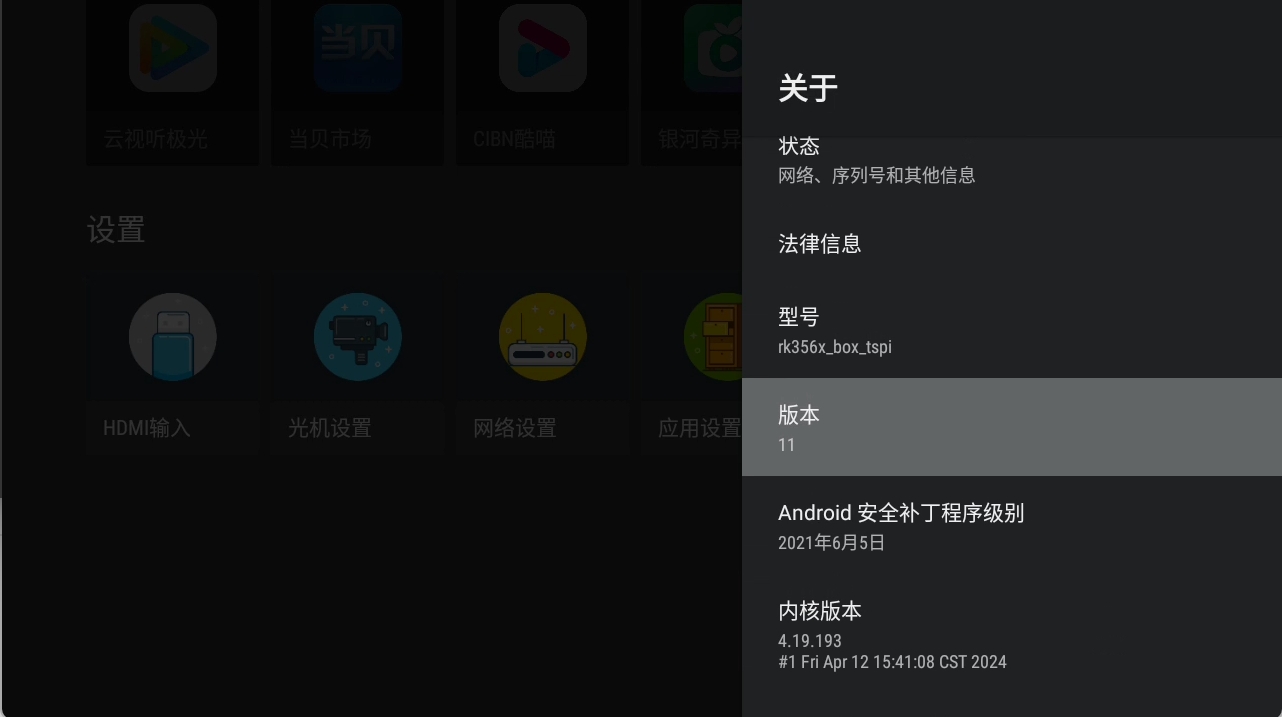
- Android TV system, Android version 11;
- Support four-way USB input (USB disk, mobile hard disk, mouse, keyboard, air keyboard and mouse, etc.), support TF card insertion (note that the distance between TF card and HDMI interface is close, may not be used at the same time);
- Support Gigabit Ethernet access (940 Mbits/sec measured in Debian throughput test);

- Support onboard WIFI access;
- Support HDMI input, if you need HDCP, please solve the key problem by yourself;
- Support infrared remote control,Support Baidu shadow stick box、Huawei box、iQiyi box、BesTV box、Dangbei box five common domestic remote control key values;
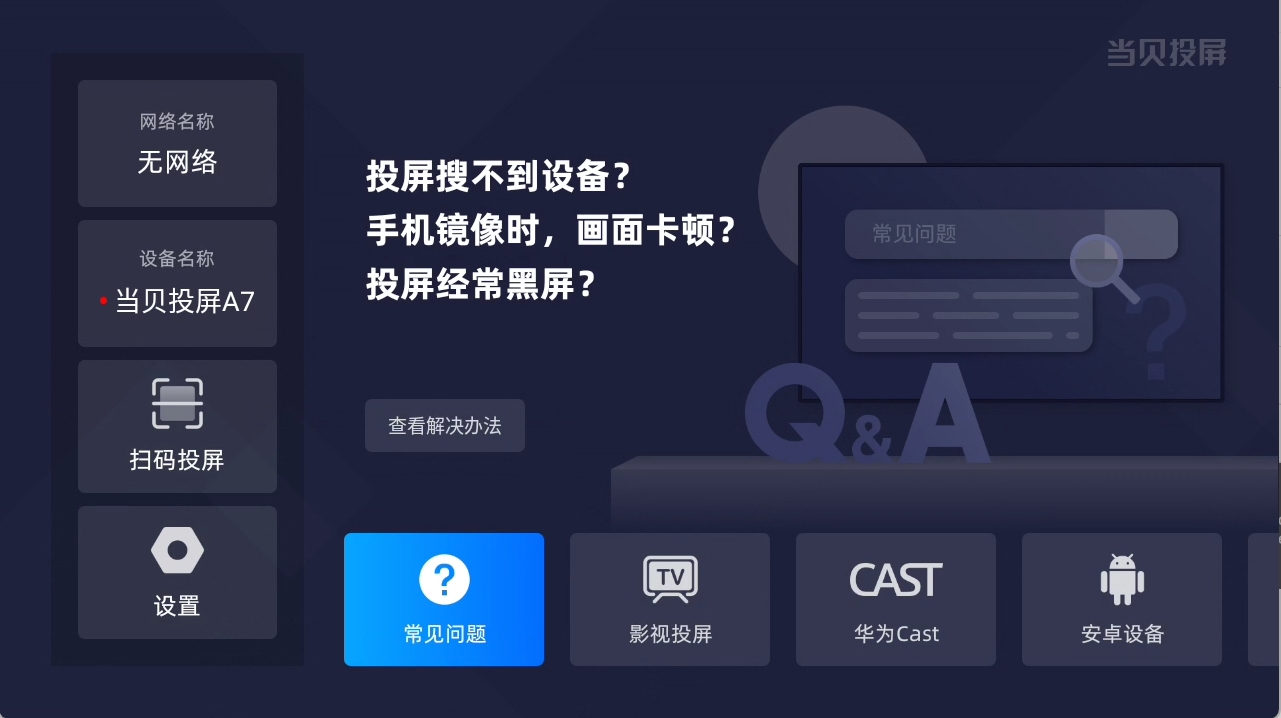
- Support wireless projection(Dangbei projection implementation),Support protocol:DLNA、Miracast、Huawei cast......;
- Support for mono speakers;
- Support RTC power-down save time;
- Support the 12V cooling fan of the optical machine to automatically start and stop according to the temperature of the optical machine;
- Reserve 12V interface, which can be used or powered by Taishan cooling fan;
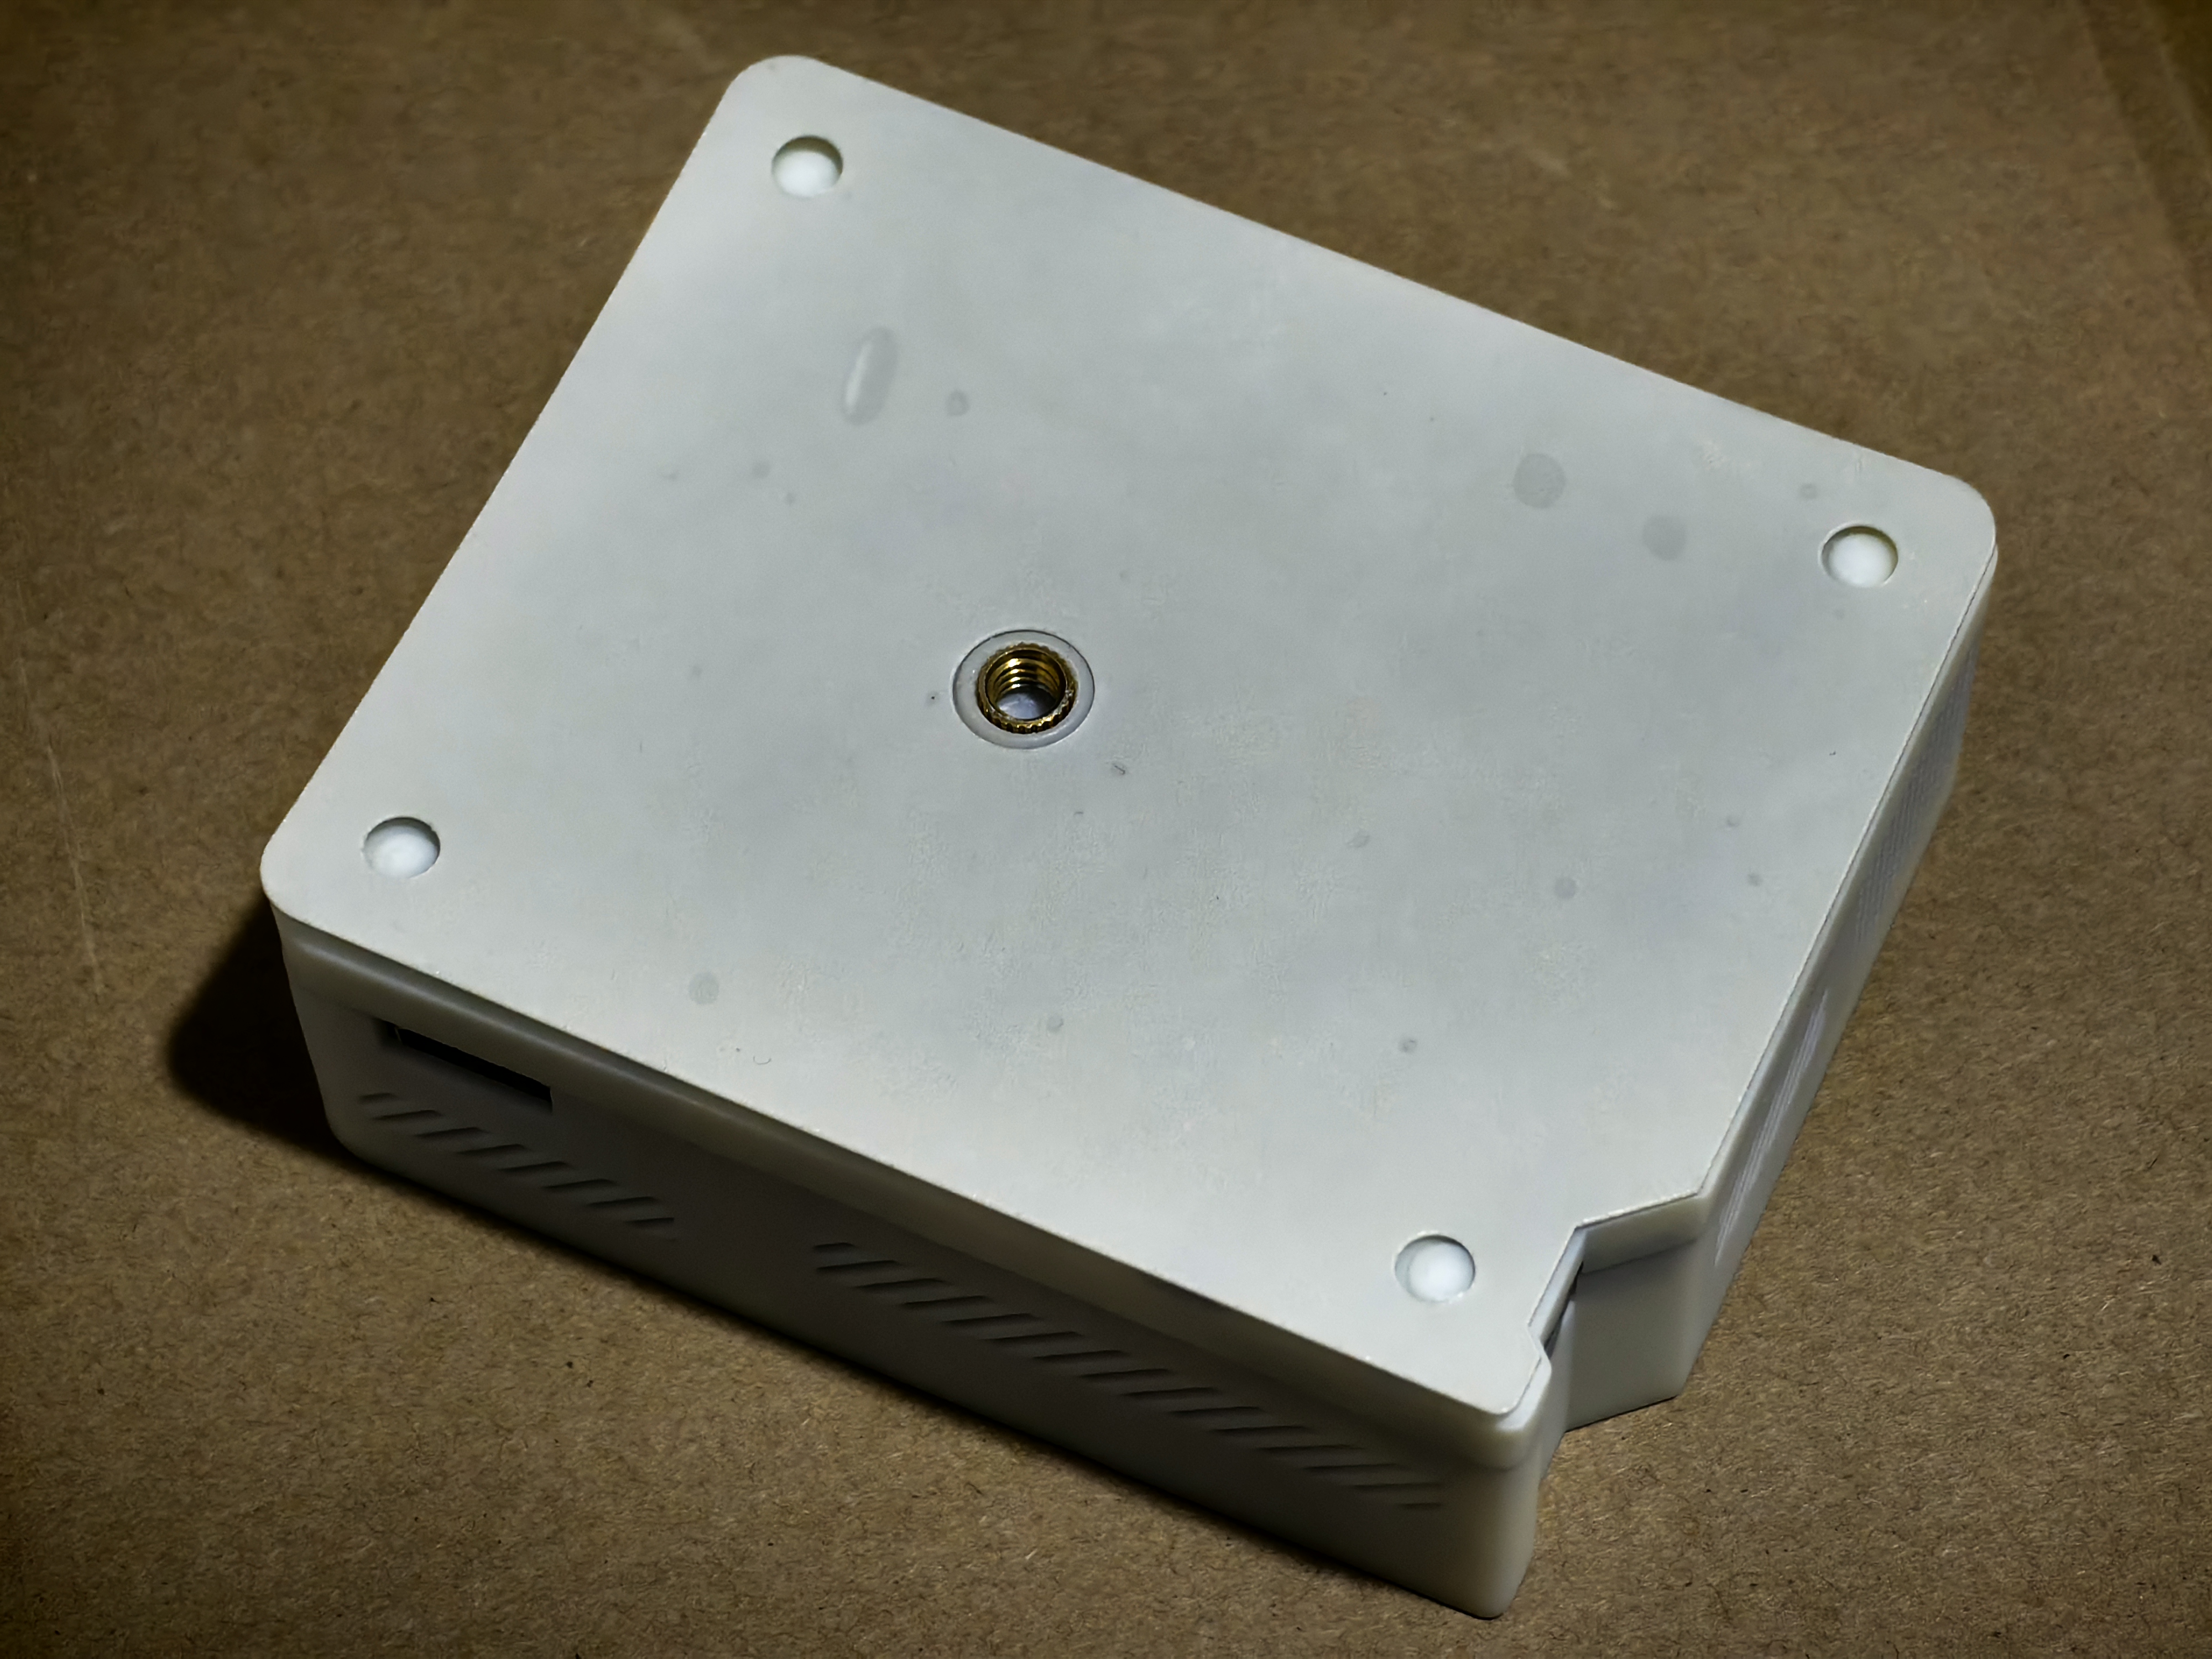
- Support the use of 1/4 interface tripod;
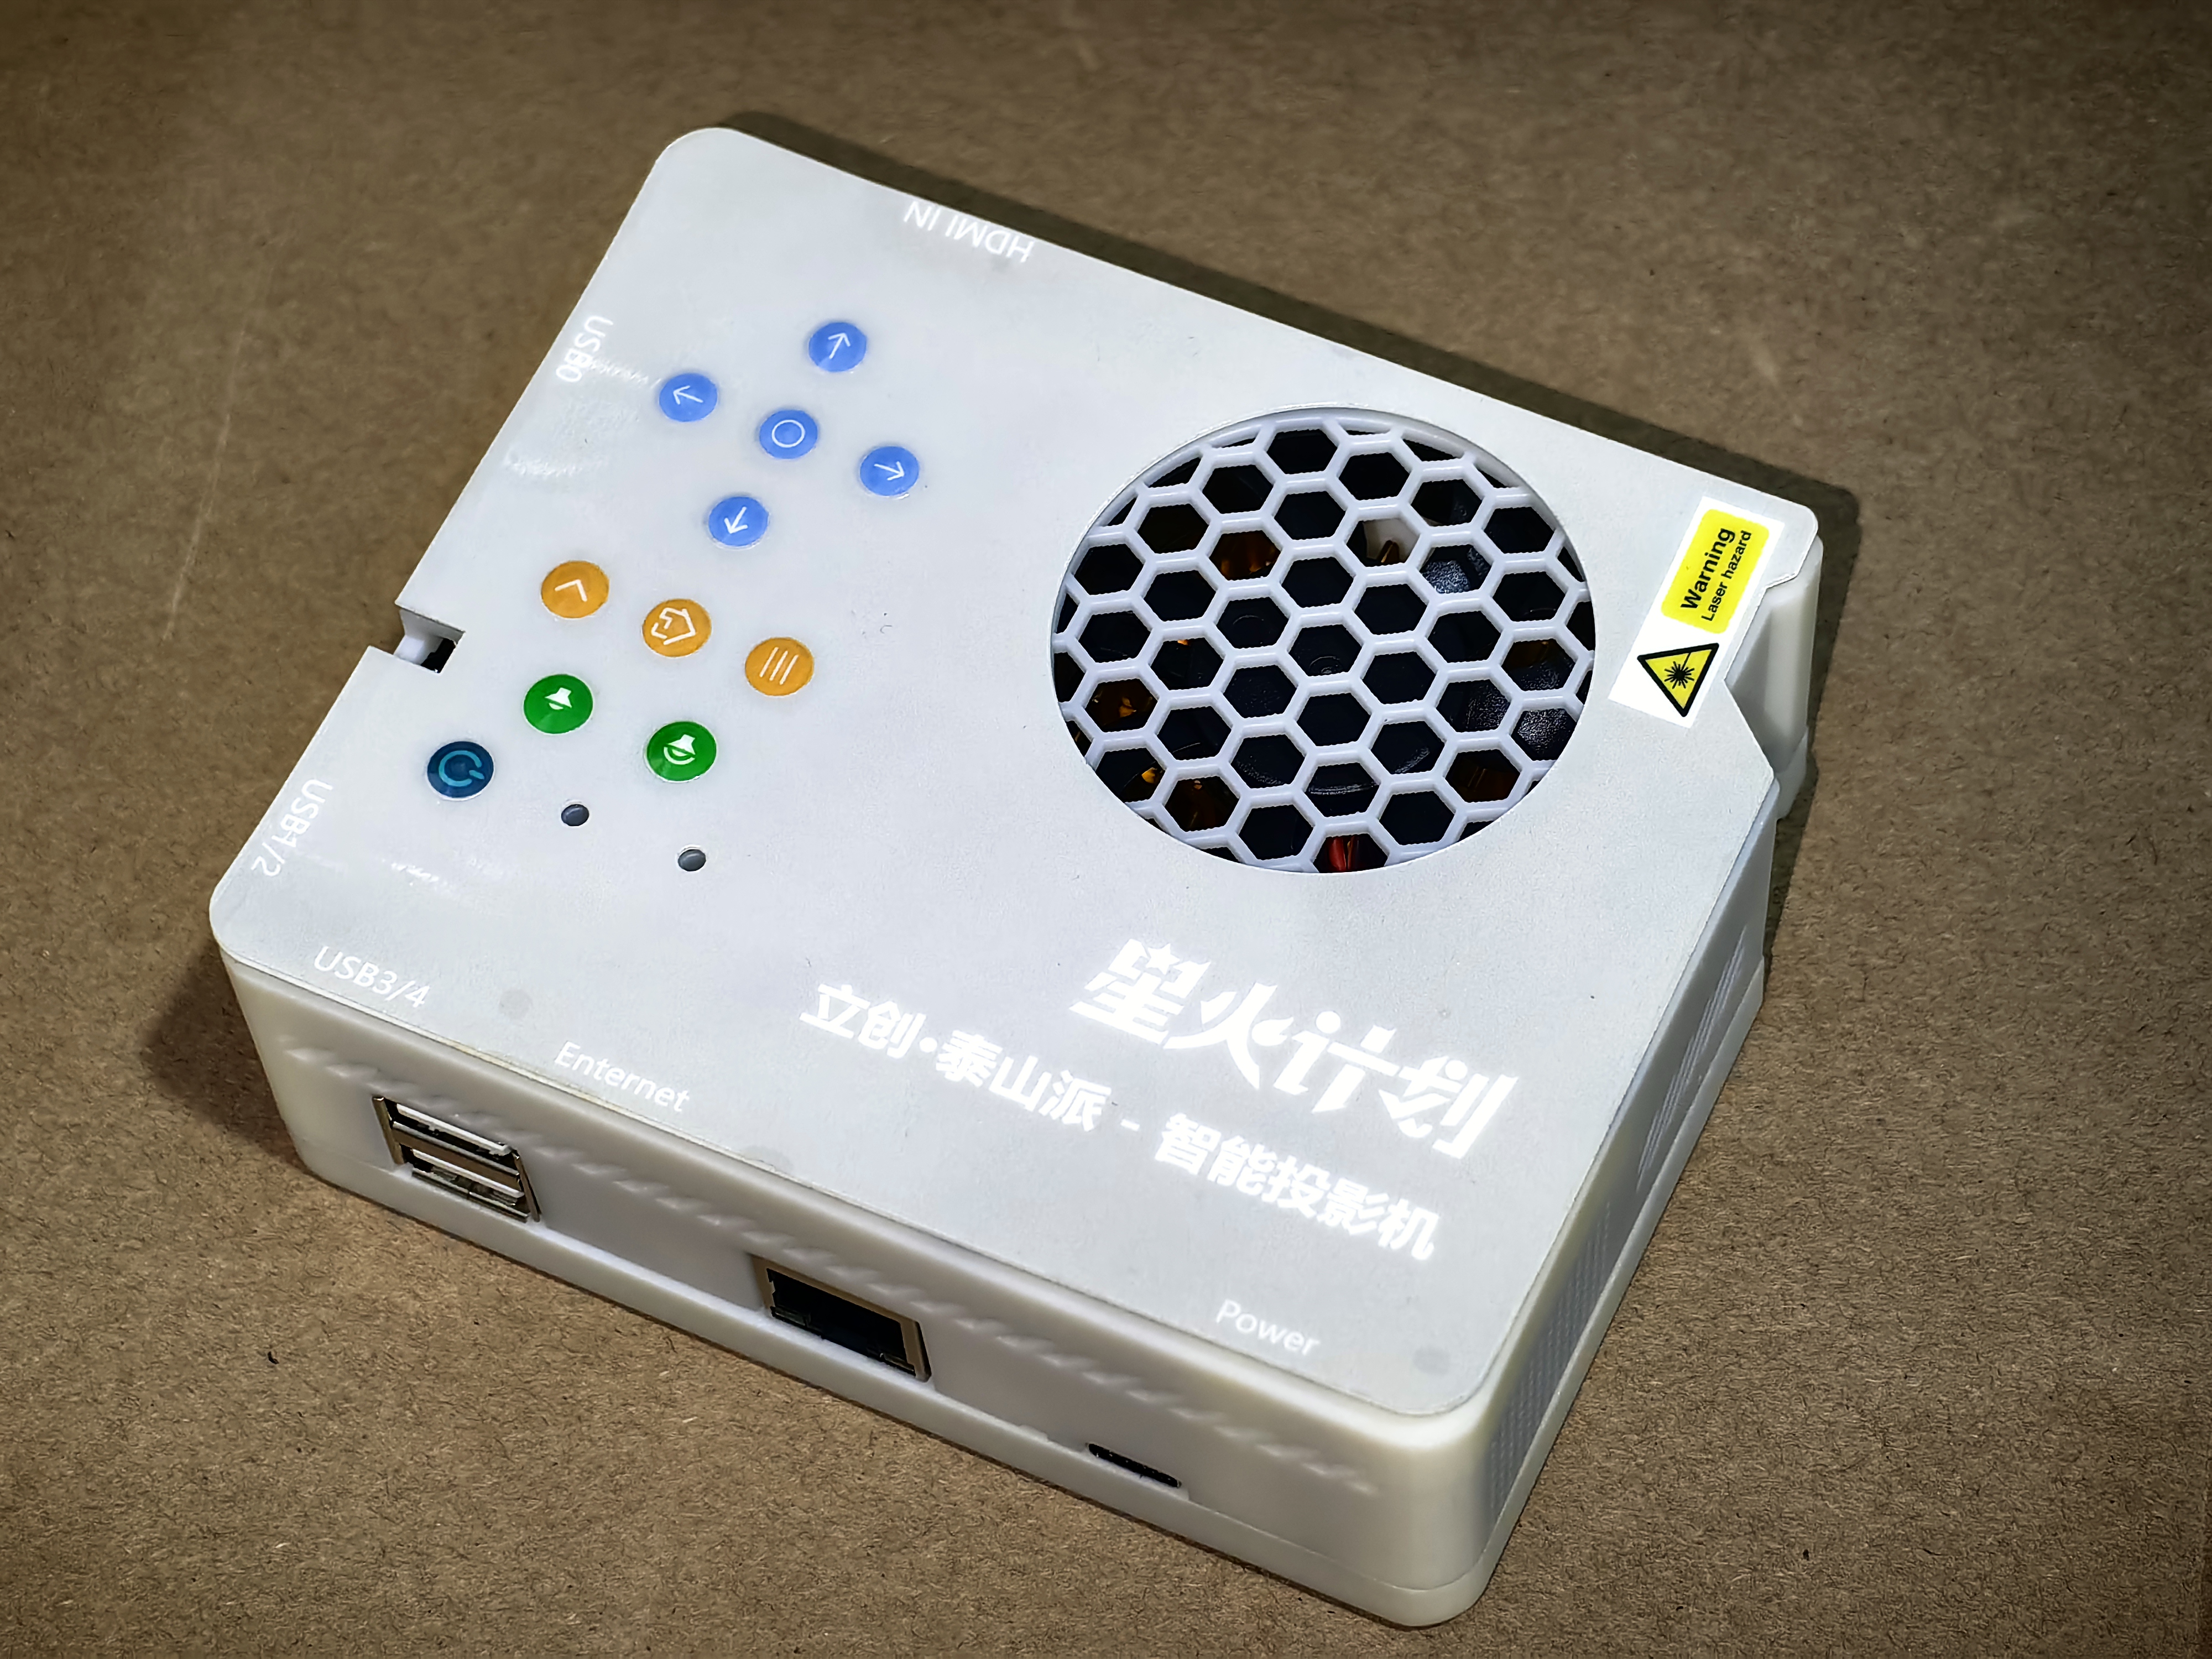
- The control panel is equipped with up, down, left, right, OK, back, desktop, menu, volume increase, volume down a total of 10 buttons, the power button (i.e. PWR) on the Taishan pie leads to the shell through a long keycap, and the REC and RST keys are provided with openings that allow toothpicks to pass through to prevent accidental touch;
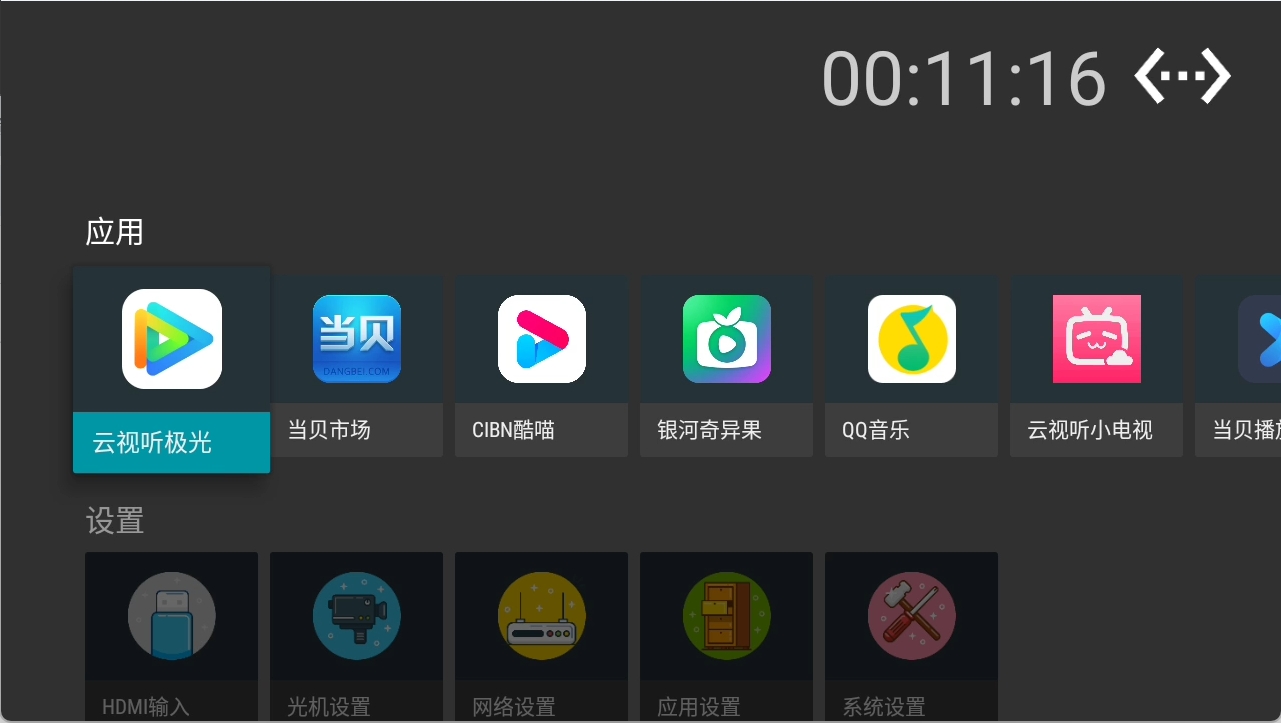
- Customized system desktop, support application startup, HDMI input display, optical machine settings, etc.
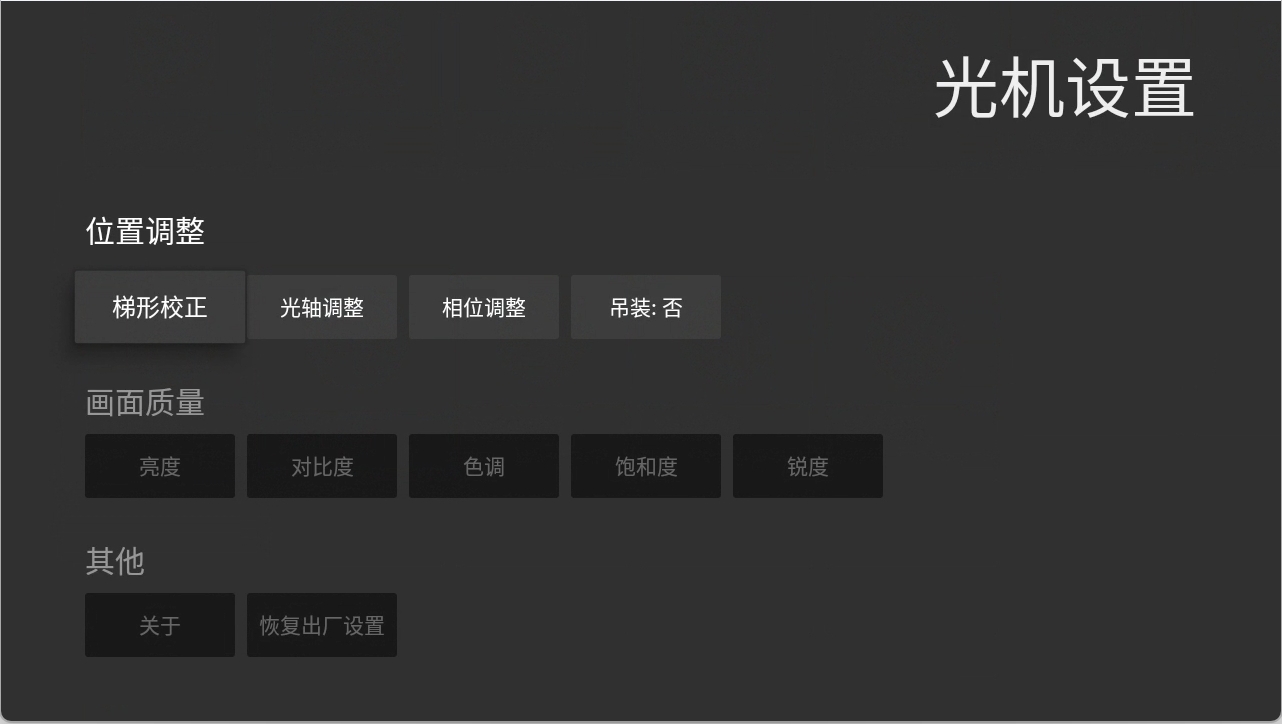
Project properties
This project is the first public and is my original project. This project has not won an award in any other competition. Without the authorization of the person, it is forbidden to reprint and commercialize.
PCBA annotation diagram

Design Principles
Use ICN6211 bridge chip for MIPI DSI to RGB signal to drive CXN0102 video signal, use MS2109 chip to realize HDMI capture card function to support HDMI input function, use RTL8211F as Gigabit Ethernet PHY chip, use CH334R as USB 2.0 HUD to expand USB interface, use CH213K ideal diode for USB interface anti-backfill, CH224K is used as the PD protocol to receive power to accept 12V power supply.
Software Description
The SDK patch is based on the official repo version of the Android SDK: tspi_android_sdk_repo_20240202, the RKTvLauncher desktop in the original SDK is replaced by the CTV desktop developed specifically for this project.
SDK Patches:
|
git clone https://gitee.com/fengmoxi/tspi-cxn0102.git cd tspi-cxn0102 chmod a+x projector.sh ./projector.sh <泰山派Android SDK路径> |
System Compilation:
|
cd u-boot && ./make.sh rk3566 && cd ../kernel && make ARCH=arm64 tspi_defconfig rk356x_evb.config android-11.config && make ARCH=arm64 tspi-rk3566-user-v10.img -j16 && cd .. && source build/envsetup.sh && lunch rk356x_box_tspi-userdebug && make -j16 && ./mkimage.sh && ./build.sh -u
|
Precautions
In order to protect your optical machine, please do not directly unplug and turn off the power, please press the power button to turn off or standby first, and then unplug the power after the optical machine is turned off!
Assembly process
- The size of the hot melt nut and screw is shown in the fastener assembly diagram below!
- The pictures in this process may be the old version of the shell, please refer to the actual situation!
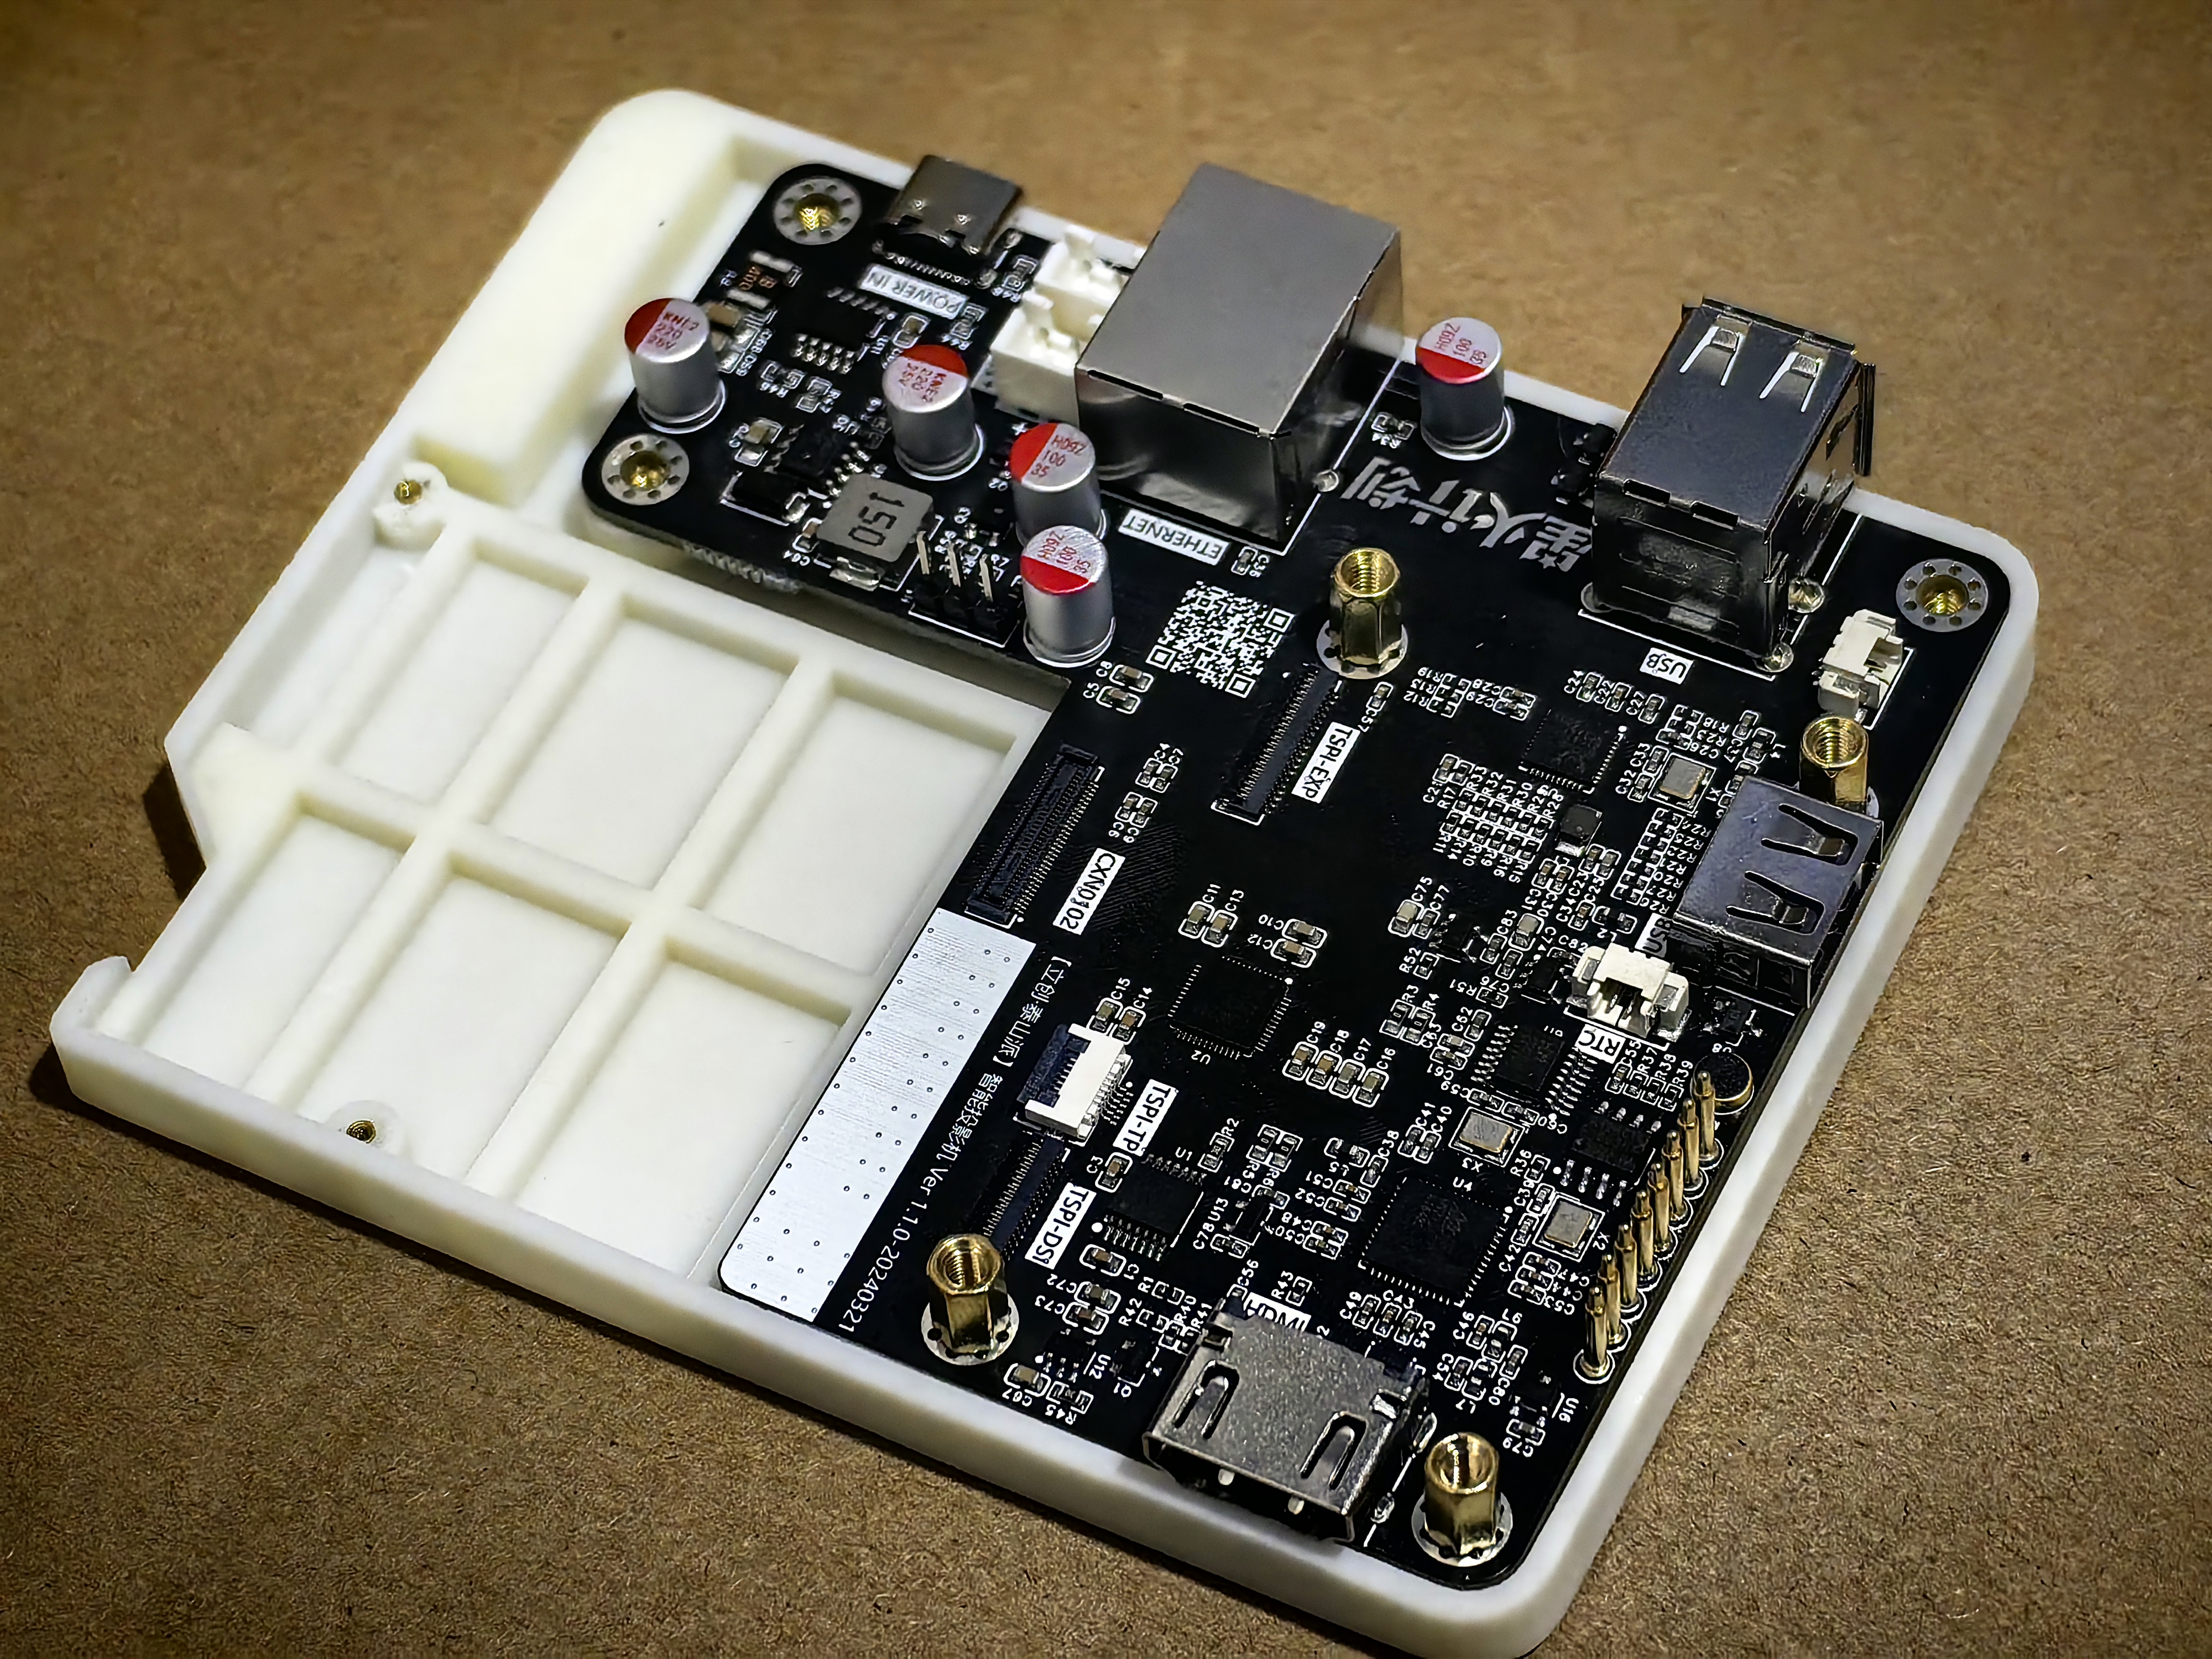
- After the bottom cover is implanted with a hot melt nut, the main control board is fixed with an 8mm length copper pillar;
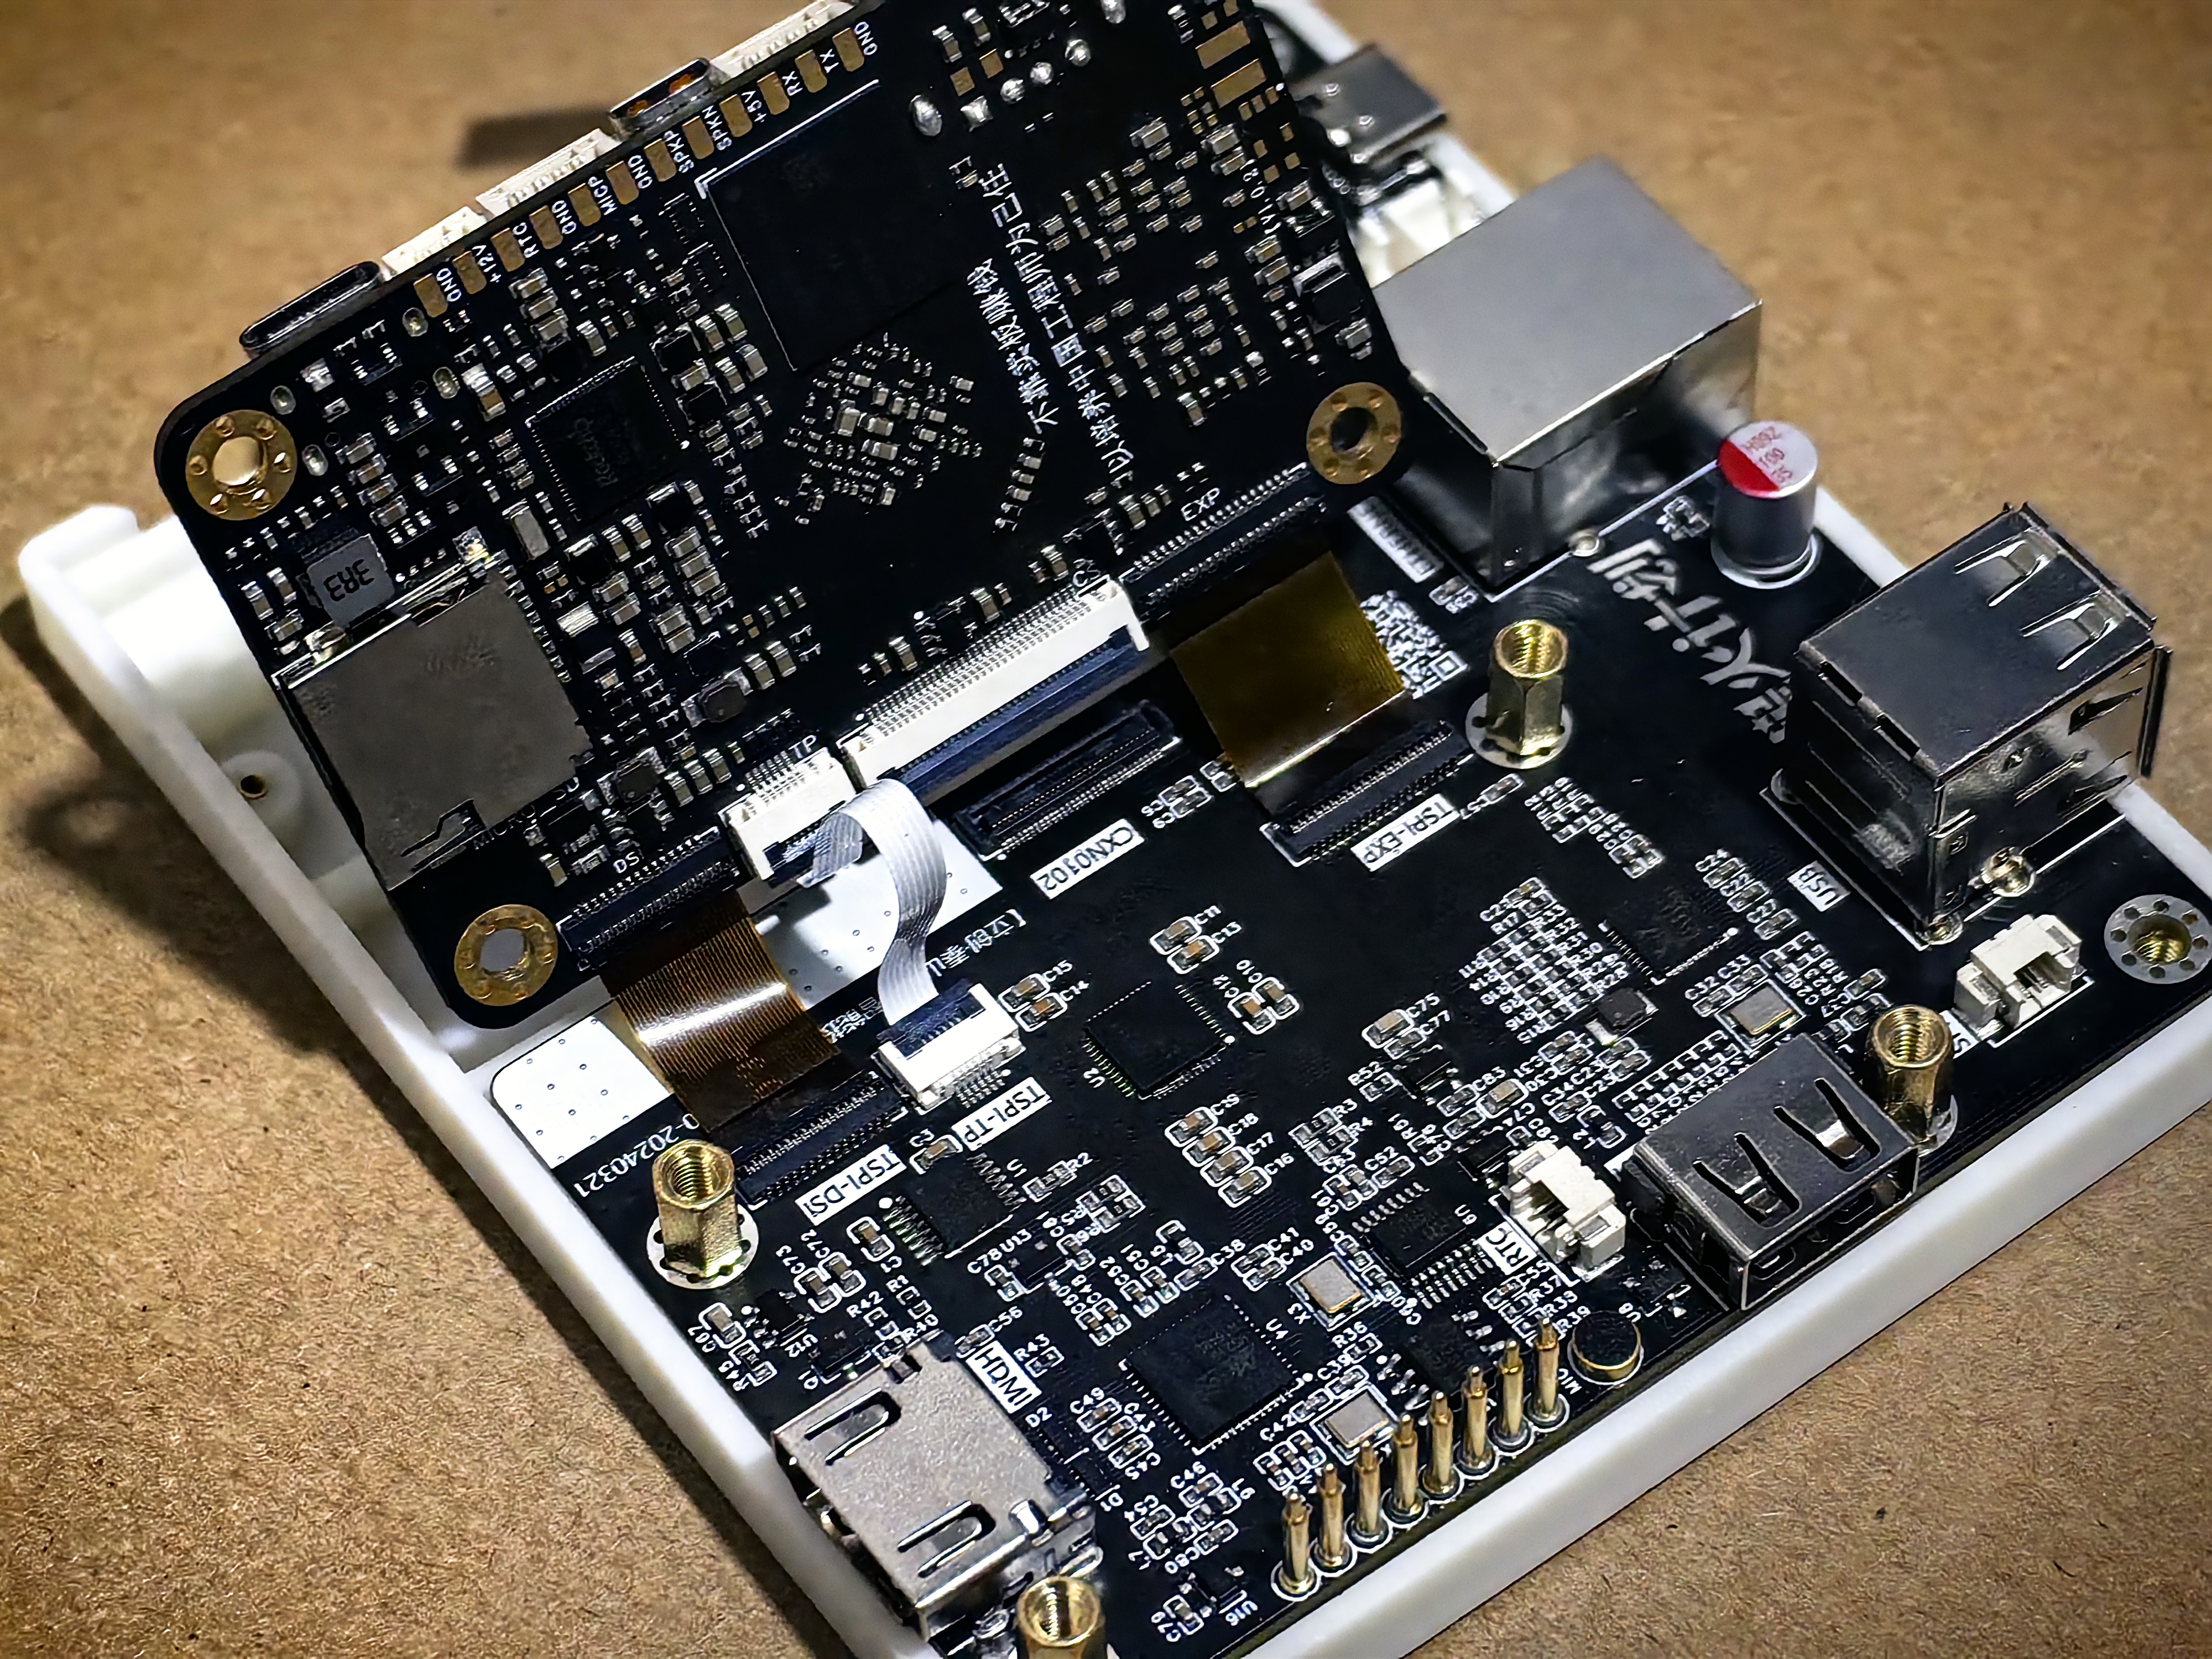
- Use 0.3-pitch 31-pin co-directional FPC, 0.3-pitch 39pin co-directional FPC, 0.5-pitch 6-pin co-directional FPC to connect the main control board and Taishan pie;
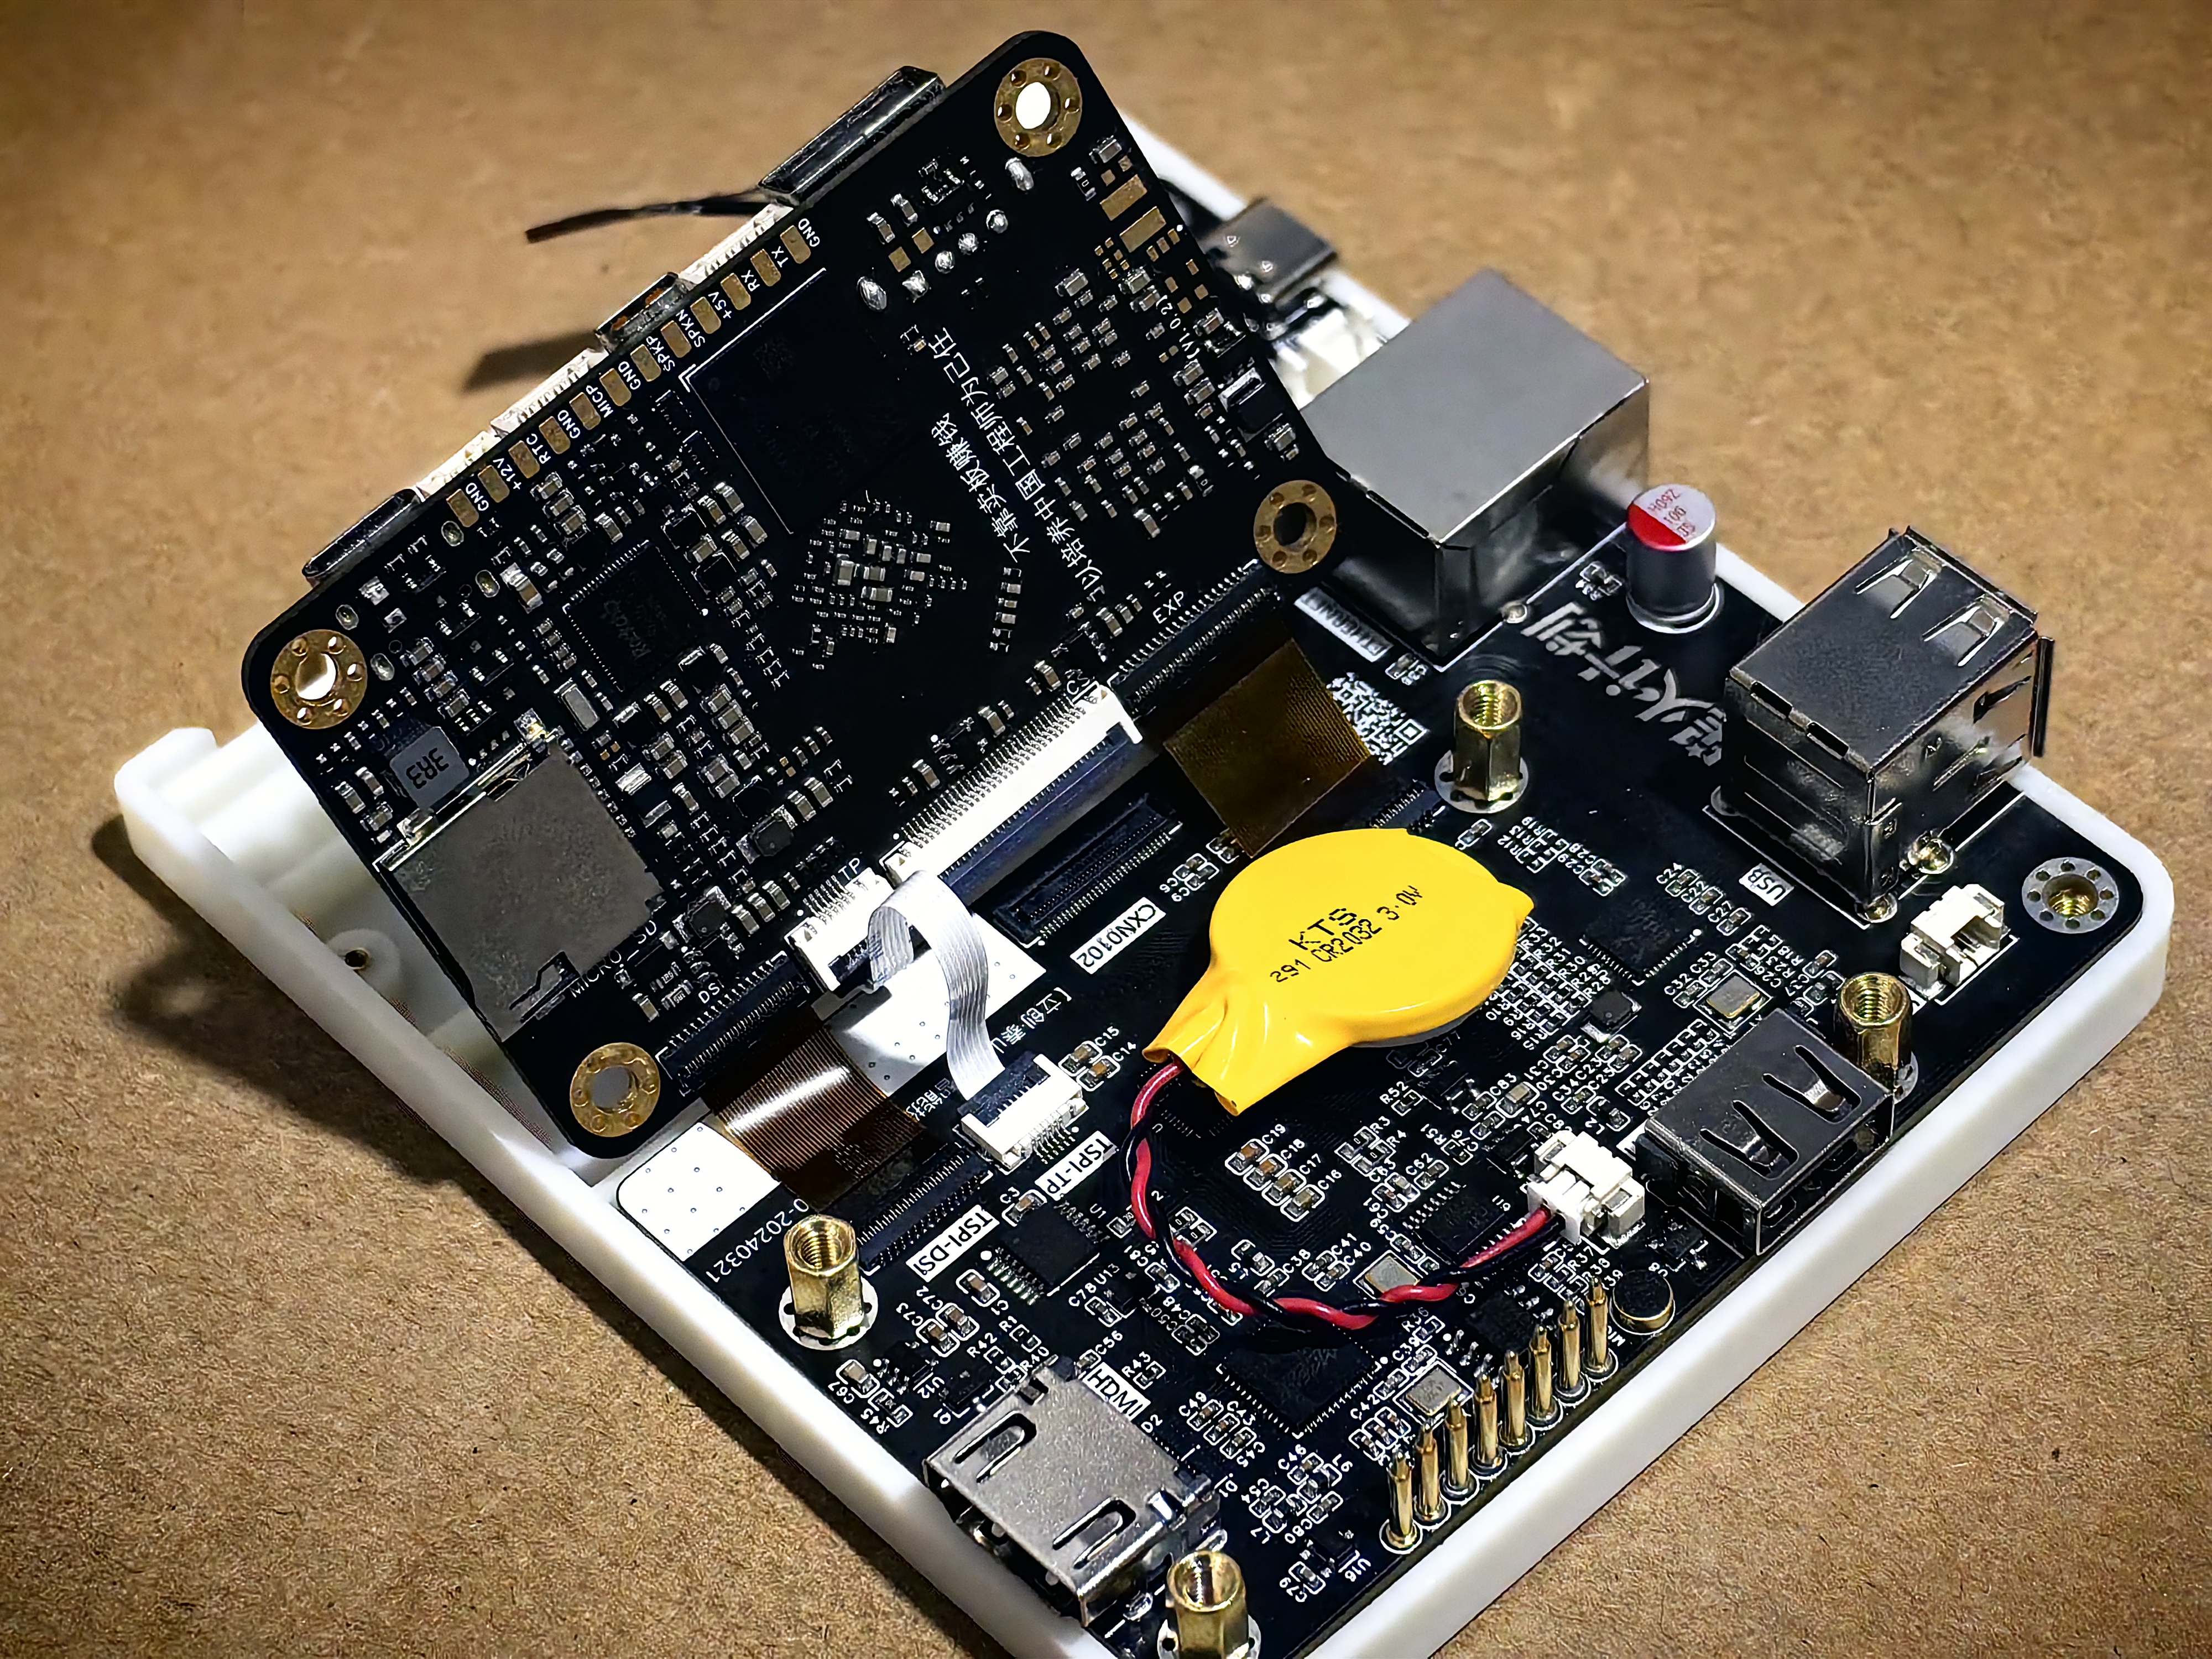
- Install RTC batteries;
- Use 12mm length copper pillars to fix Taishan pi;
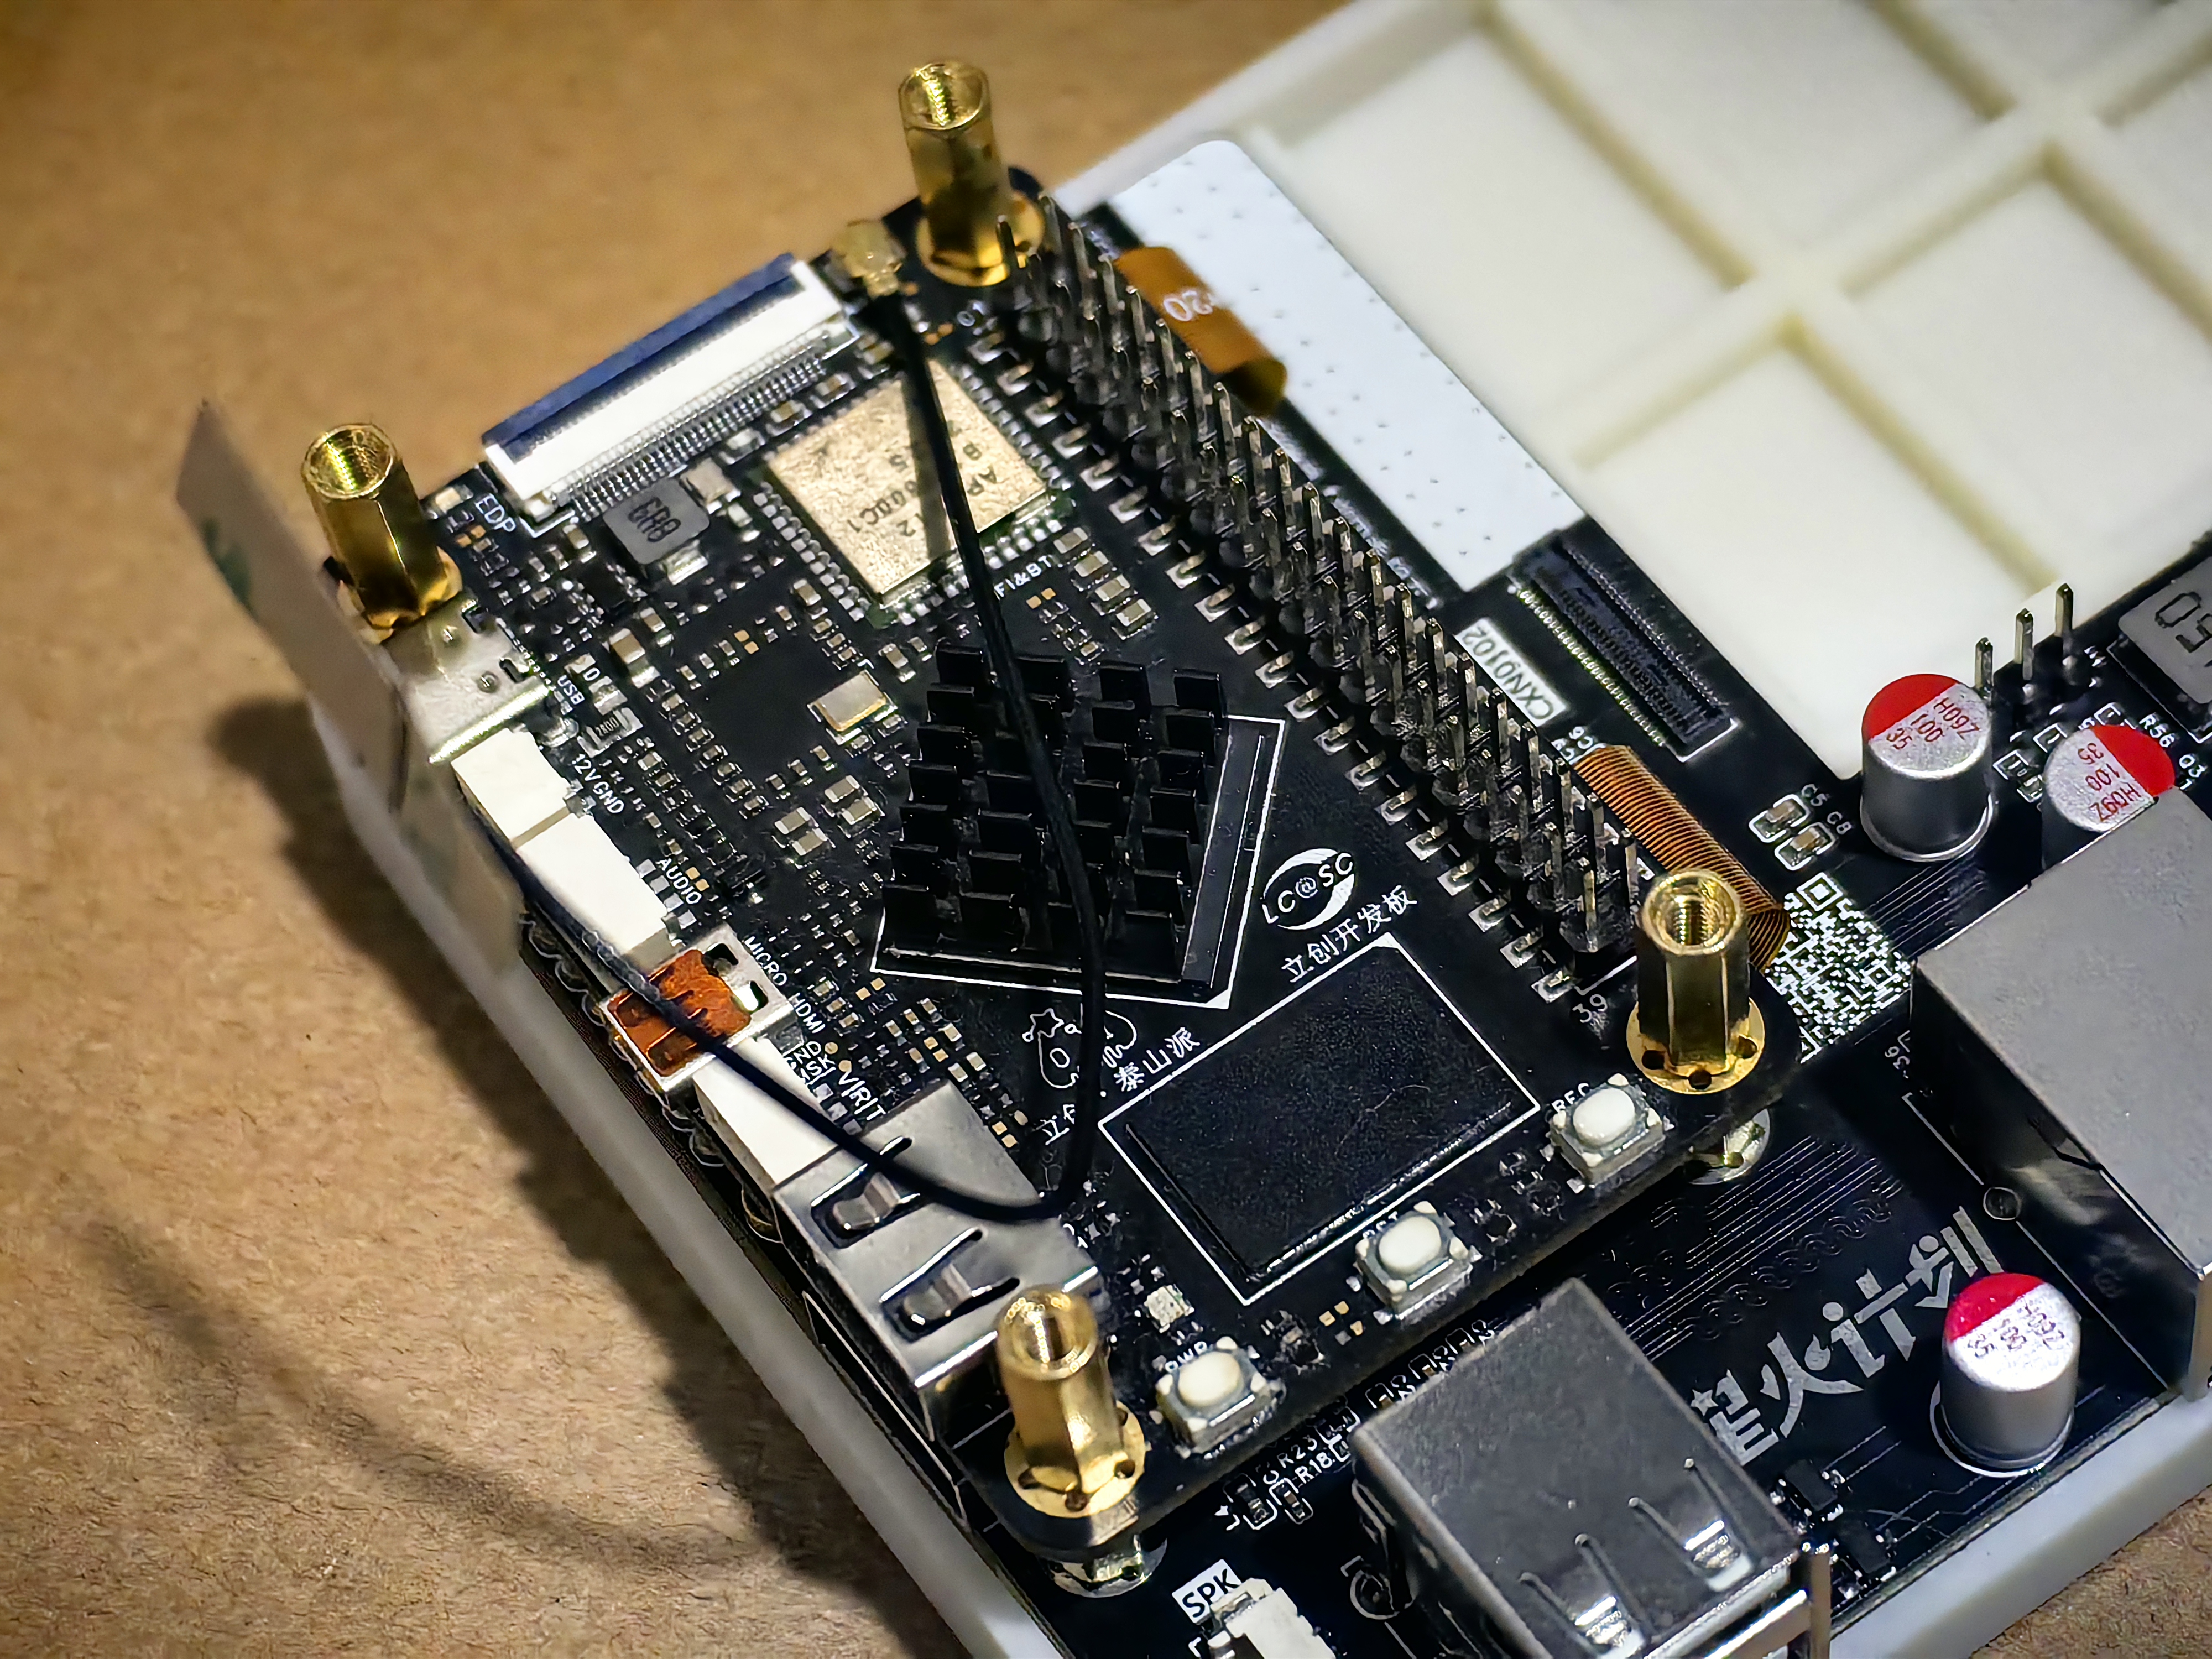
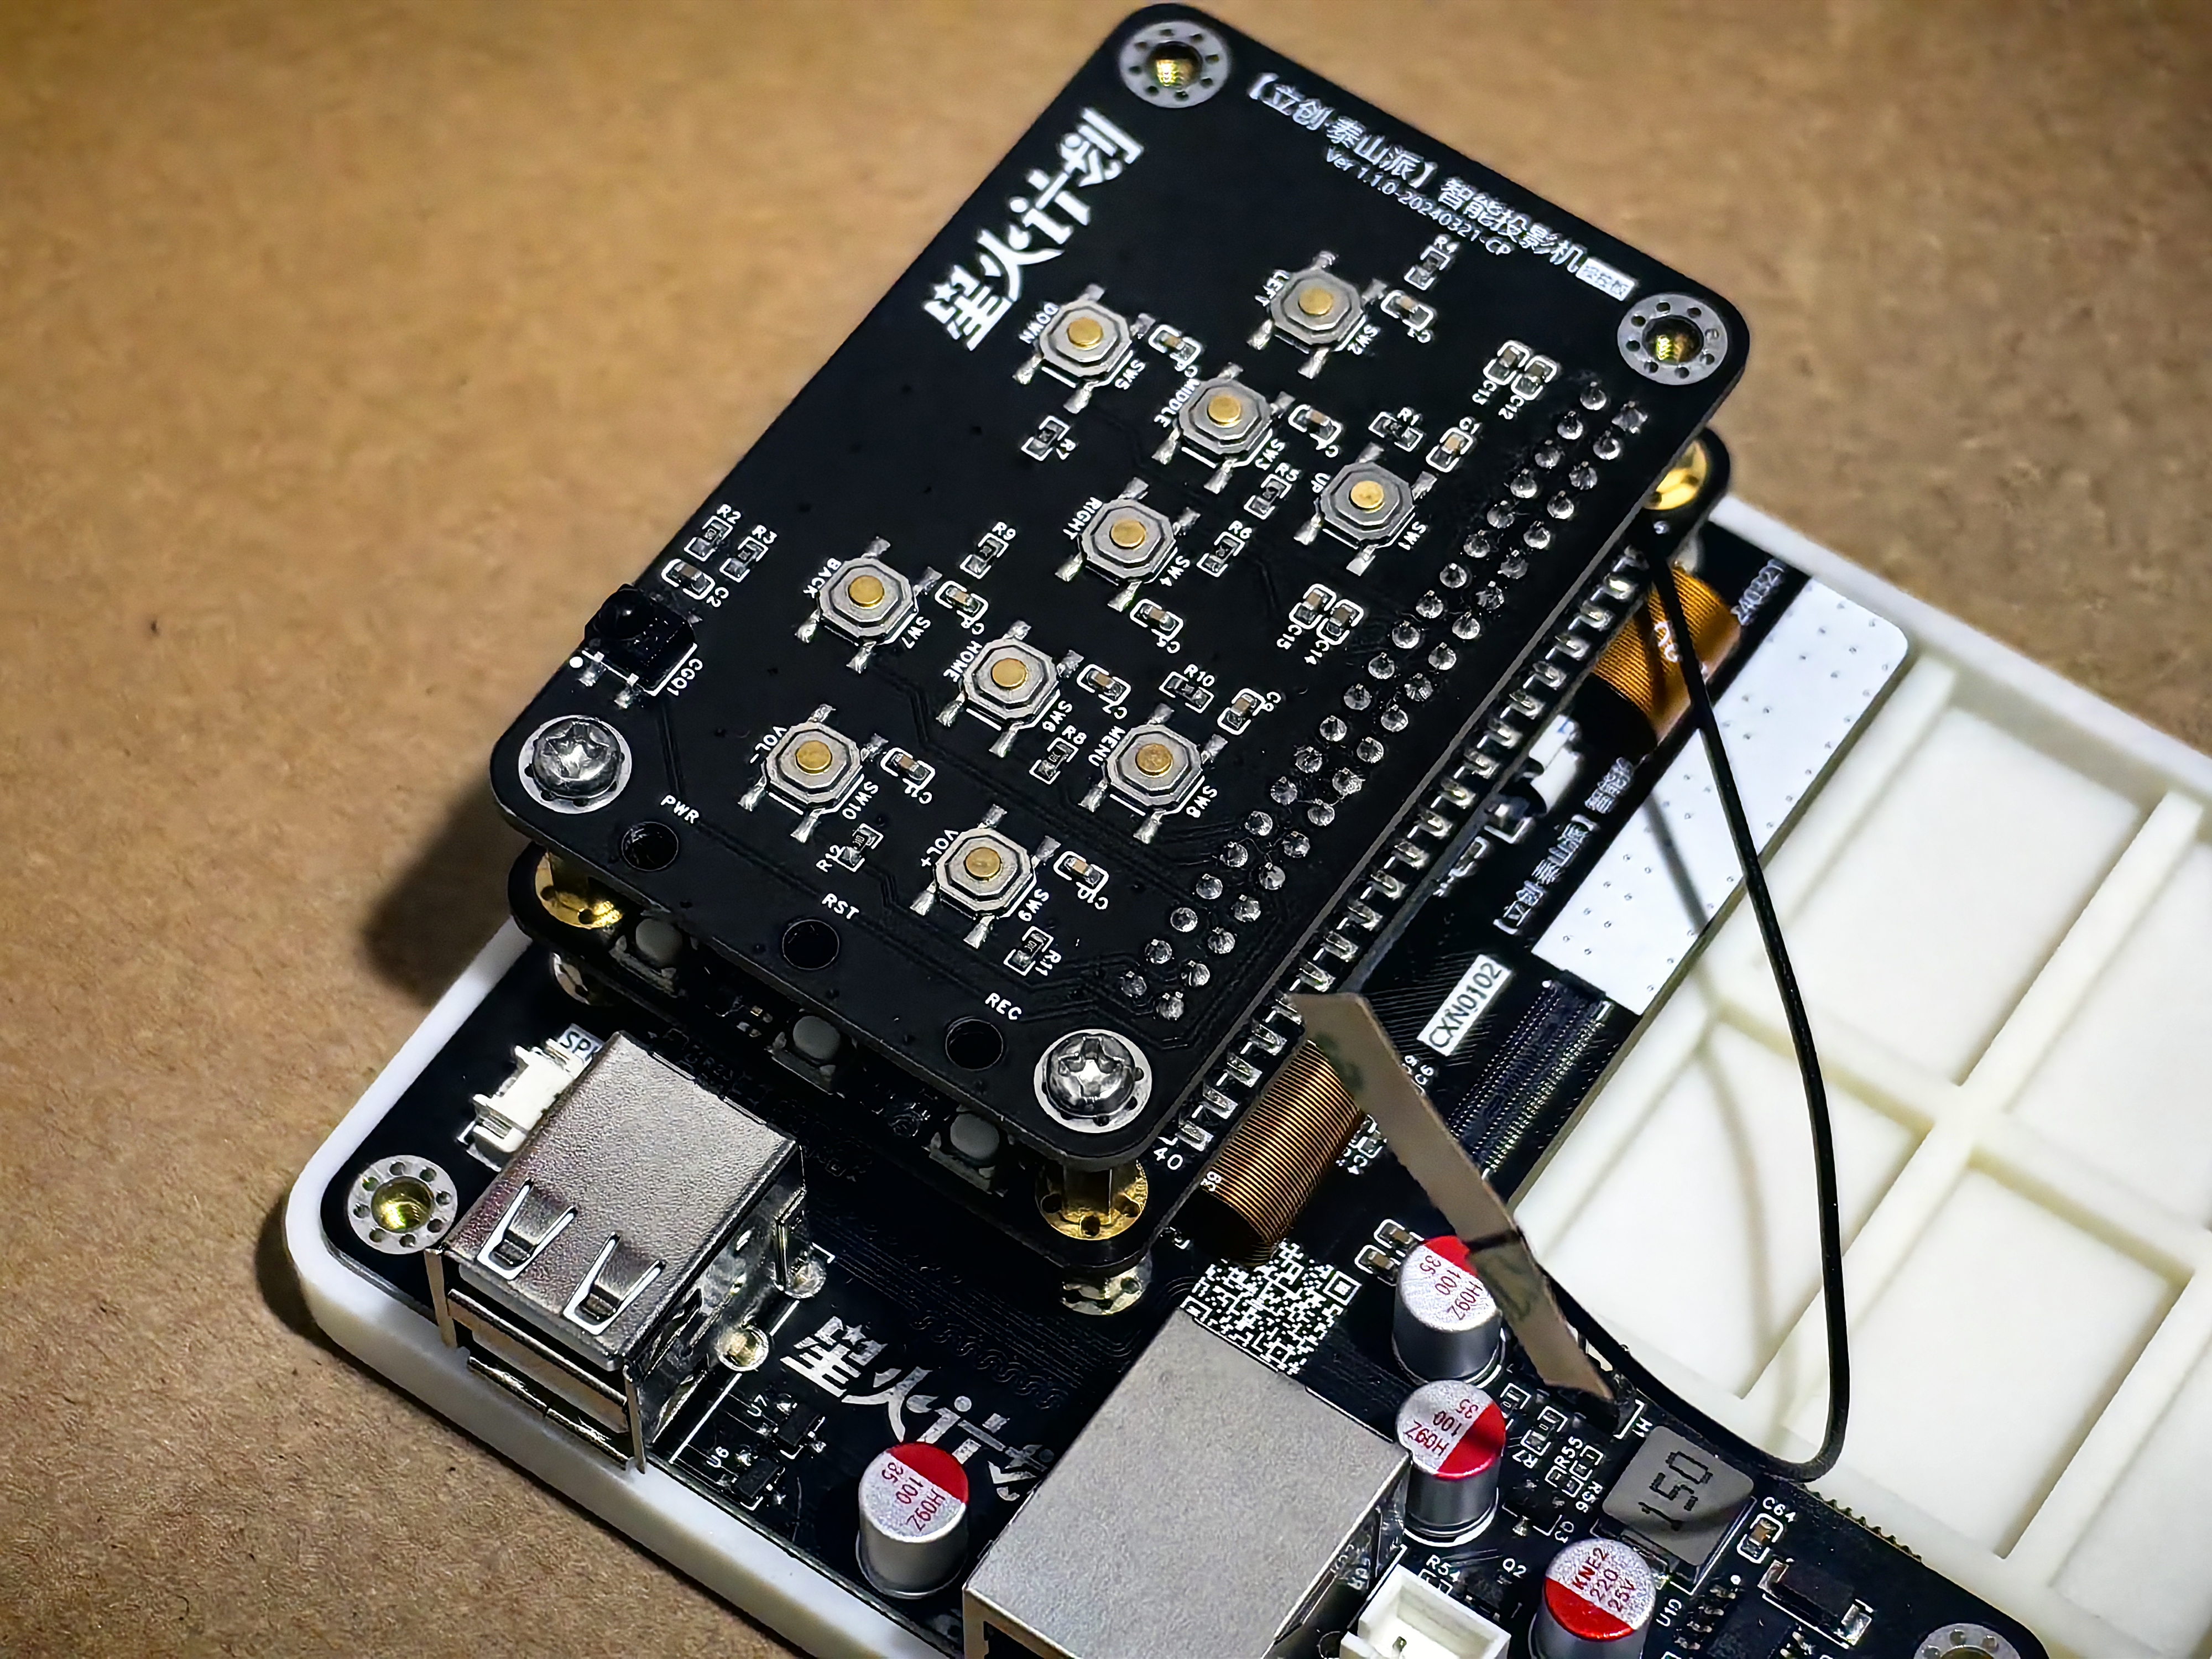
- Plug in the control board on the Taishan pi;
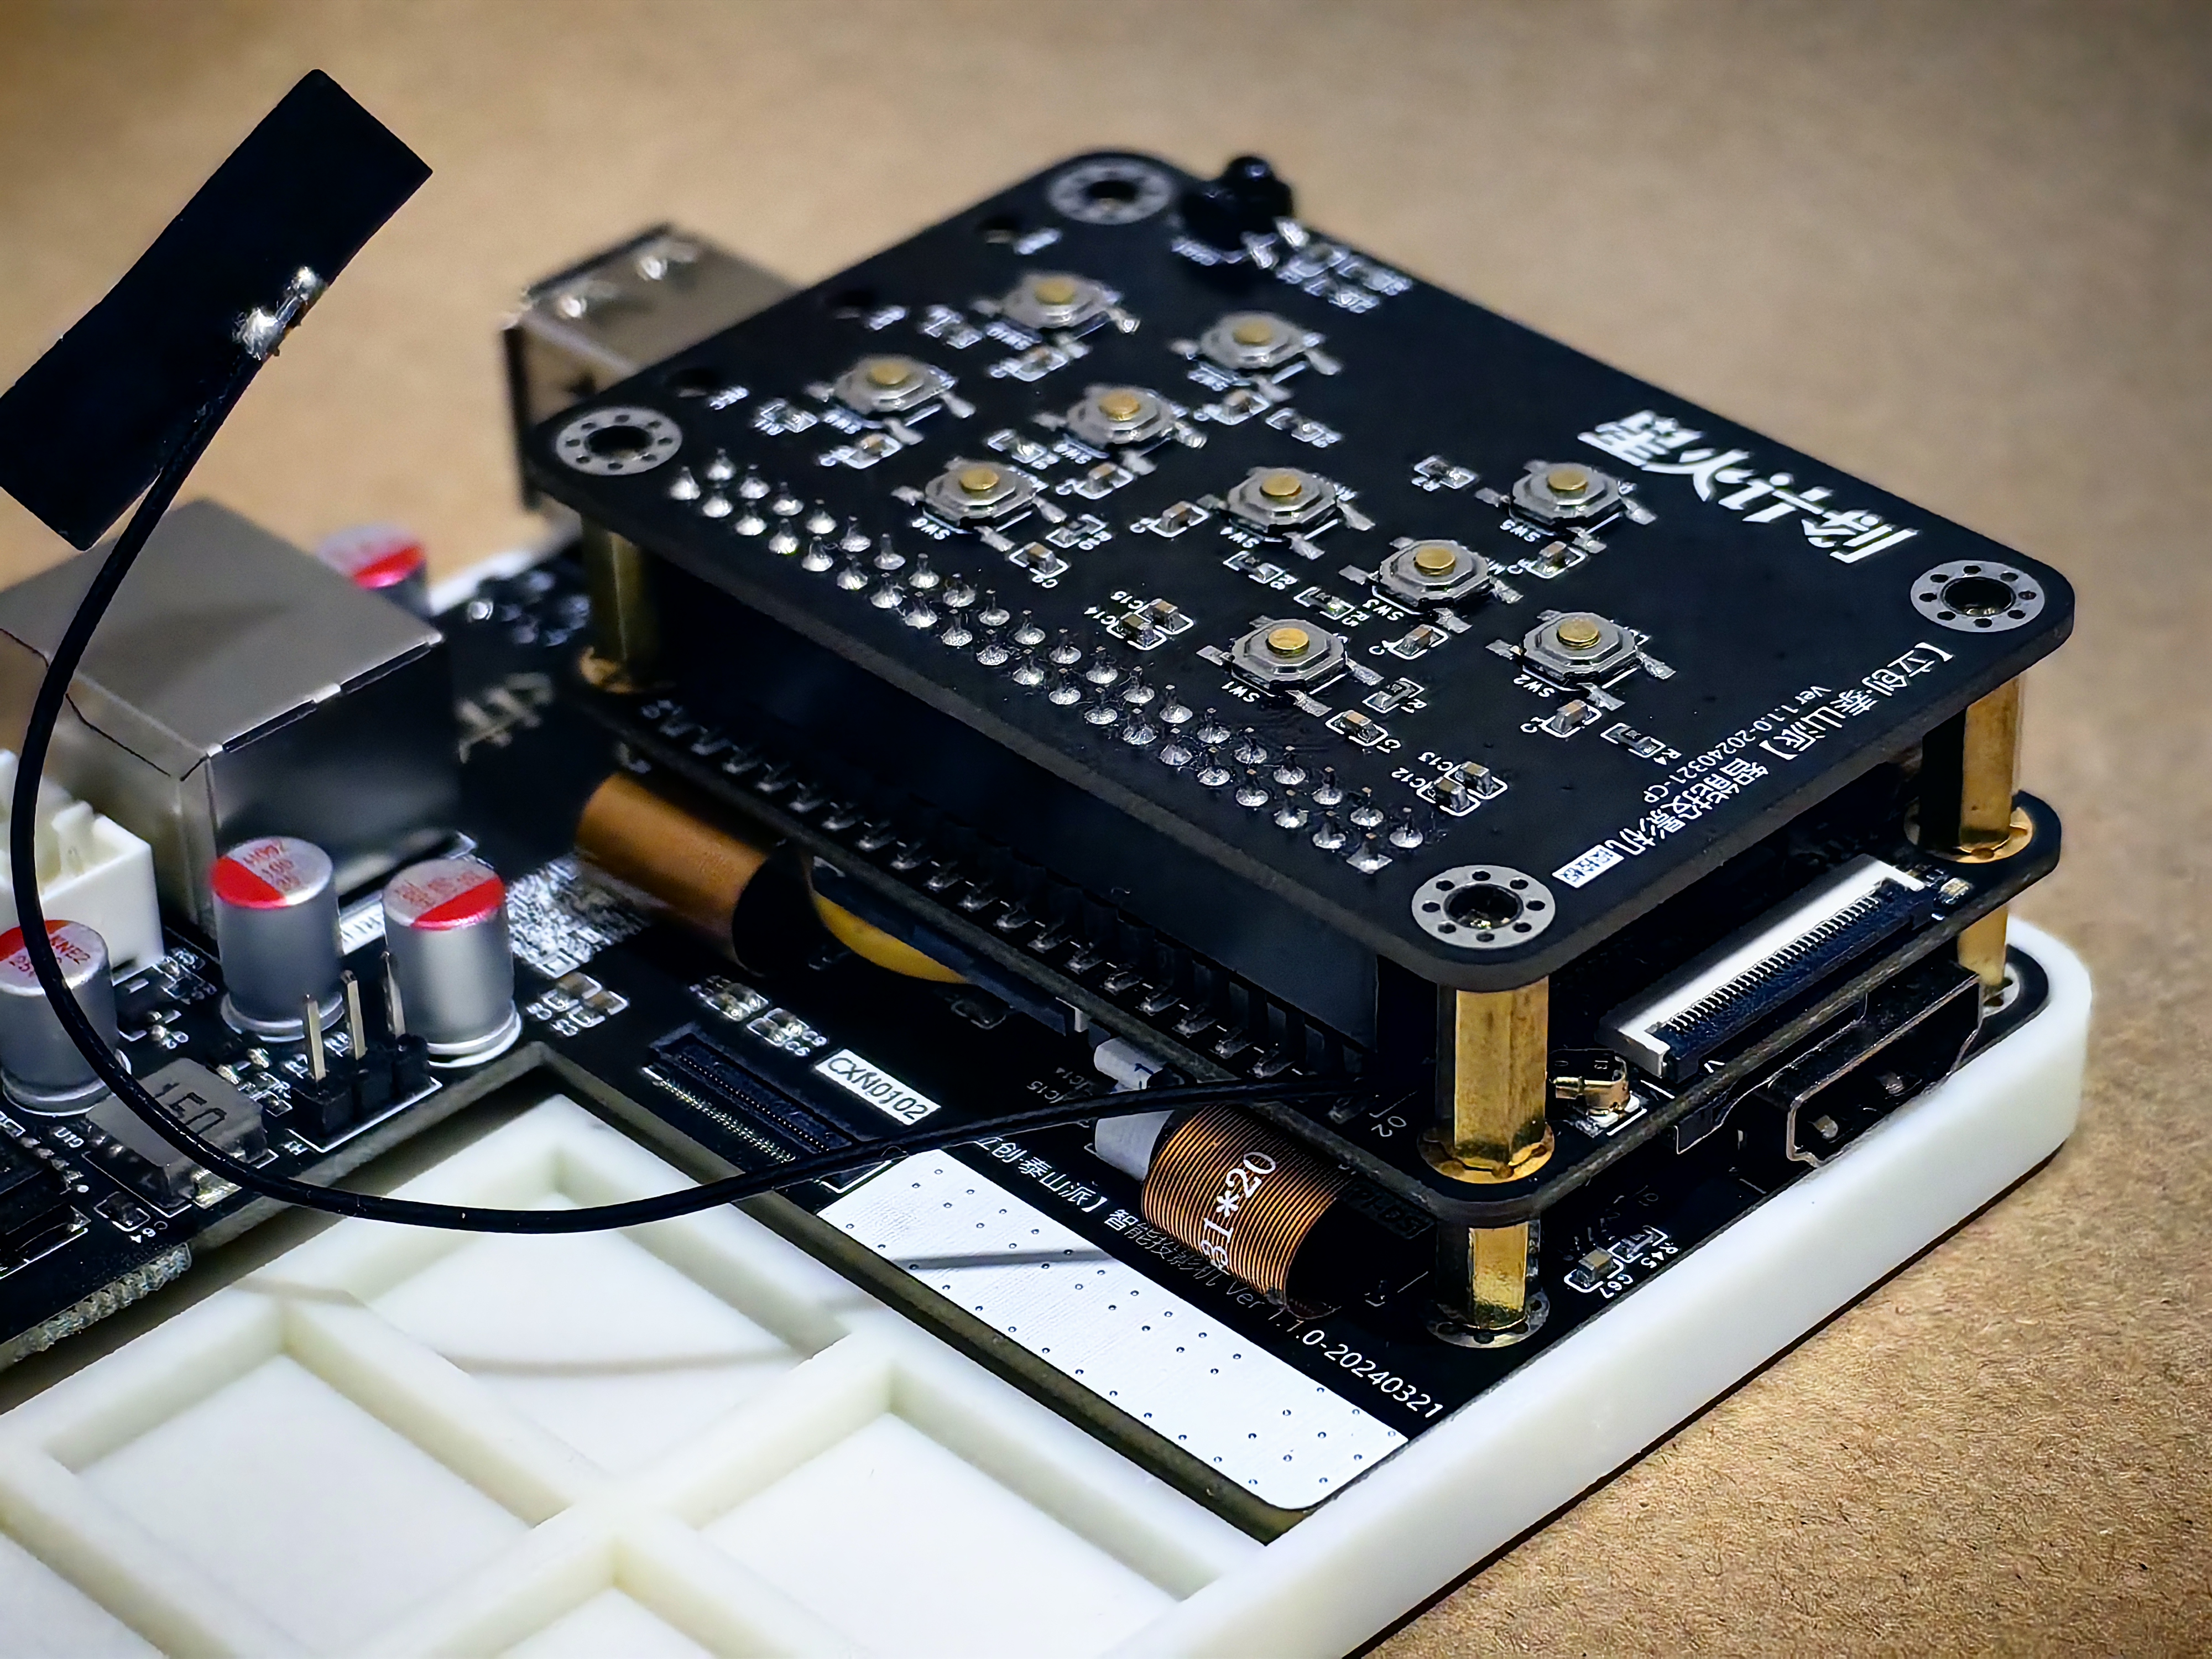
- Screw in the M3*6 screw in the position in the control panel diagram;
- Connect the optical machine to the main control board through the BTB interface;
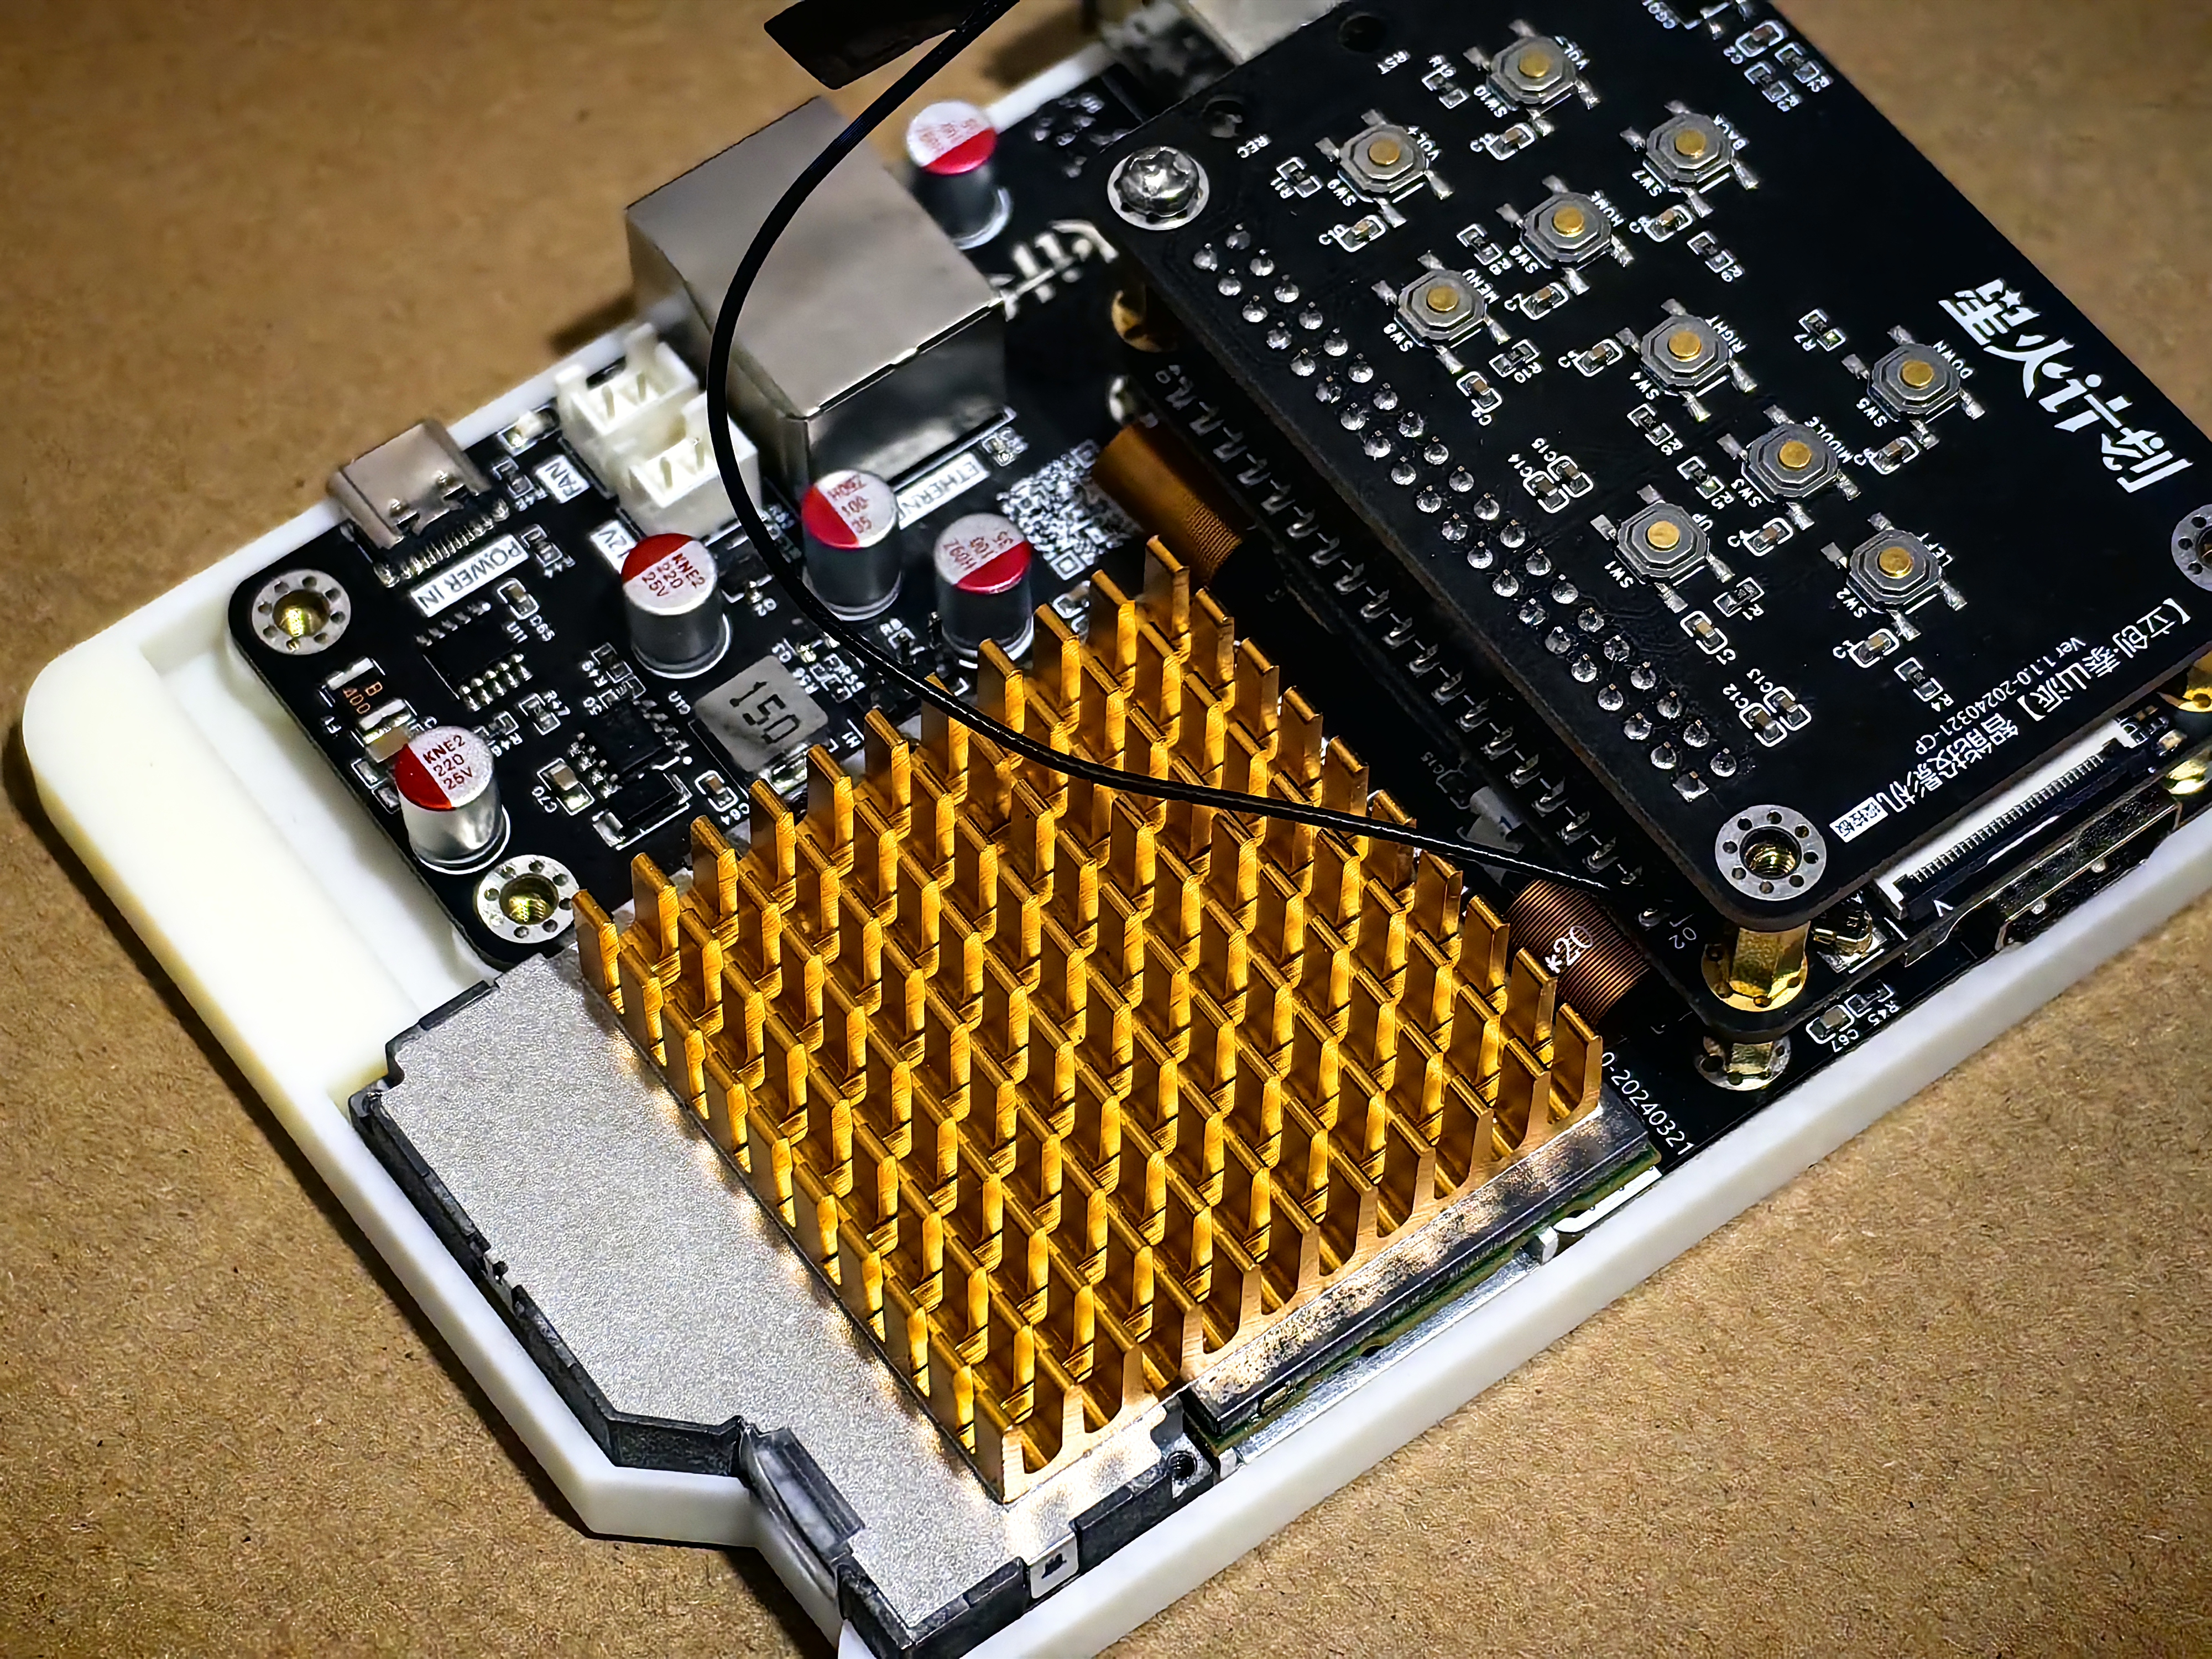
- Use two M1.2*6 screws to fix the optical machine;
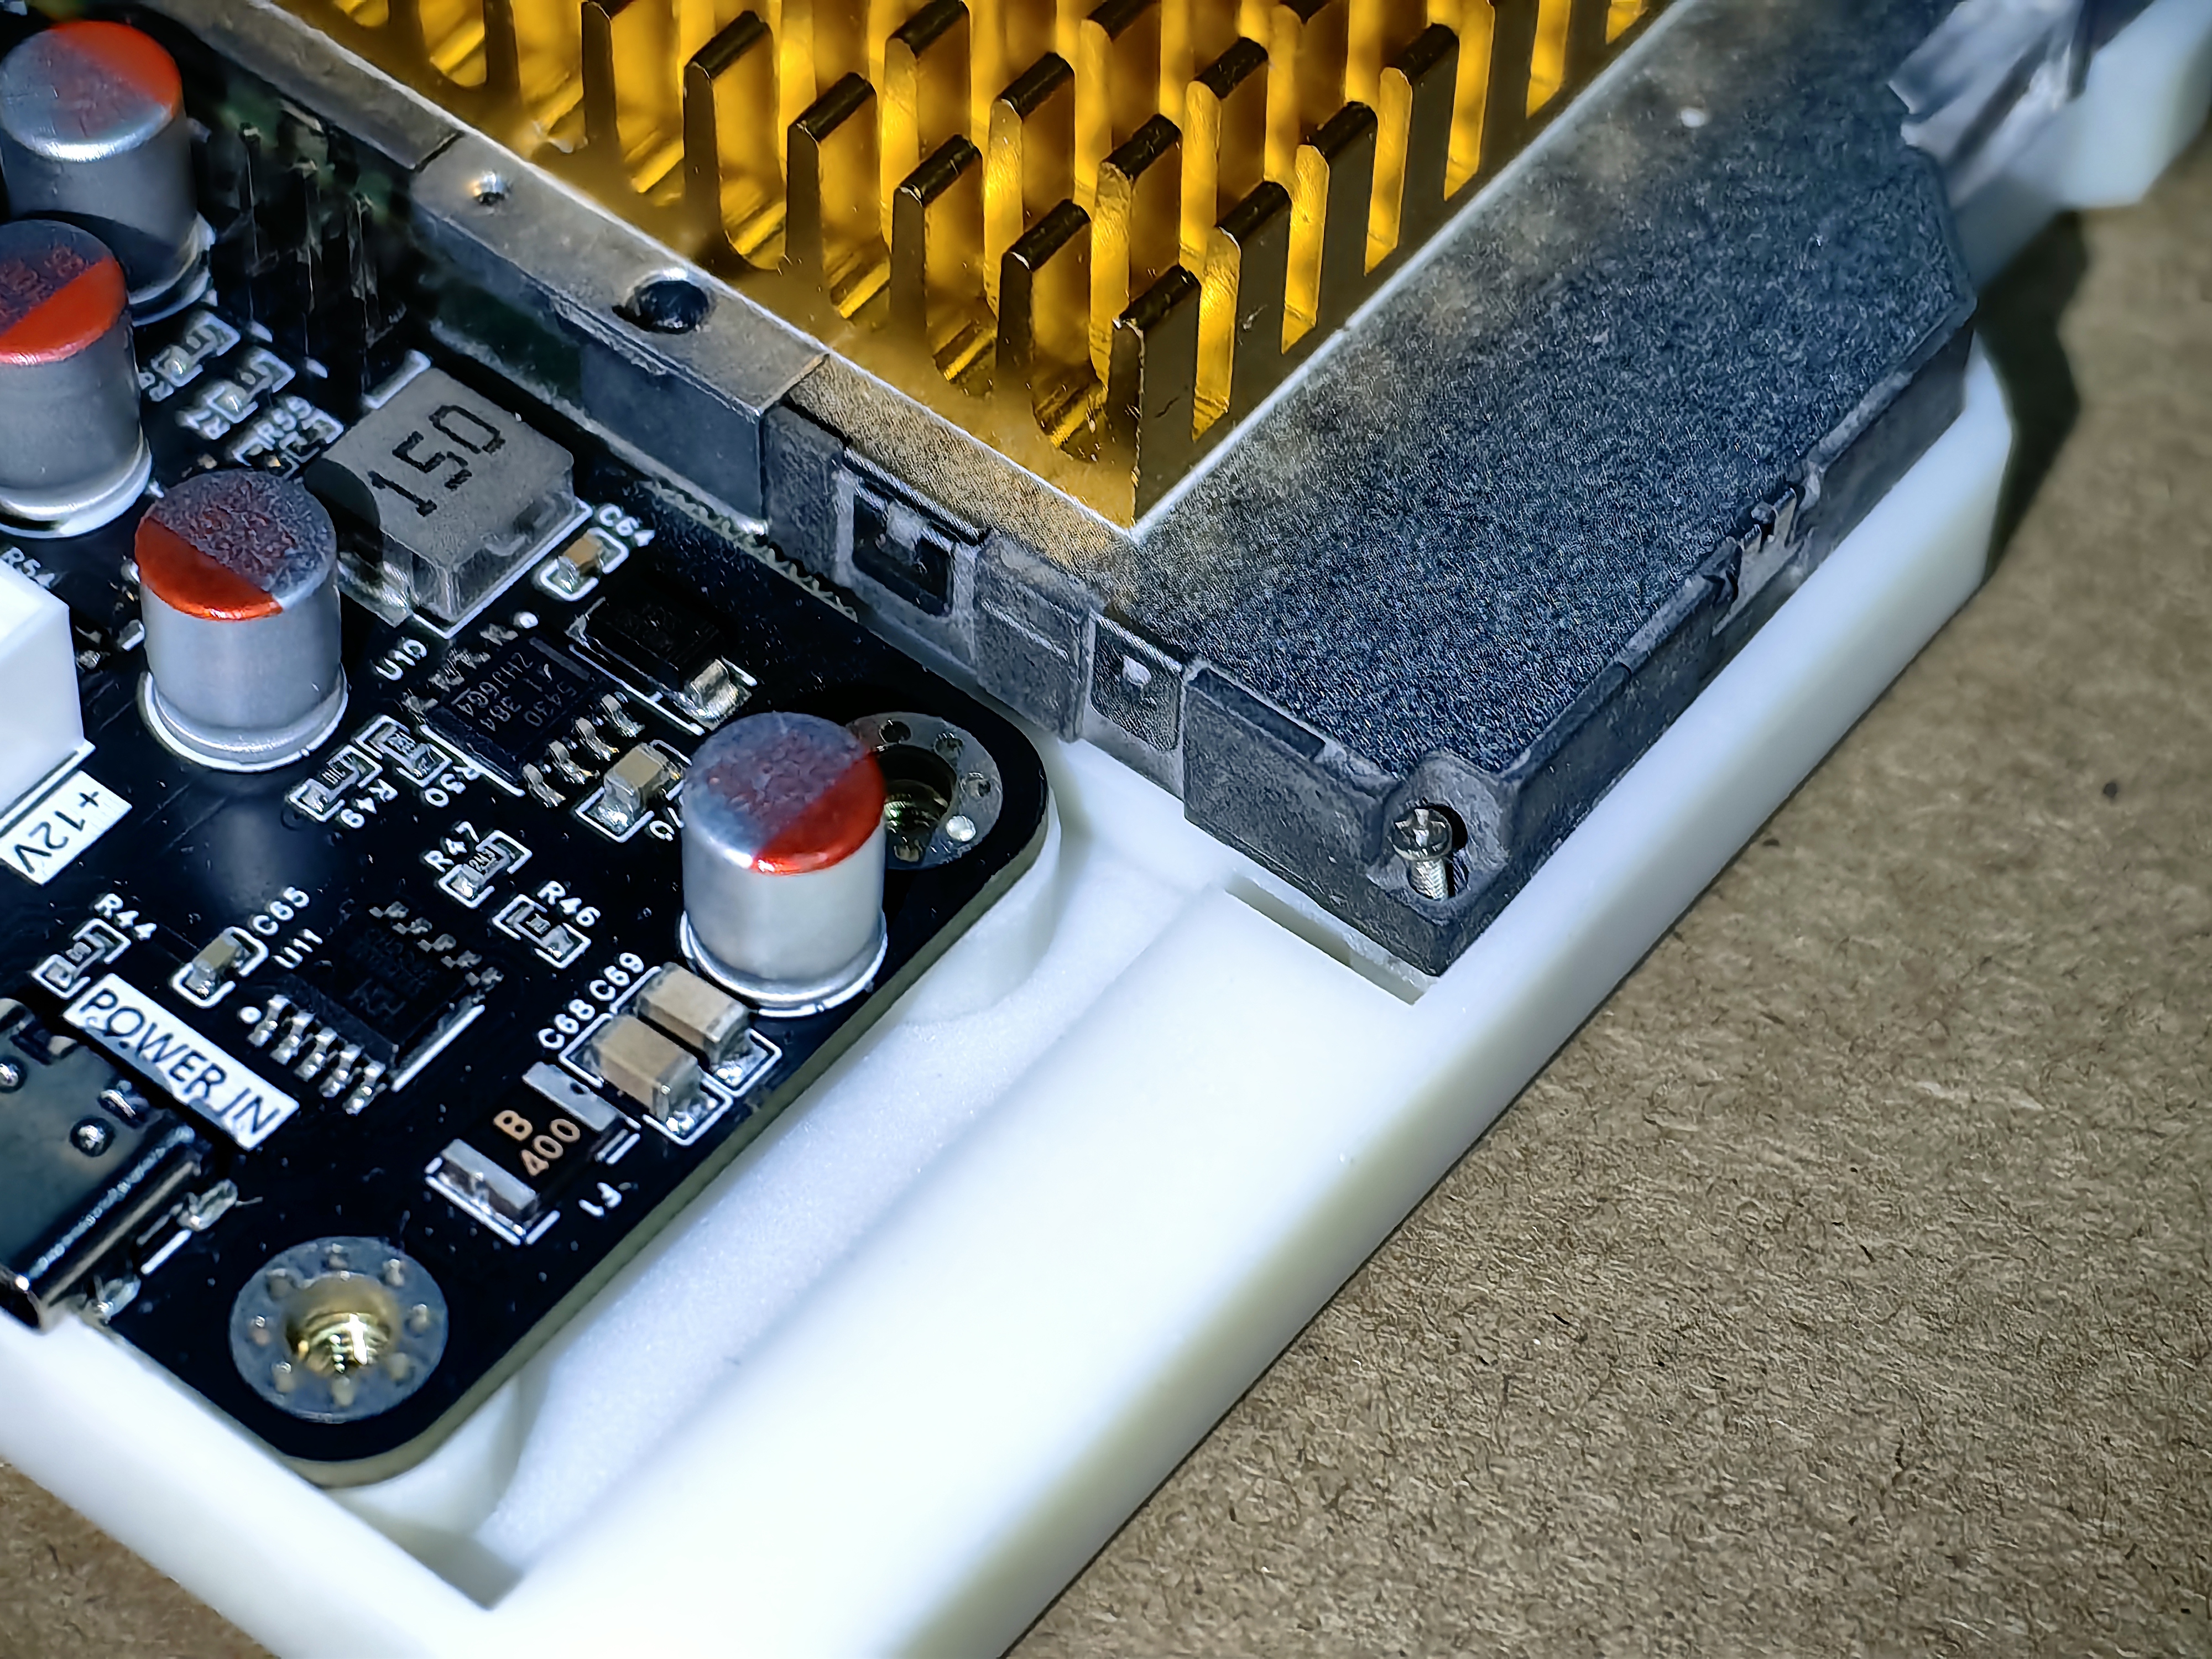
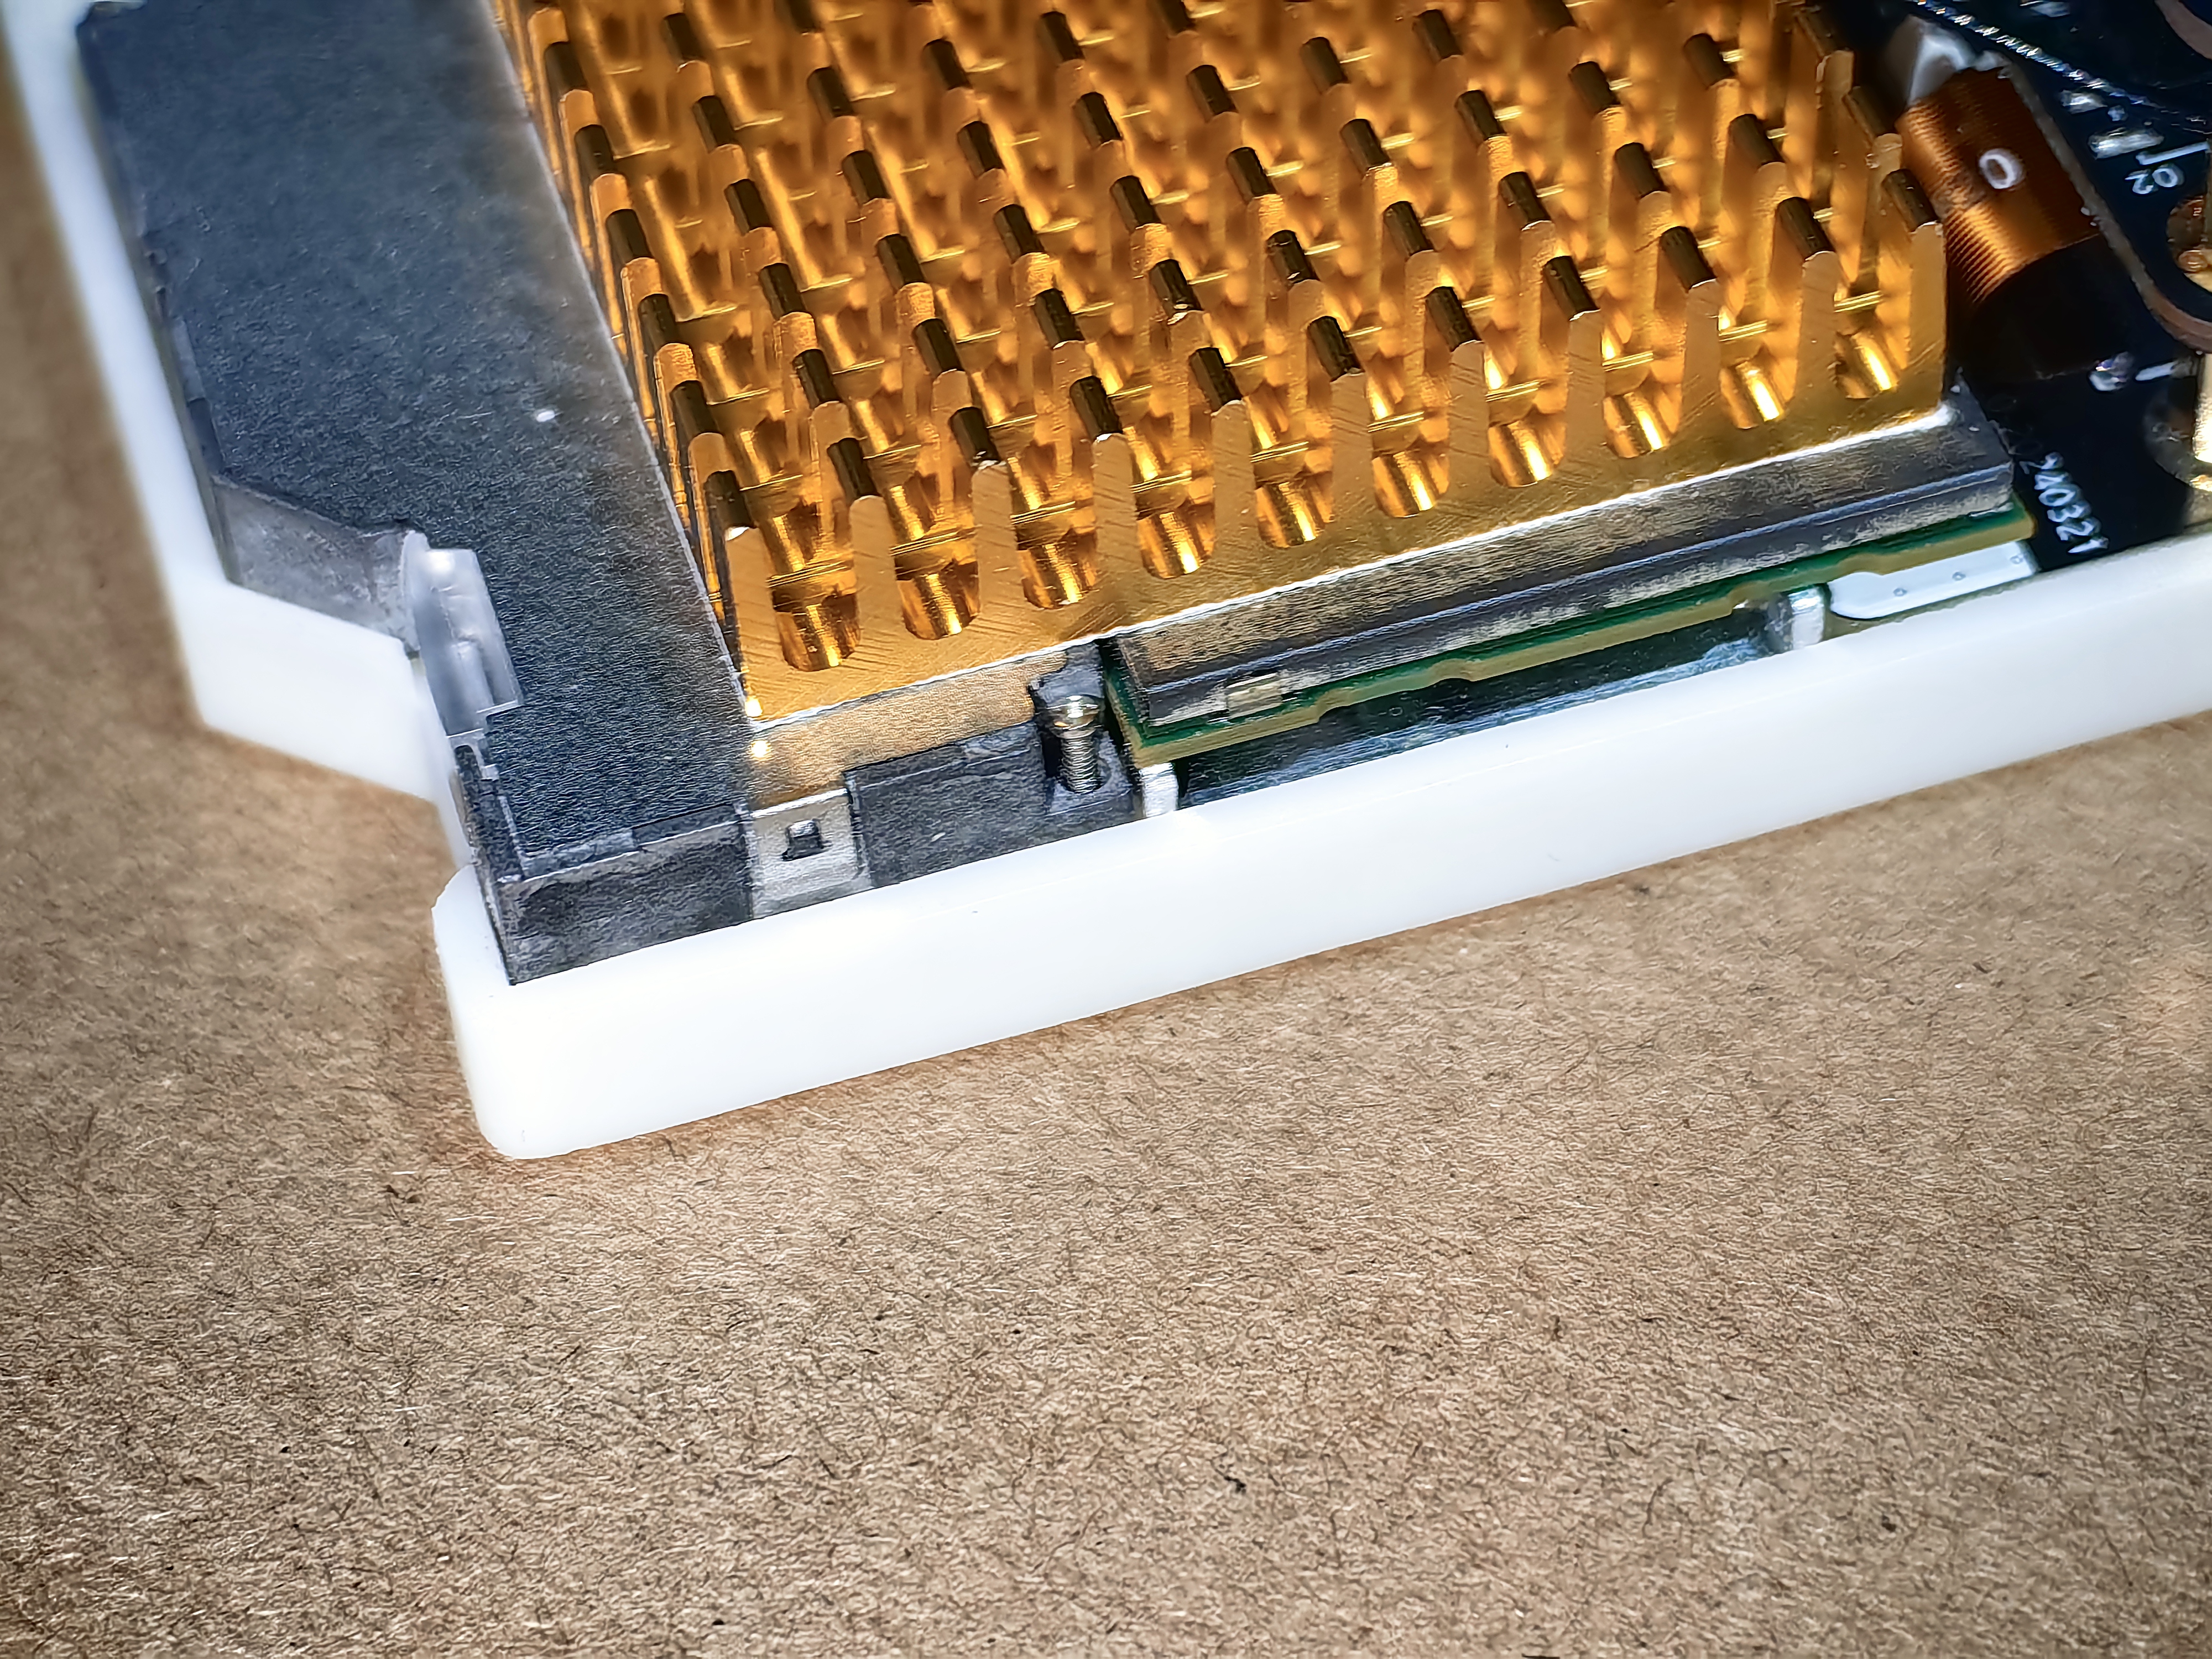
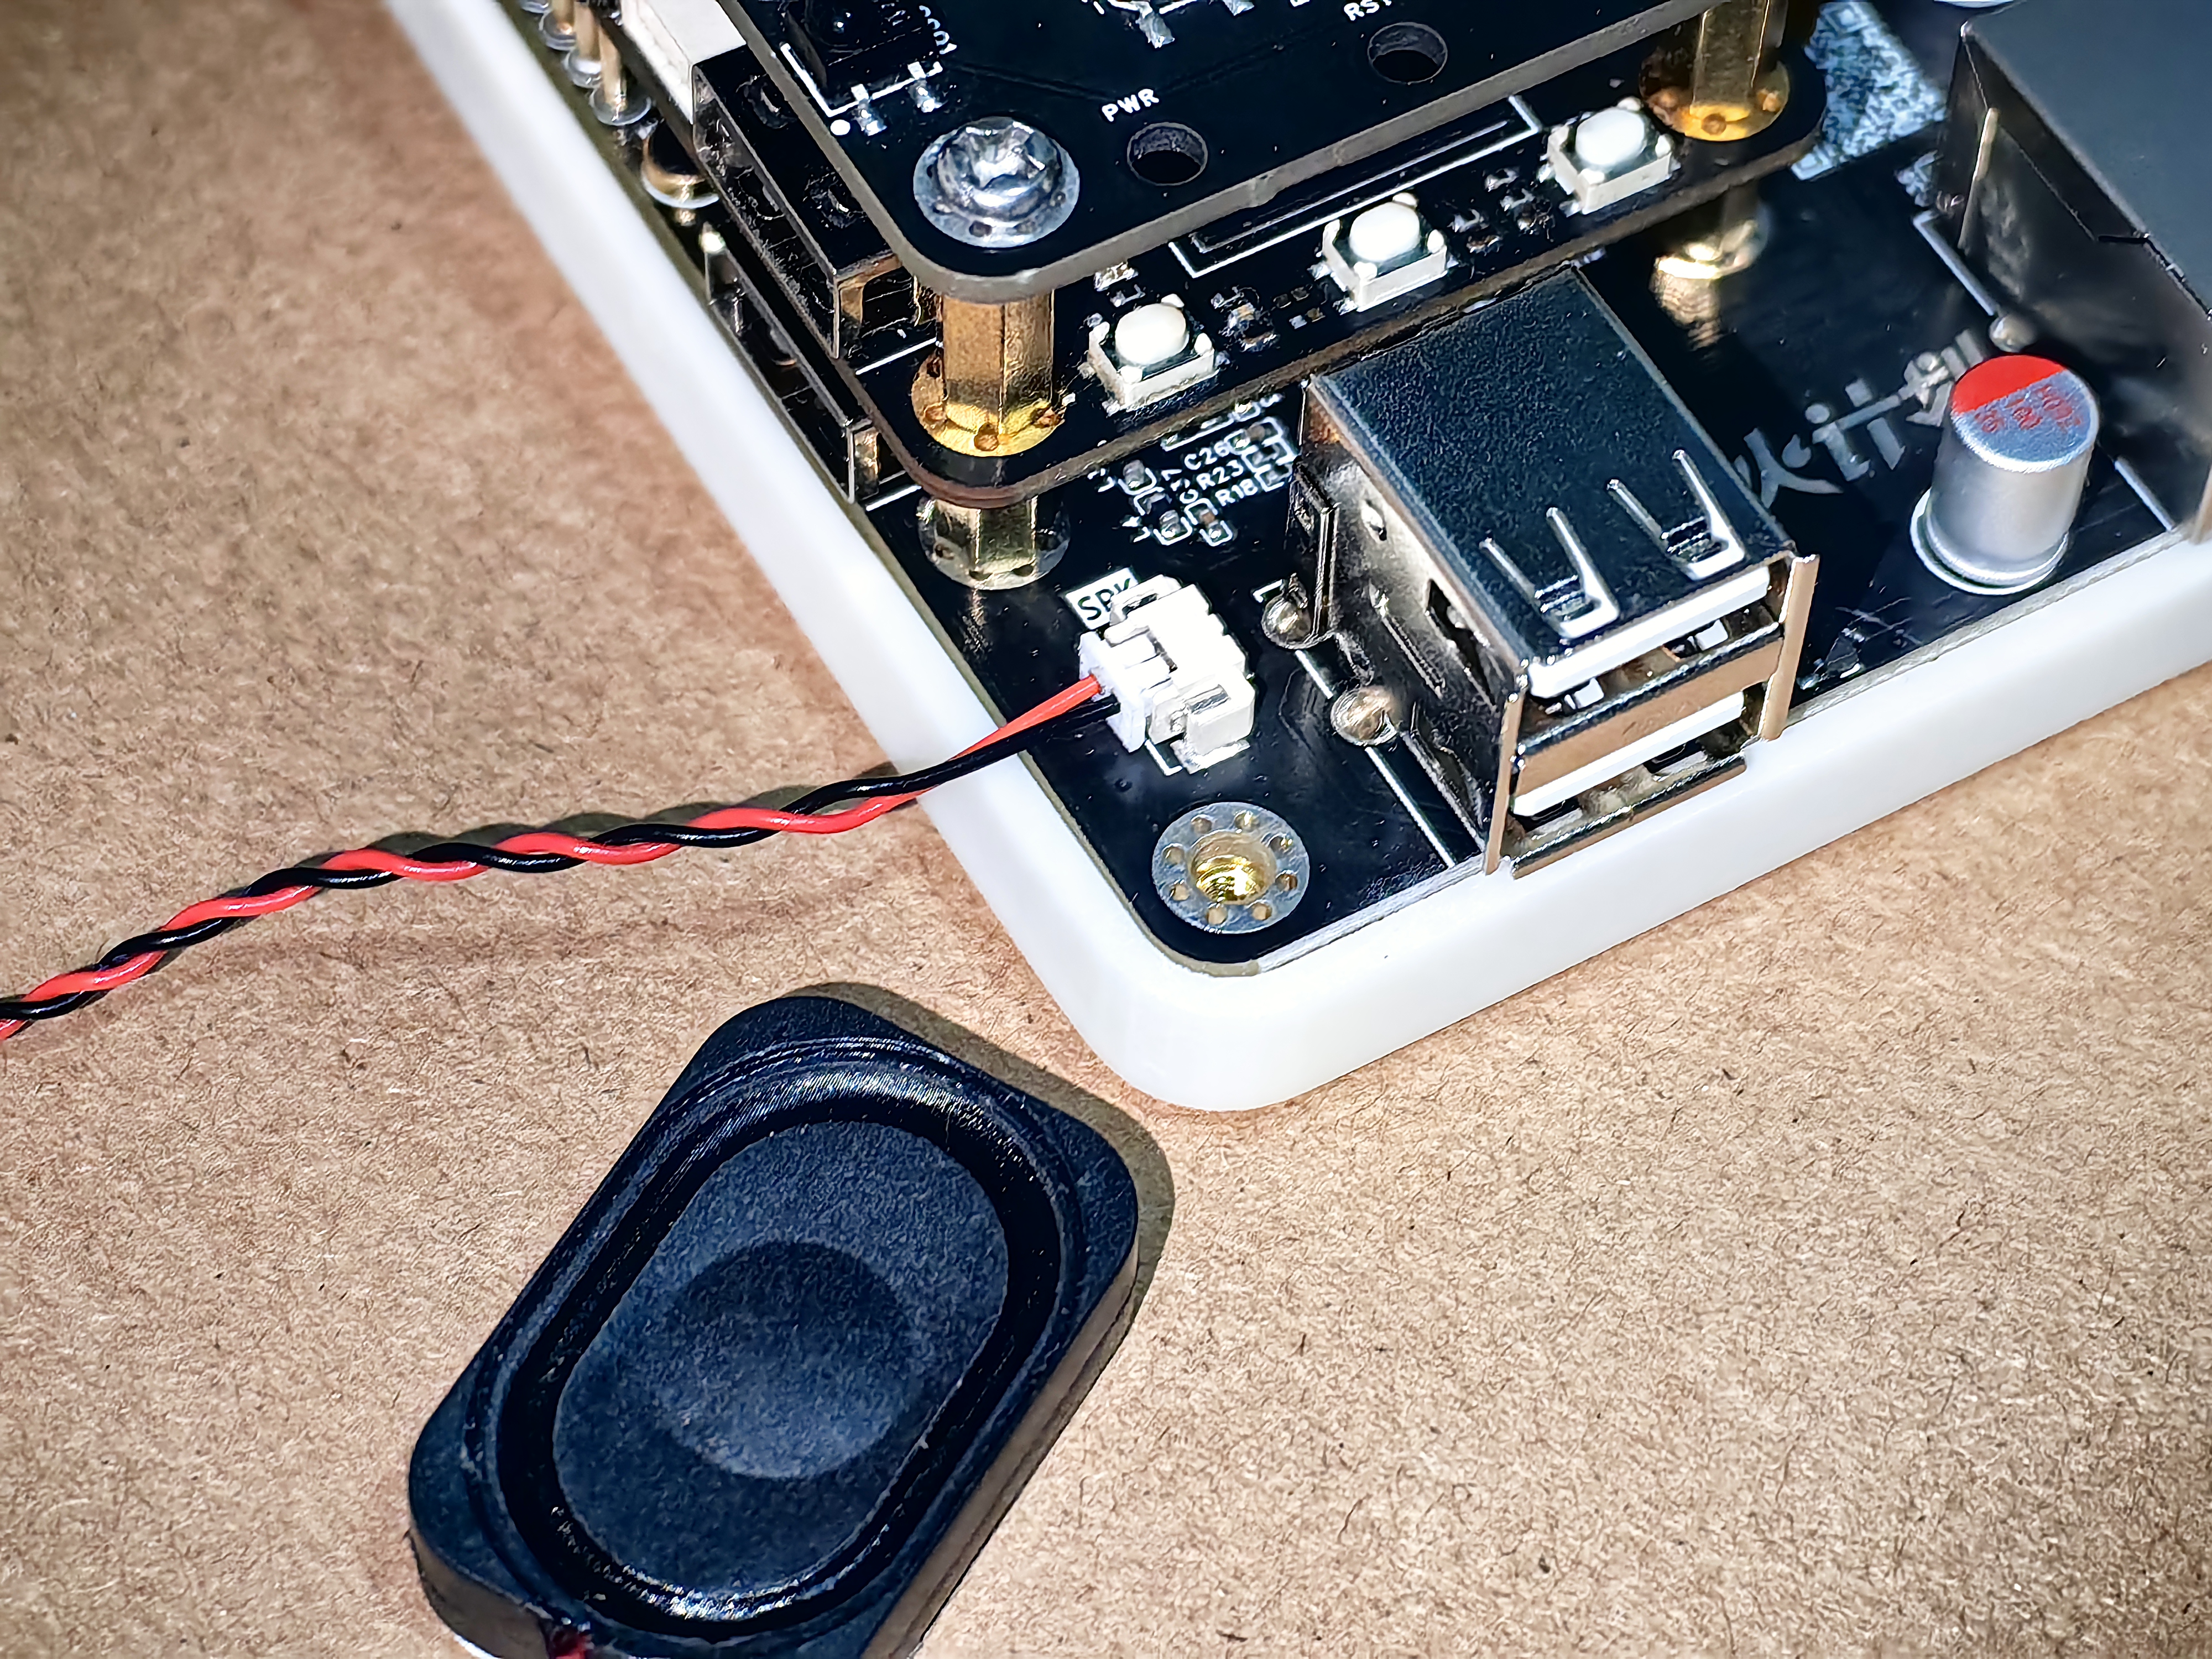
- Connect the speakers to the main control board;
- Fix the cooling fan on the top cover;
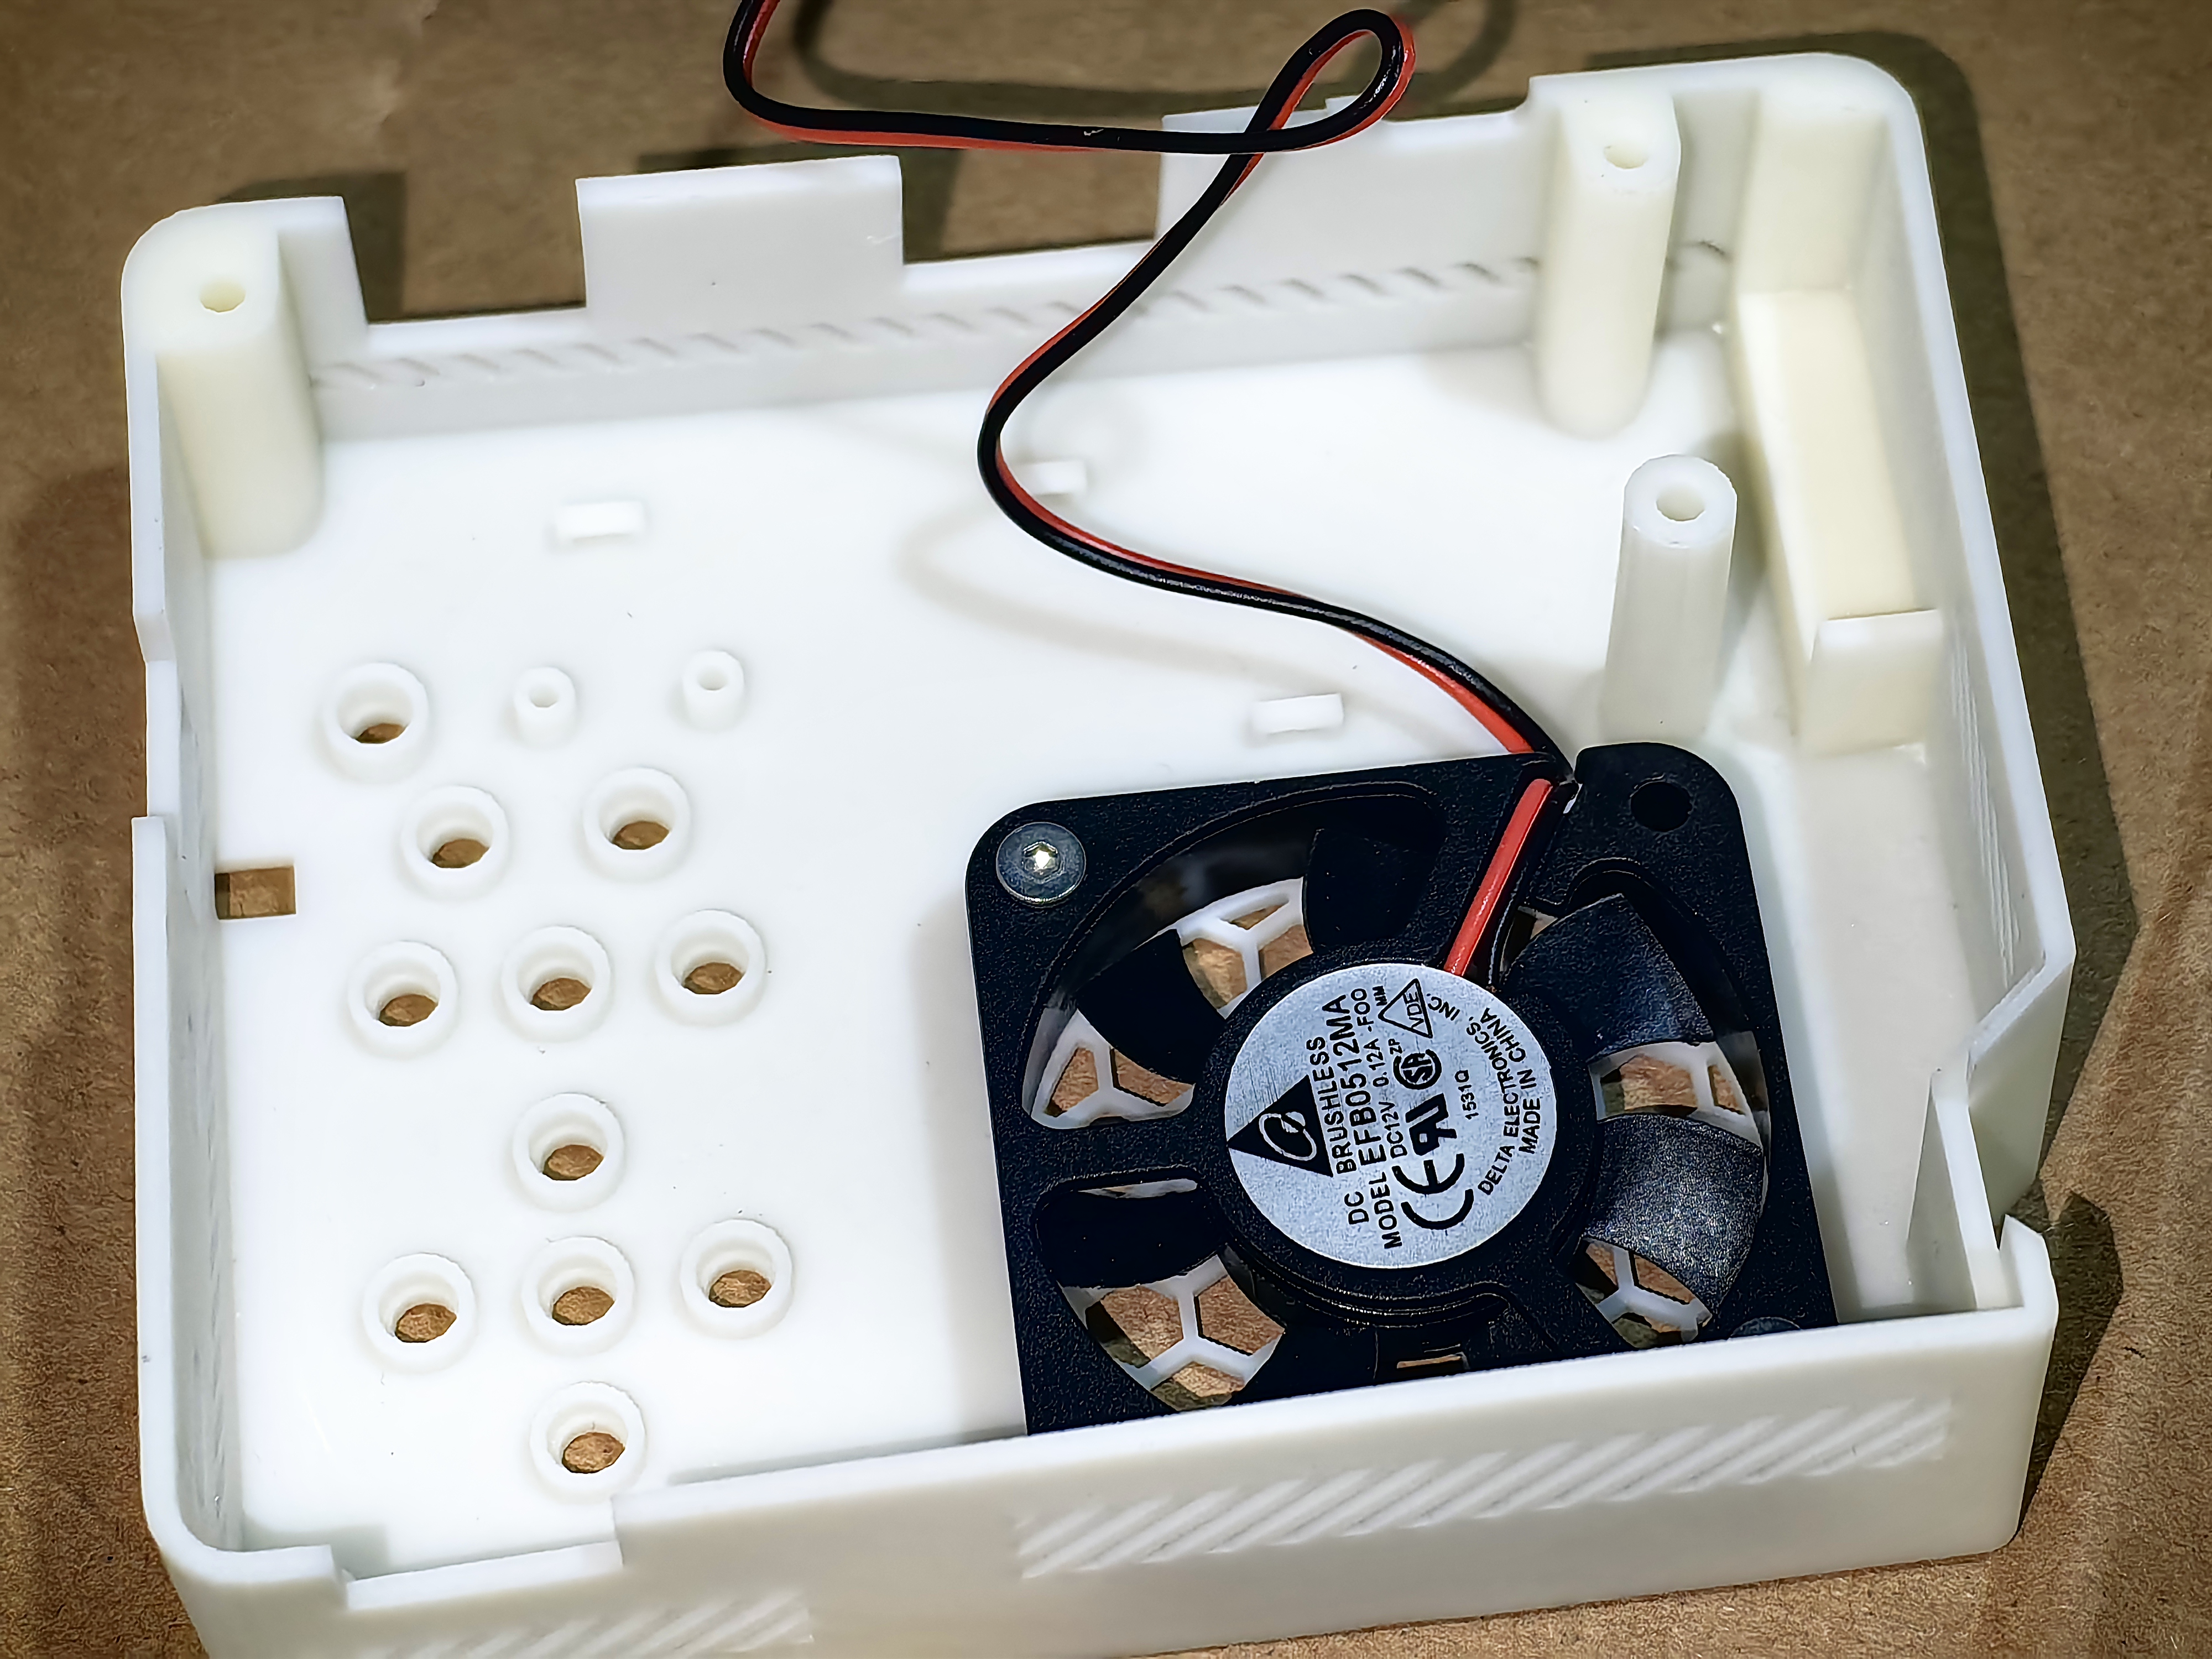
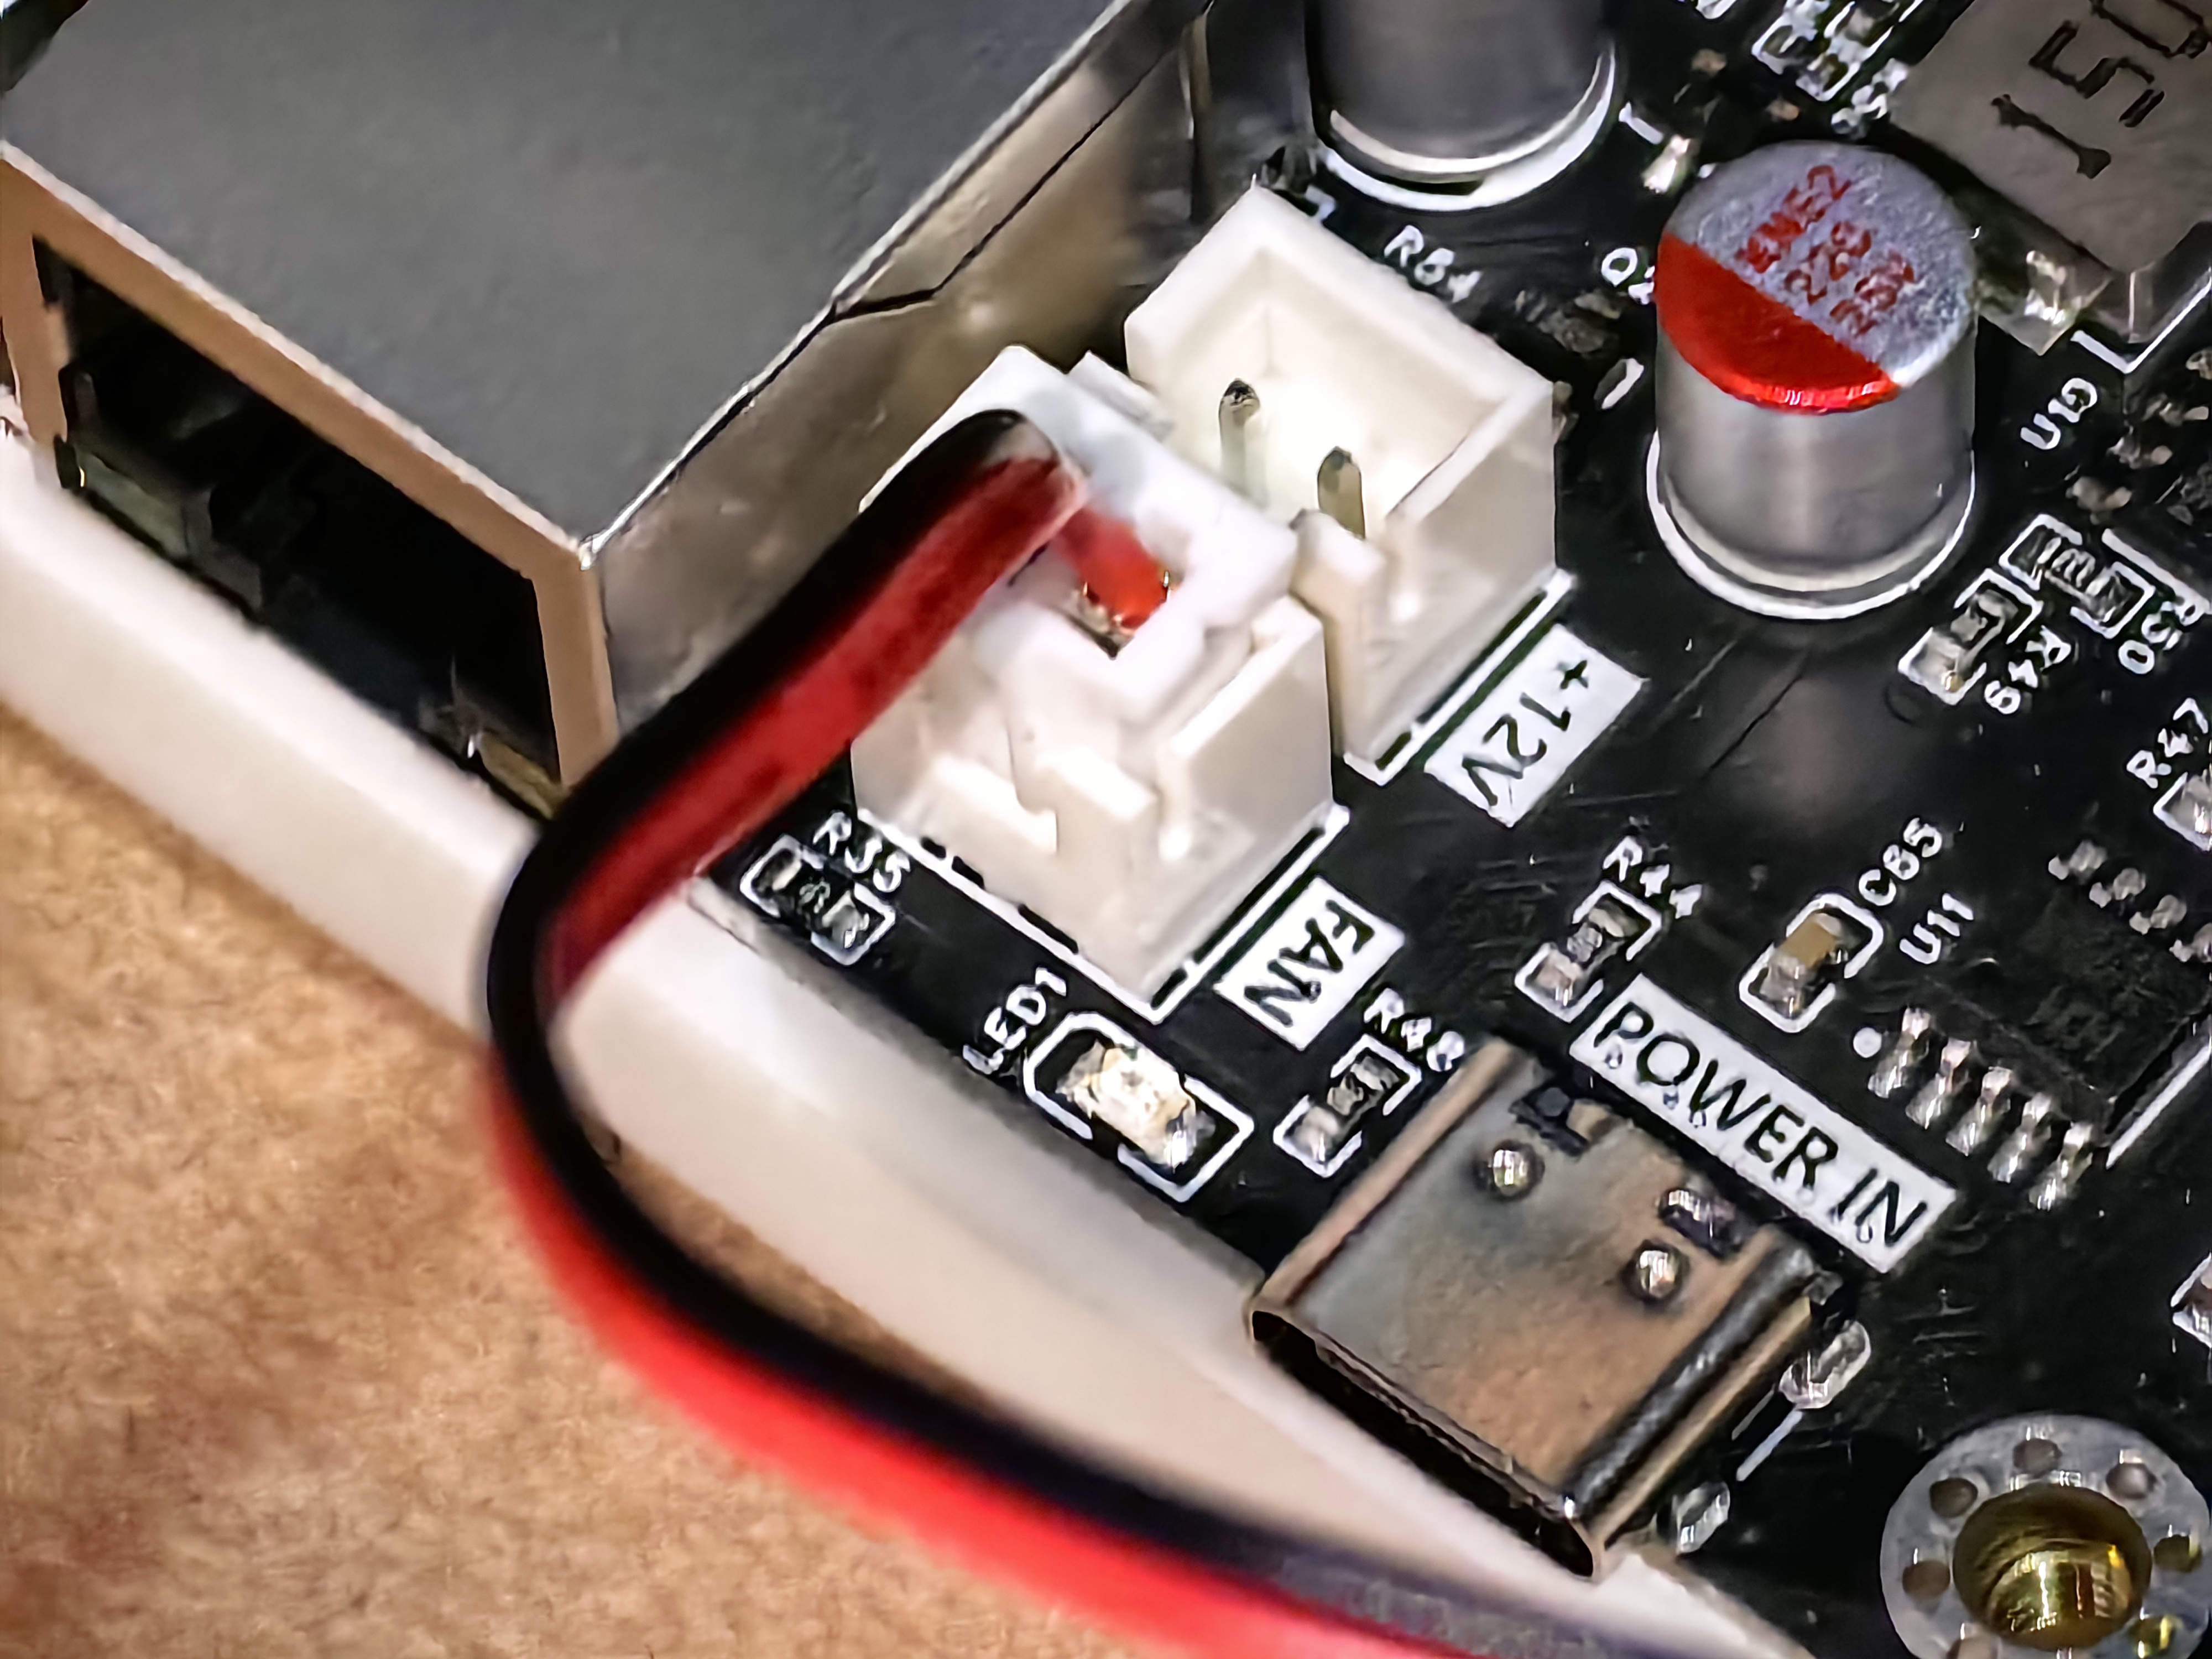
- Connect the fan to the main control board.
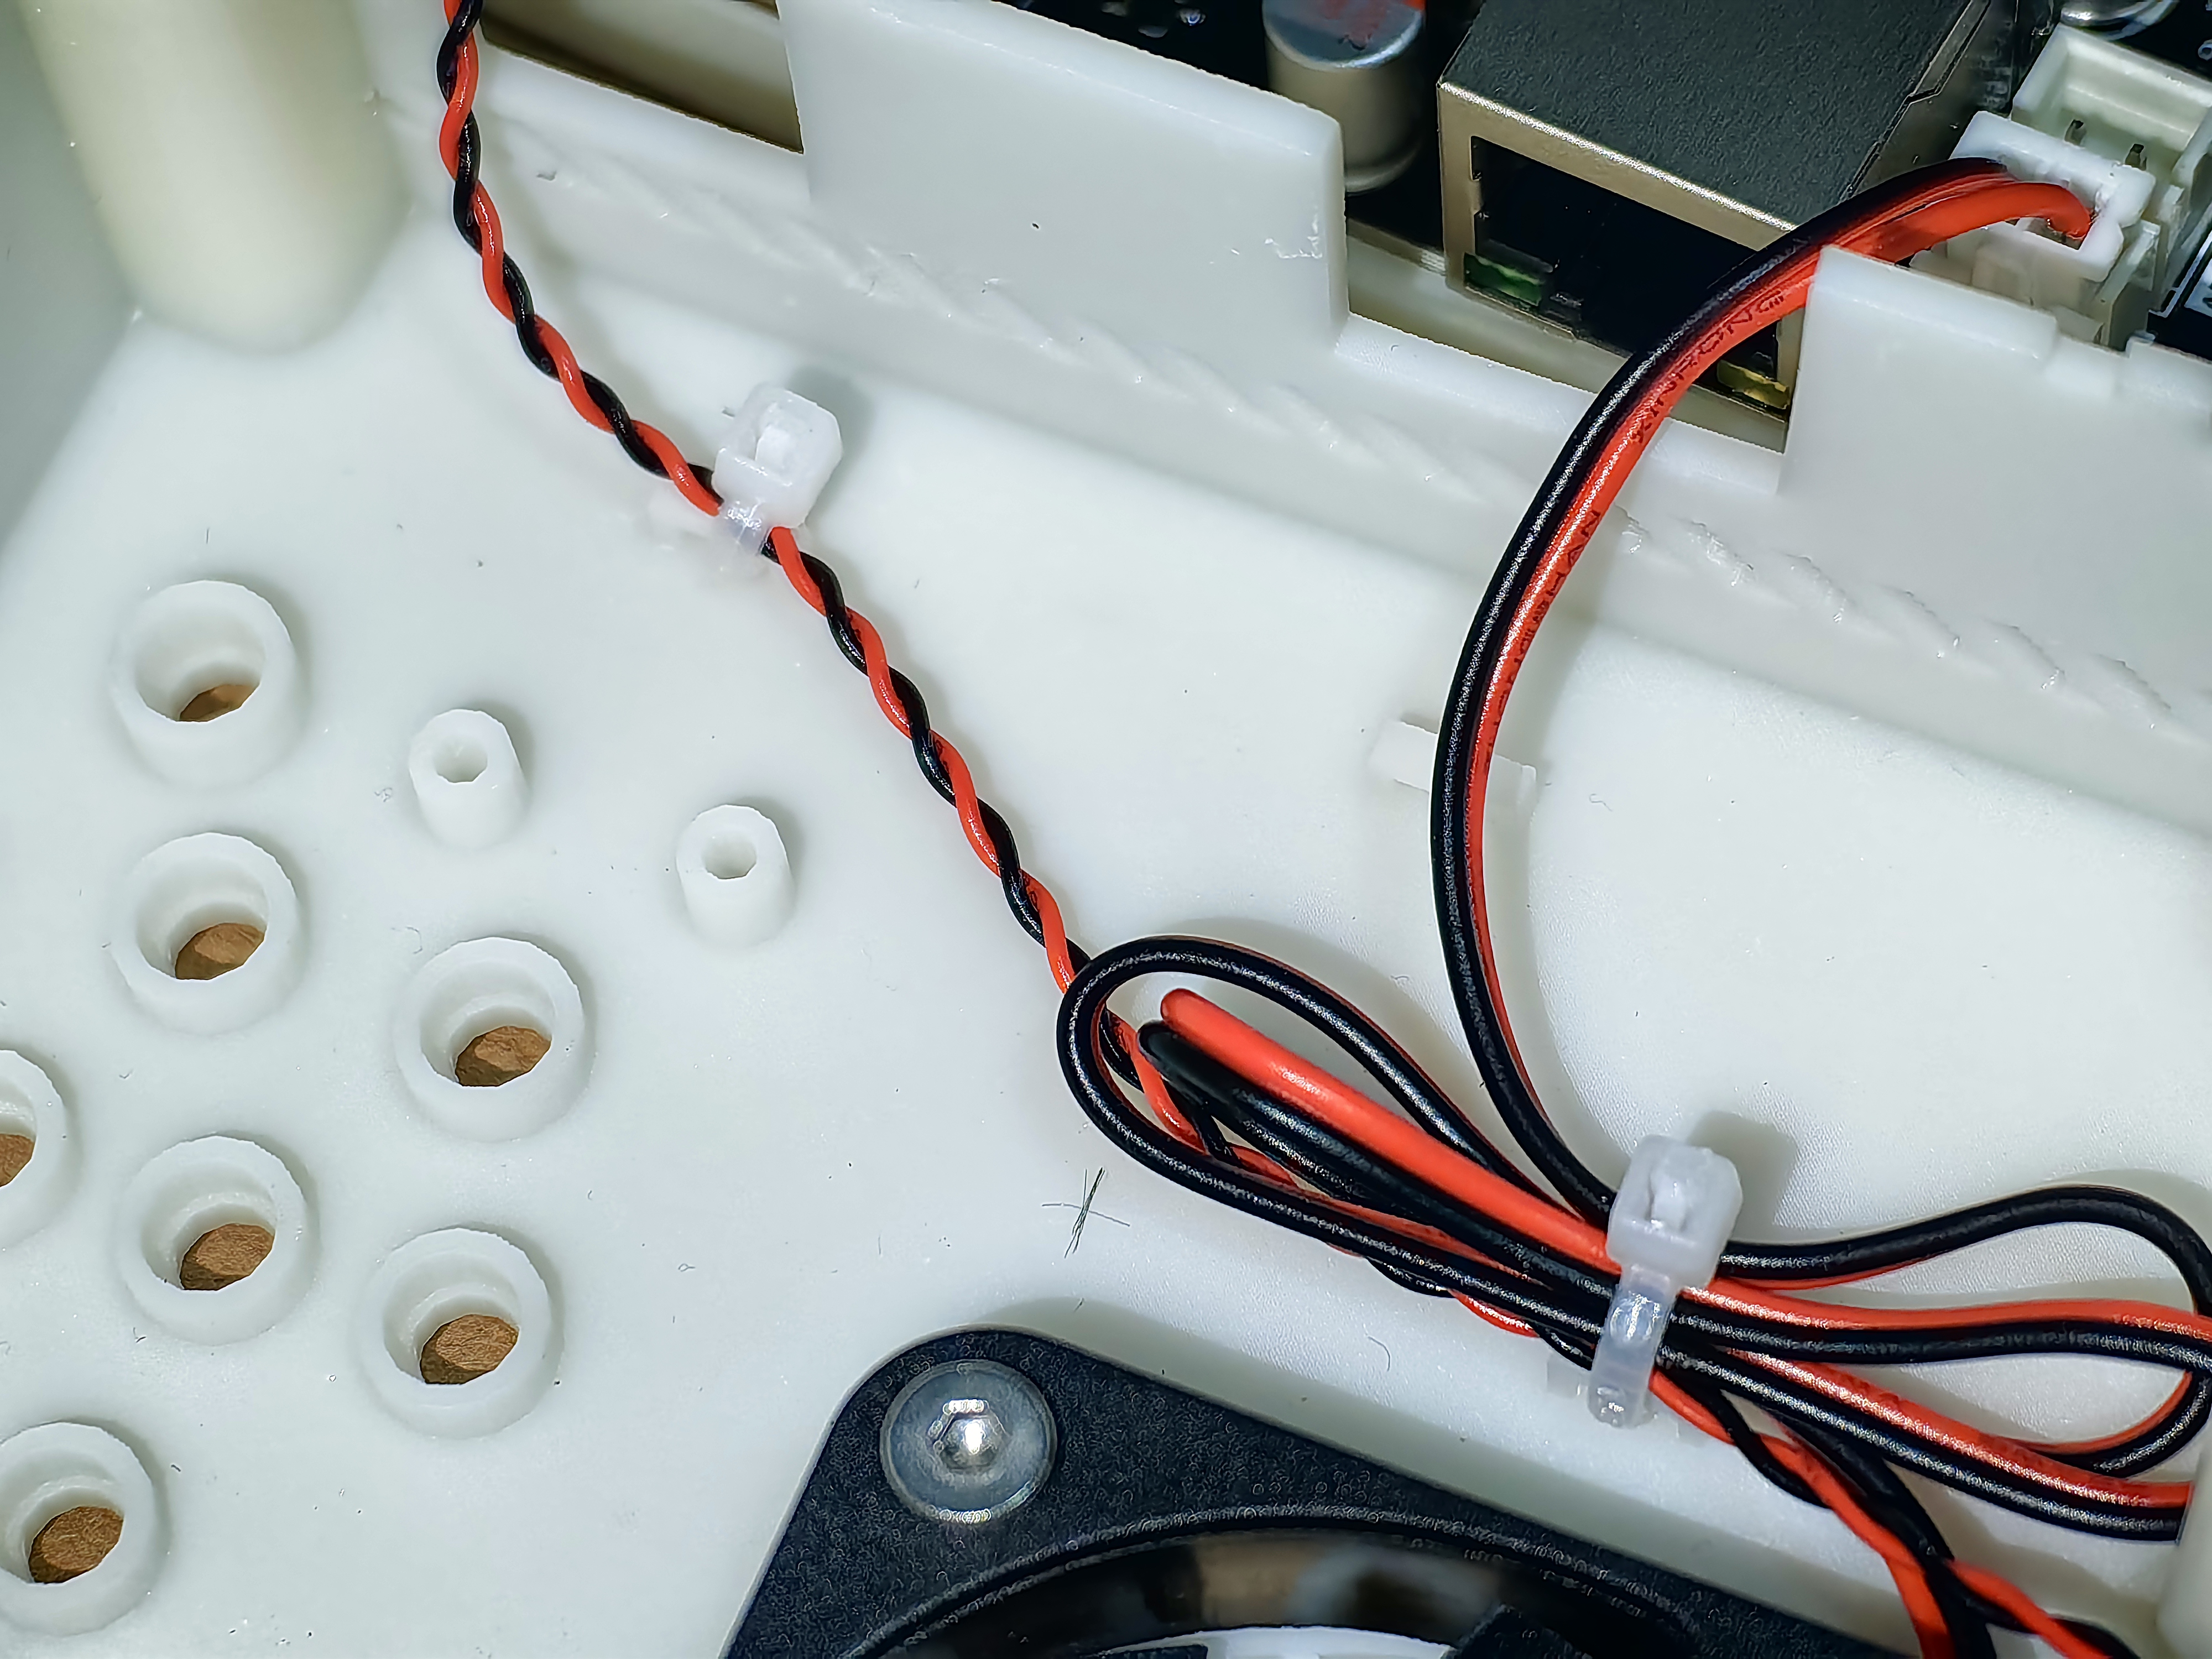
- Use cable ties to secure the leads of the speaker and fan on the top cover;
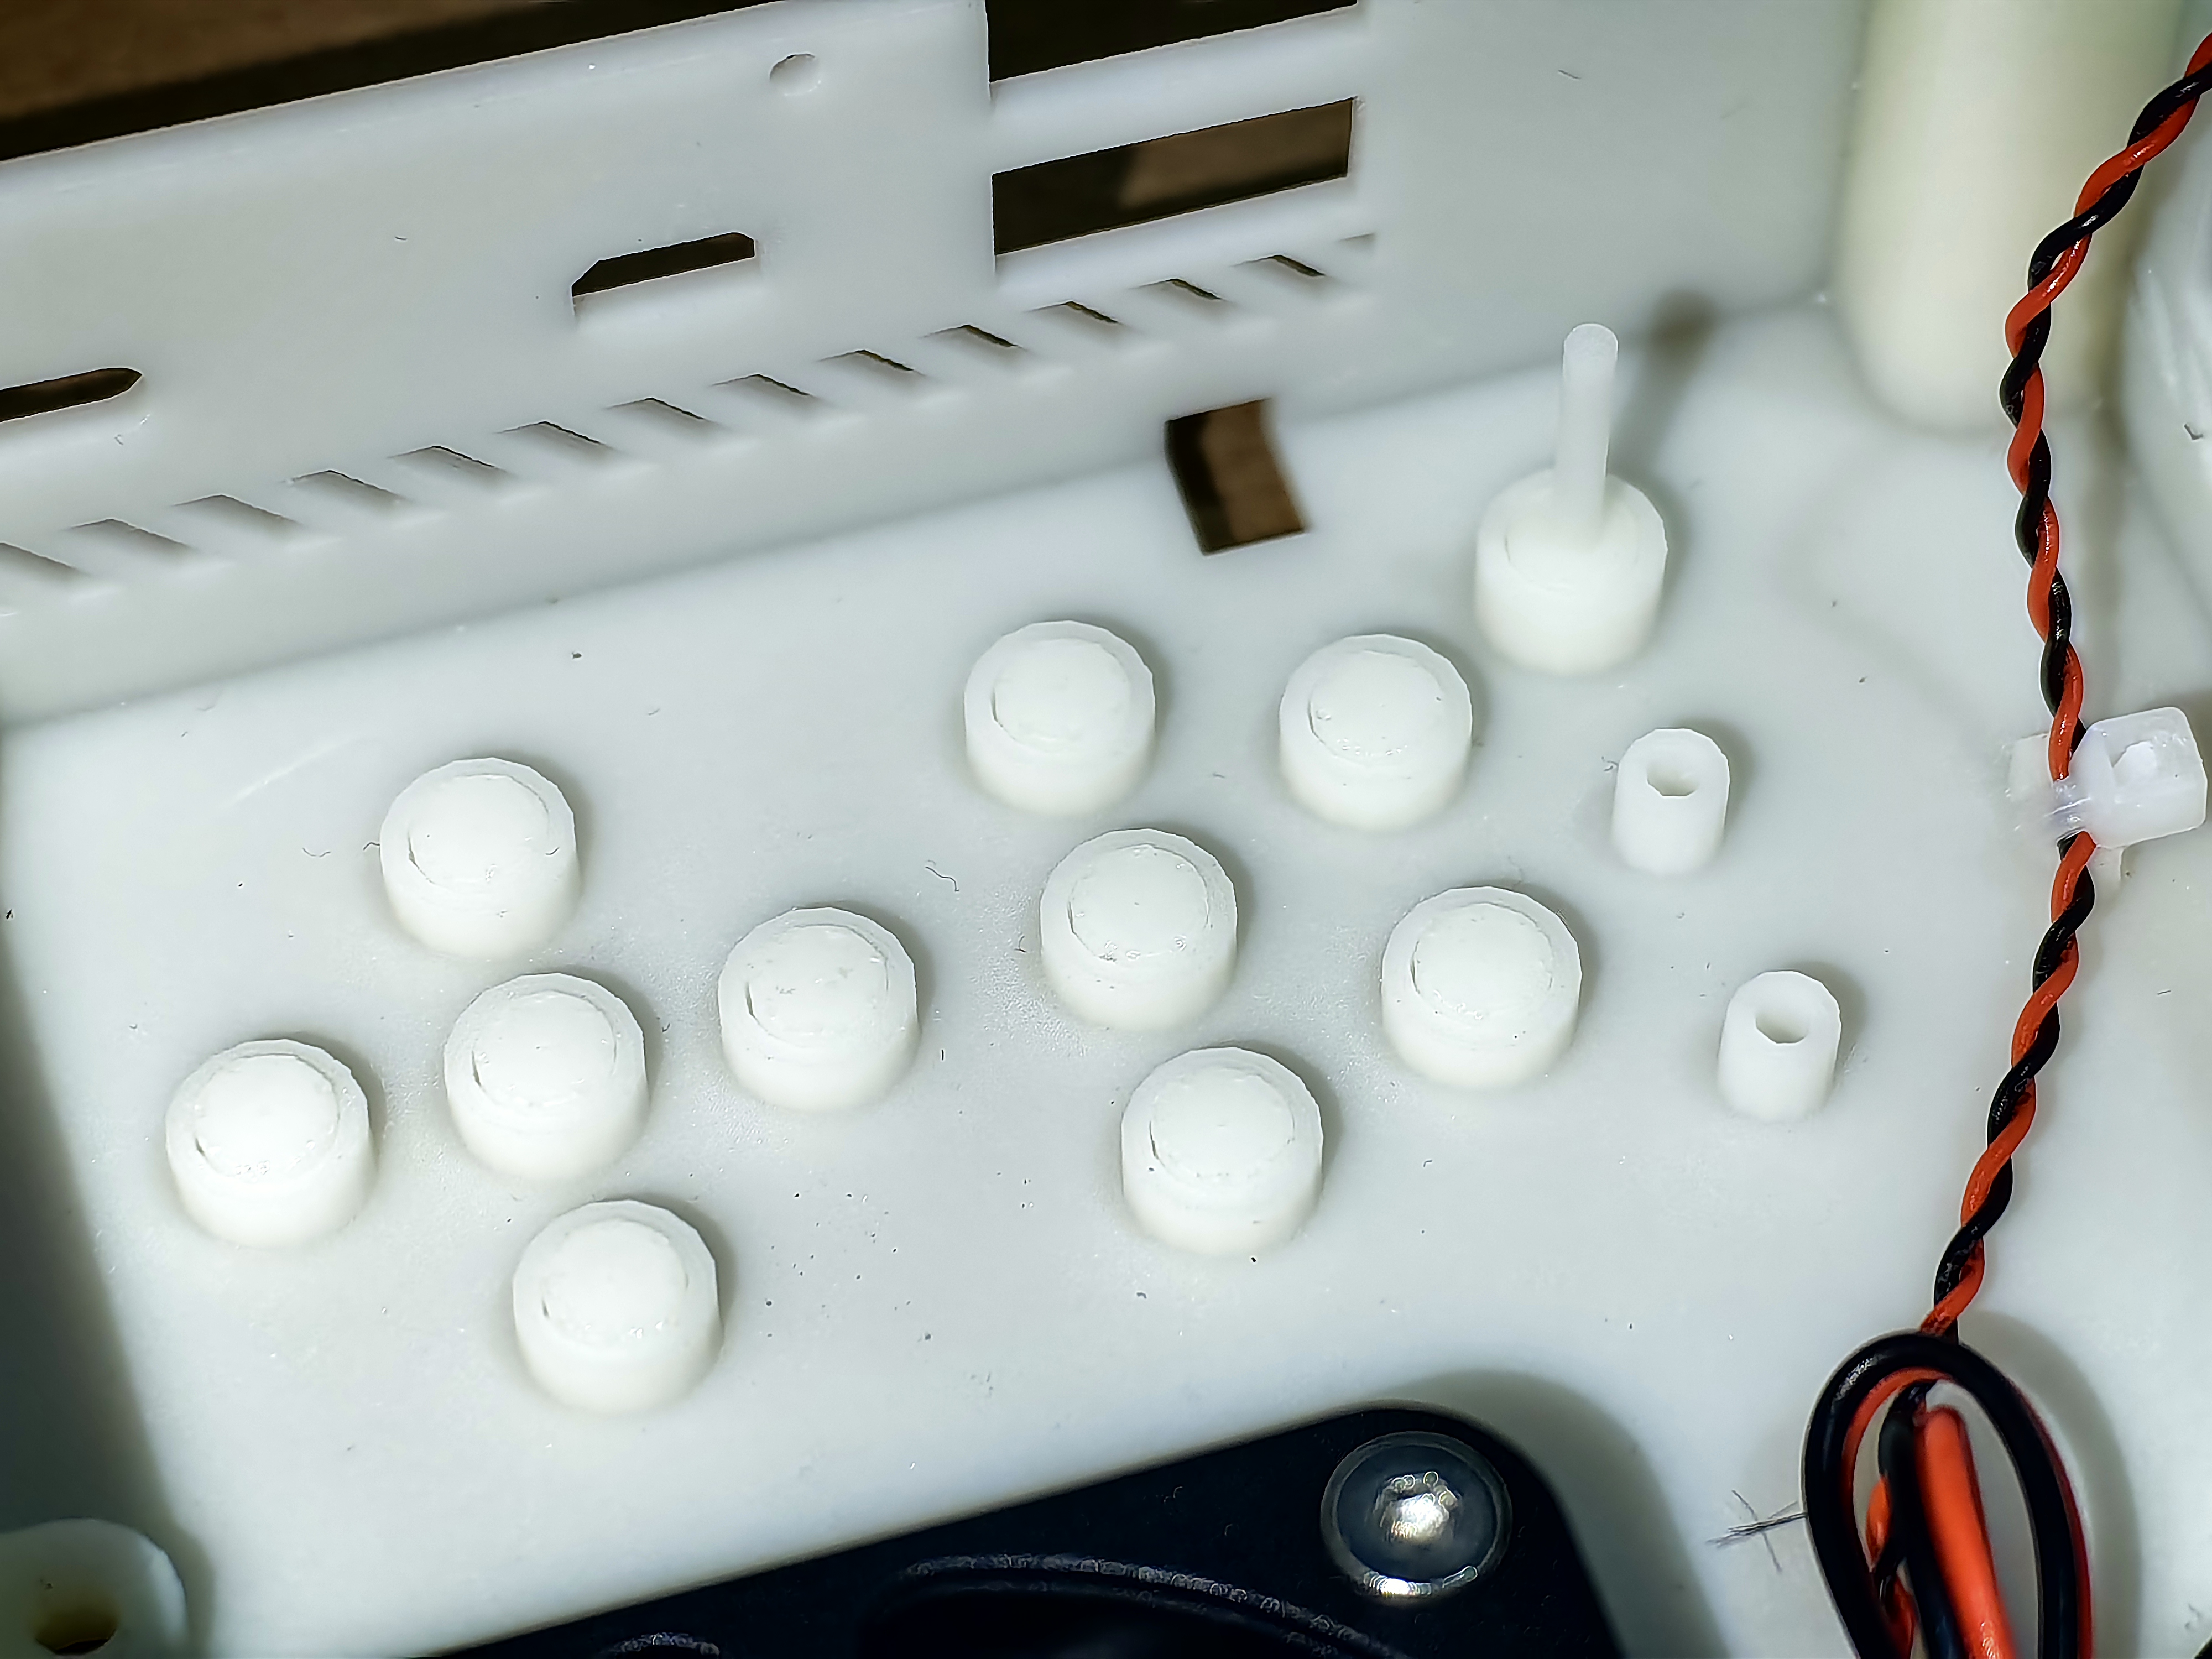
- Stuff 10 short keycaps and 1 long keycap into the corresponding mounting position of the top cover, and pay attention to the use of long keycaps for the PWR bit;
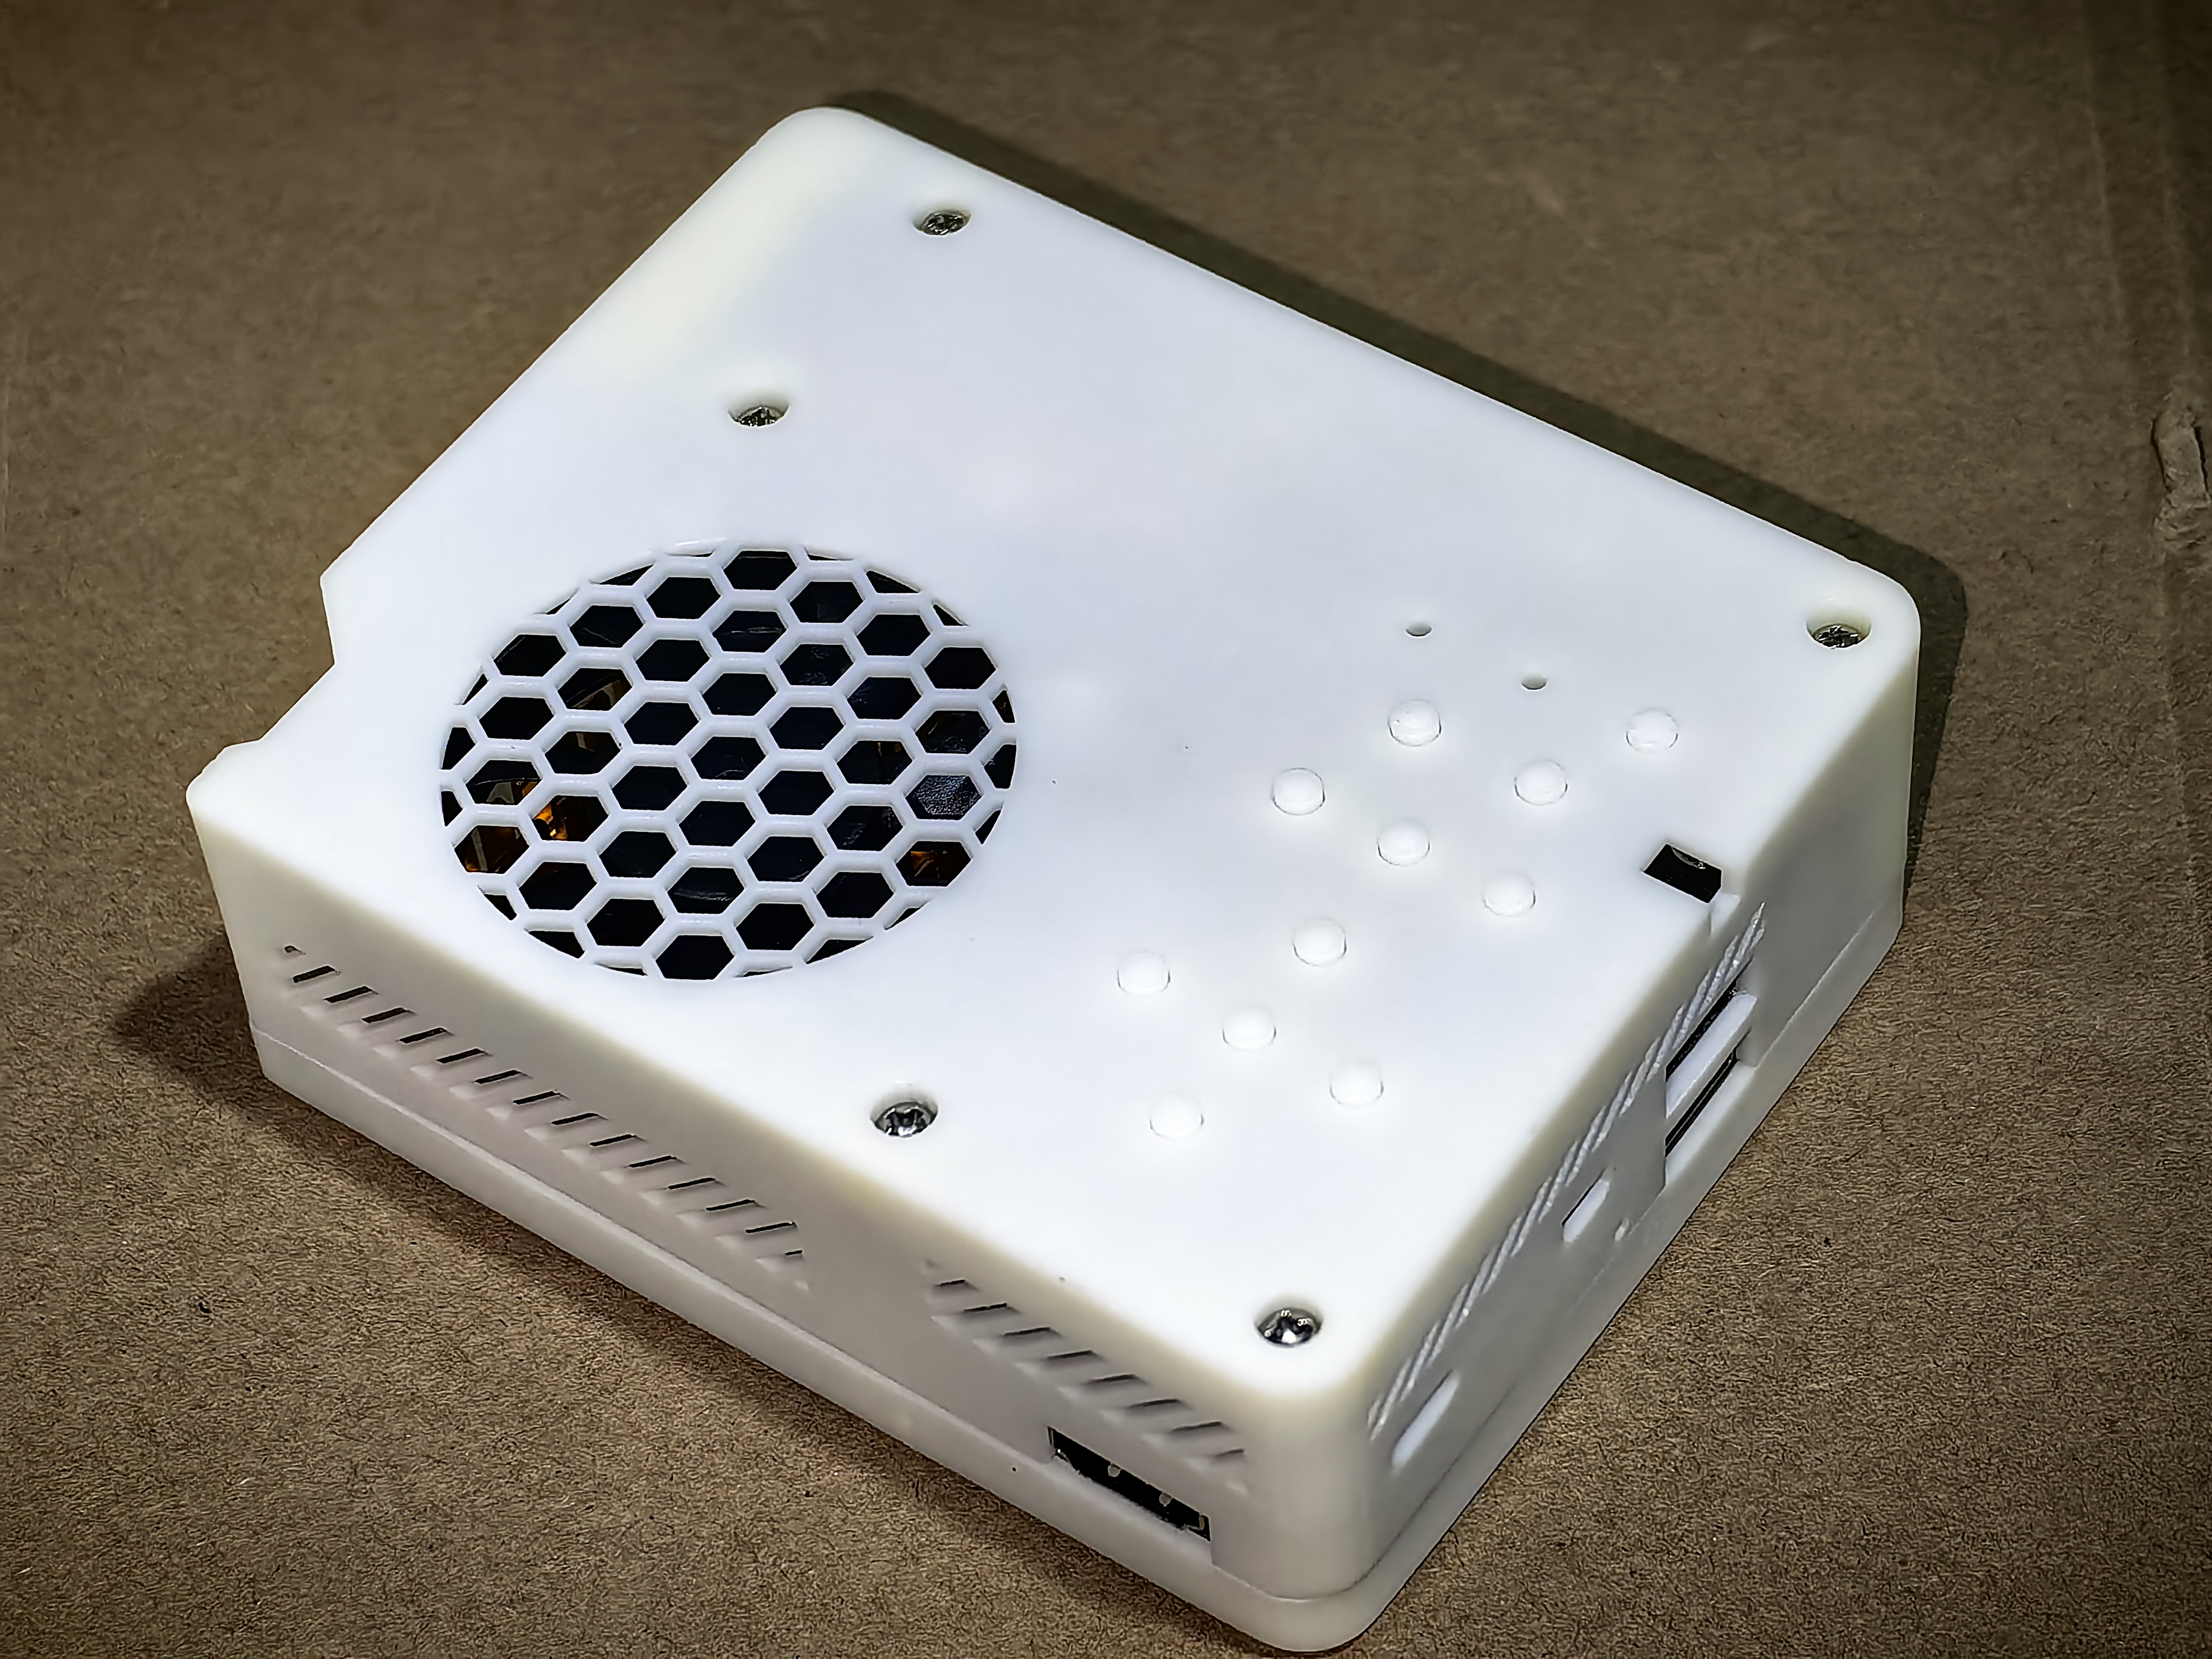
- Close the top cover and tighten the set screws;
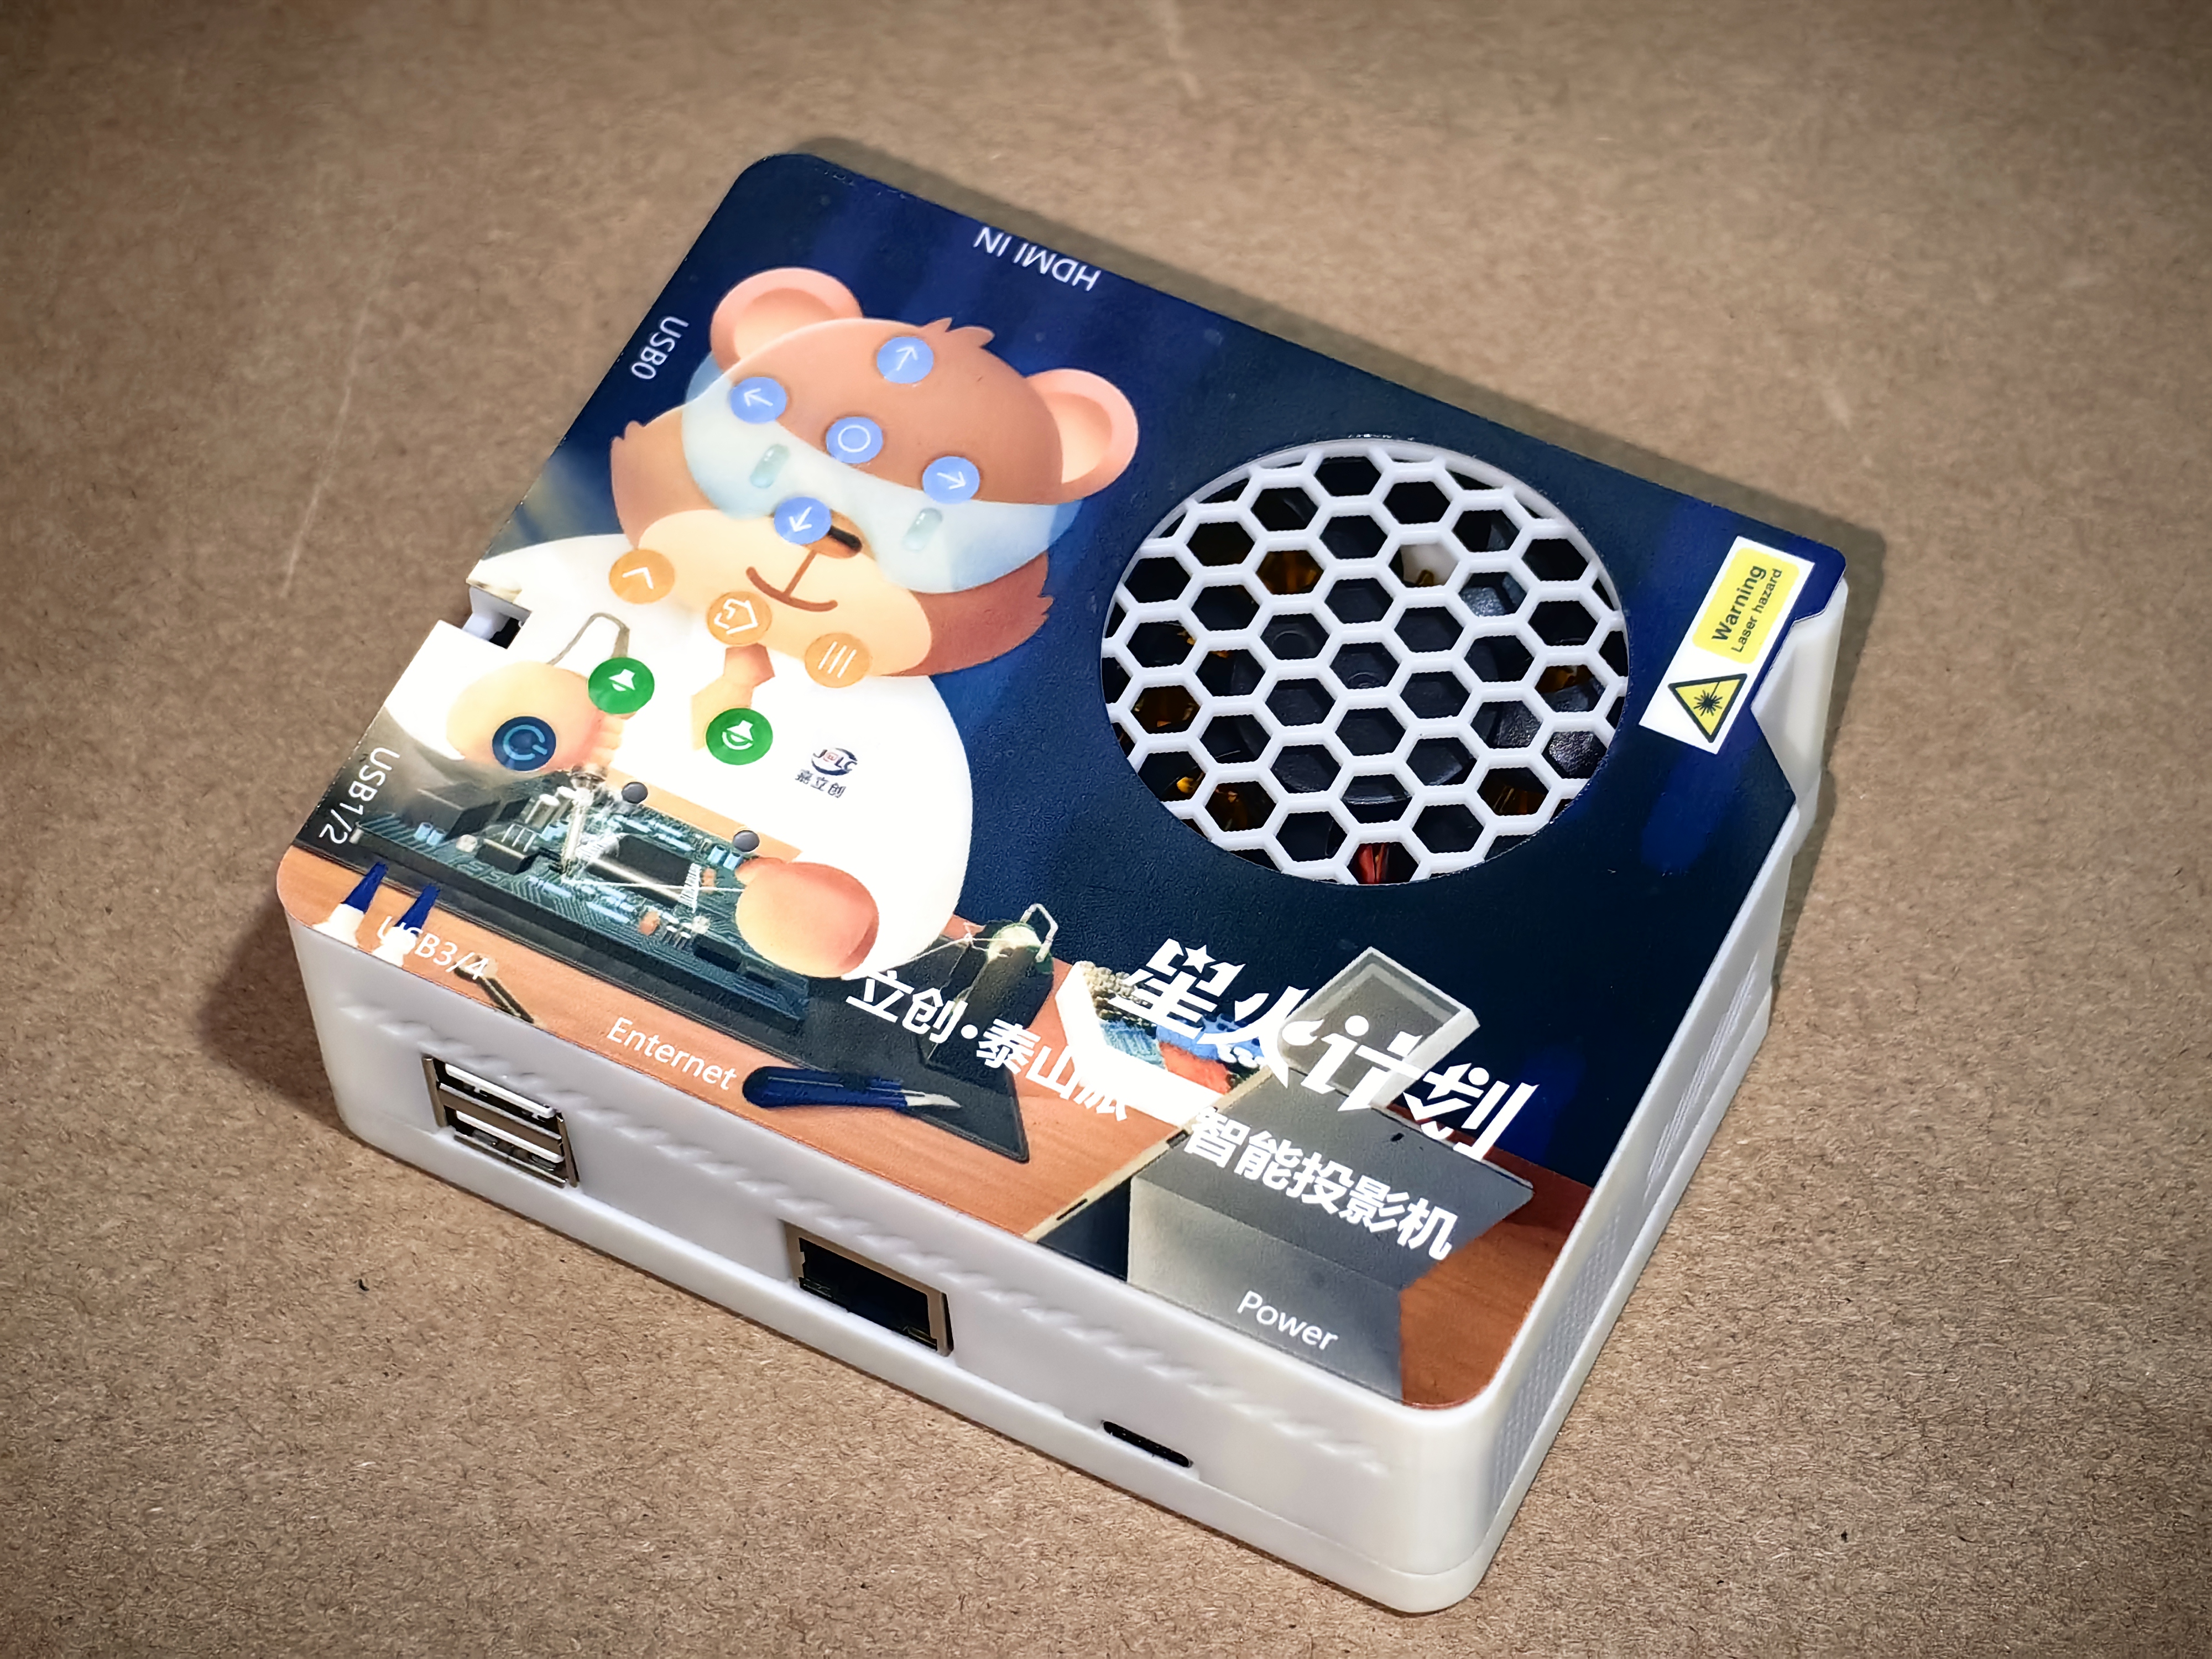
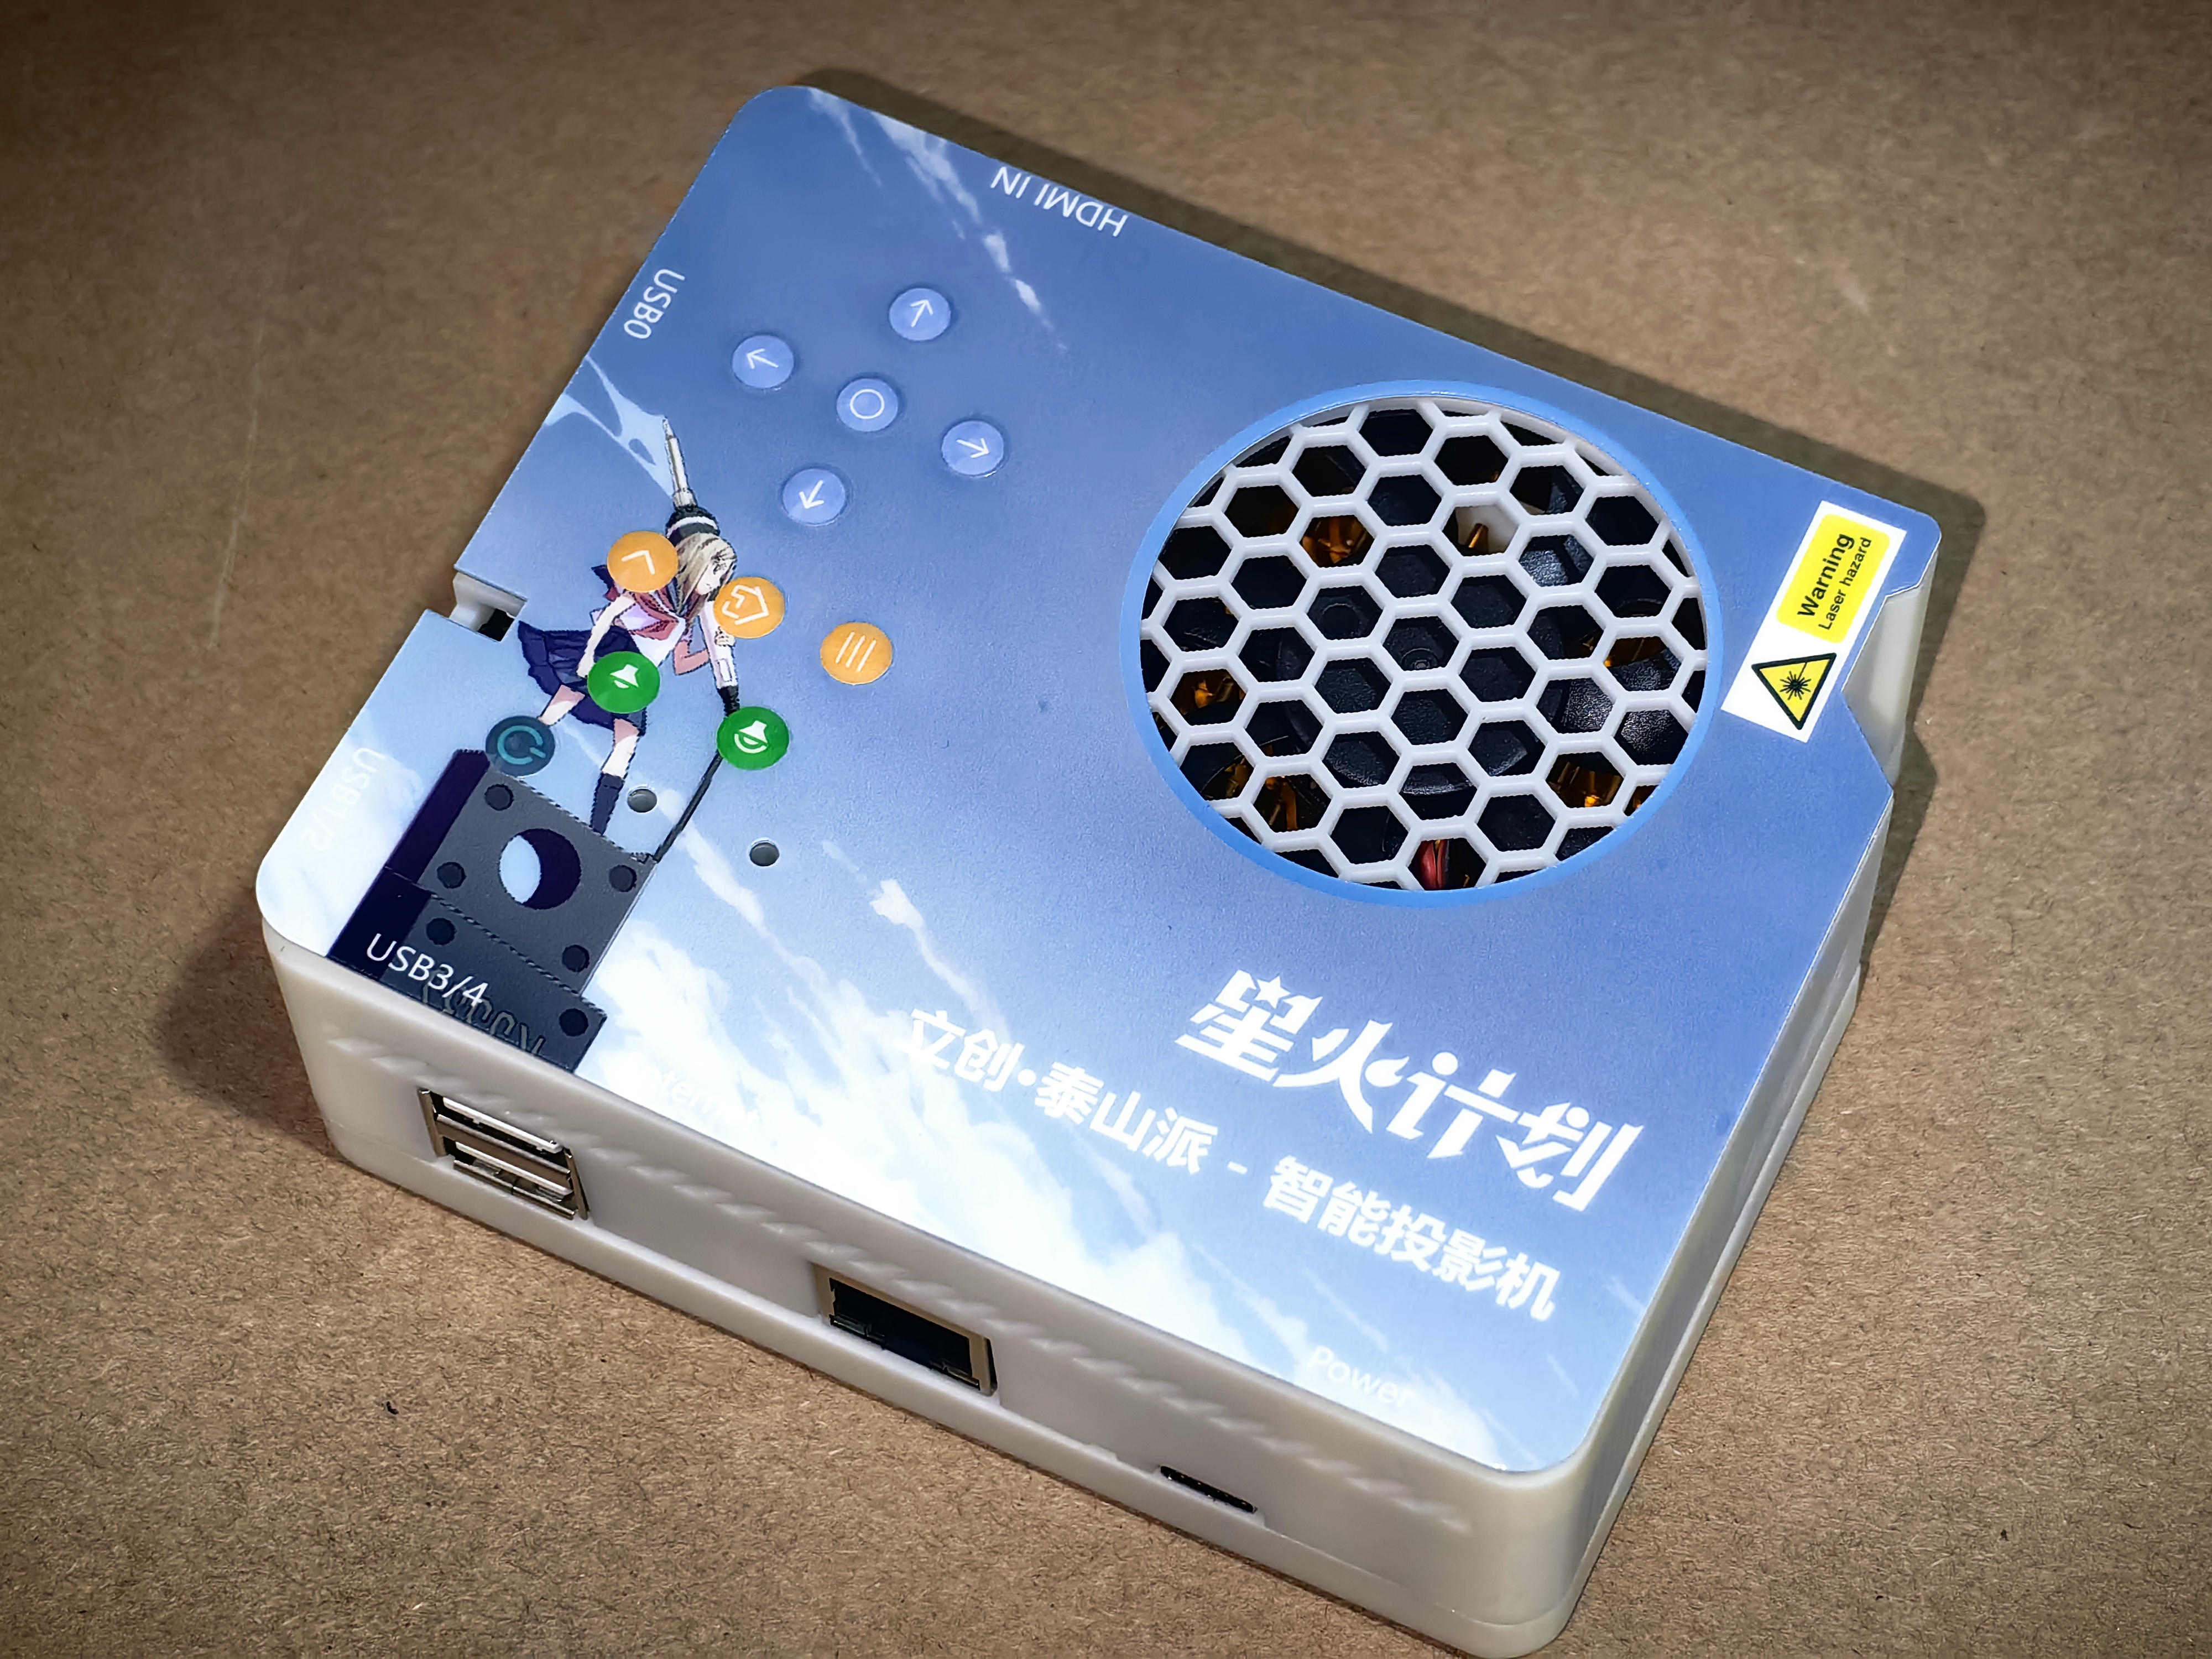
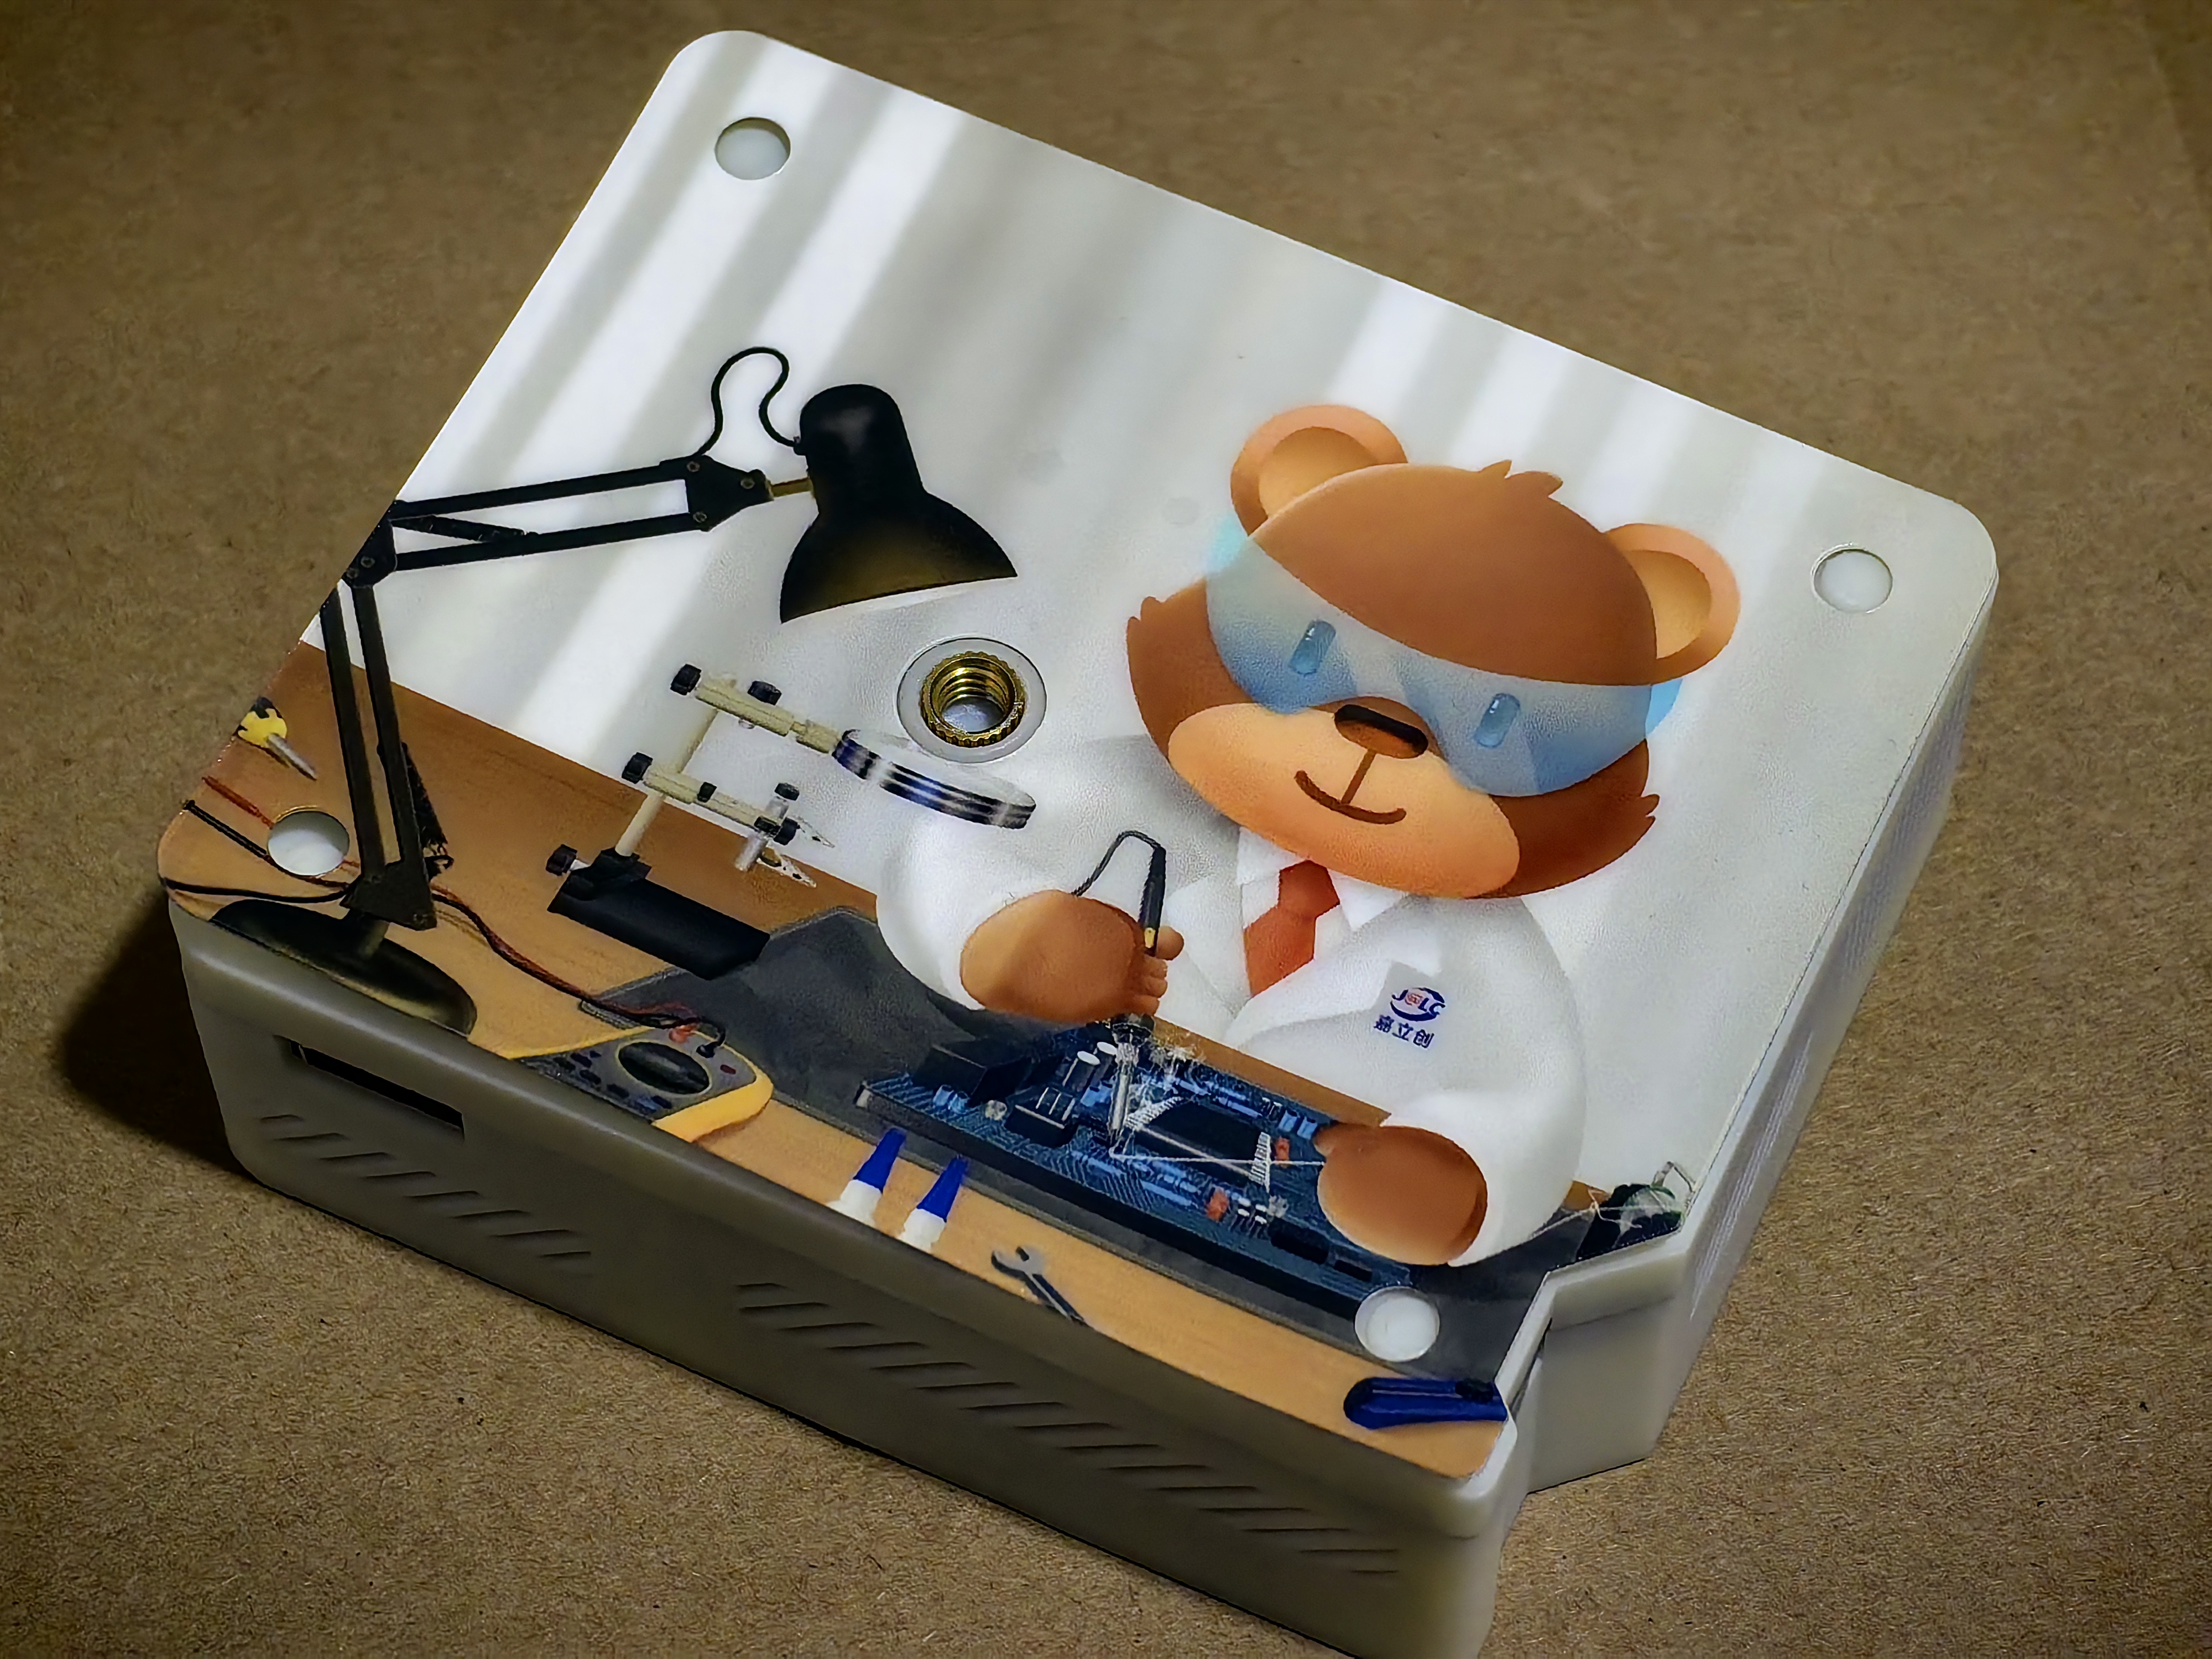
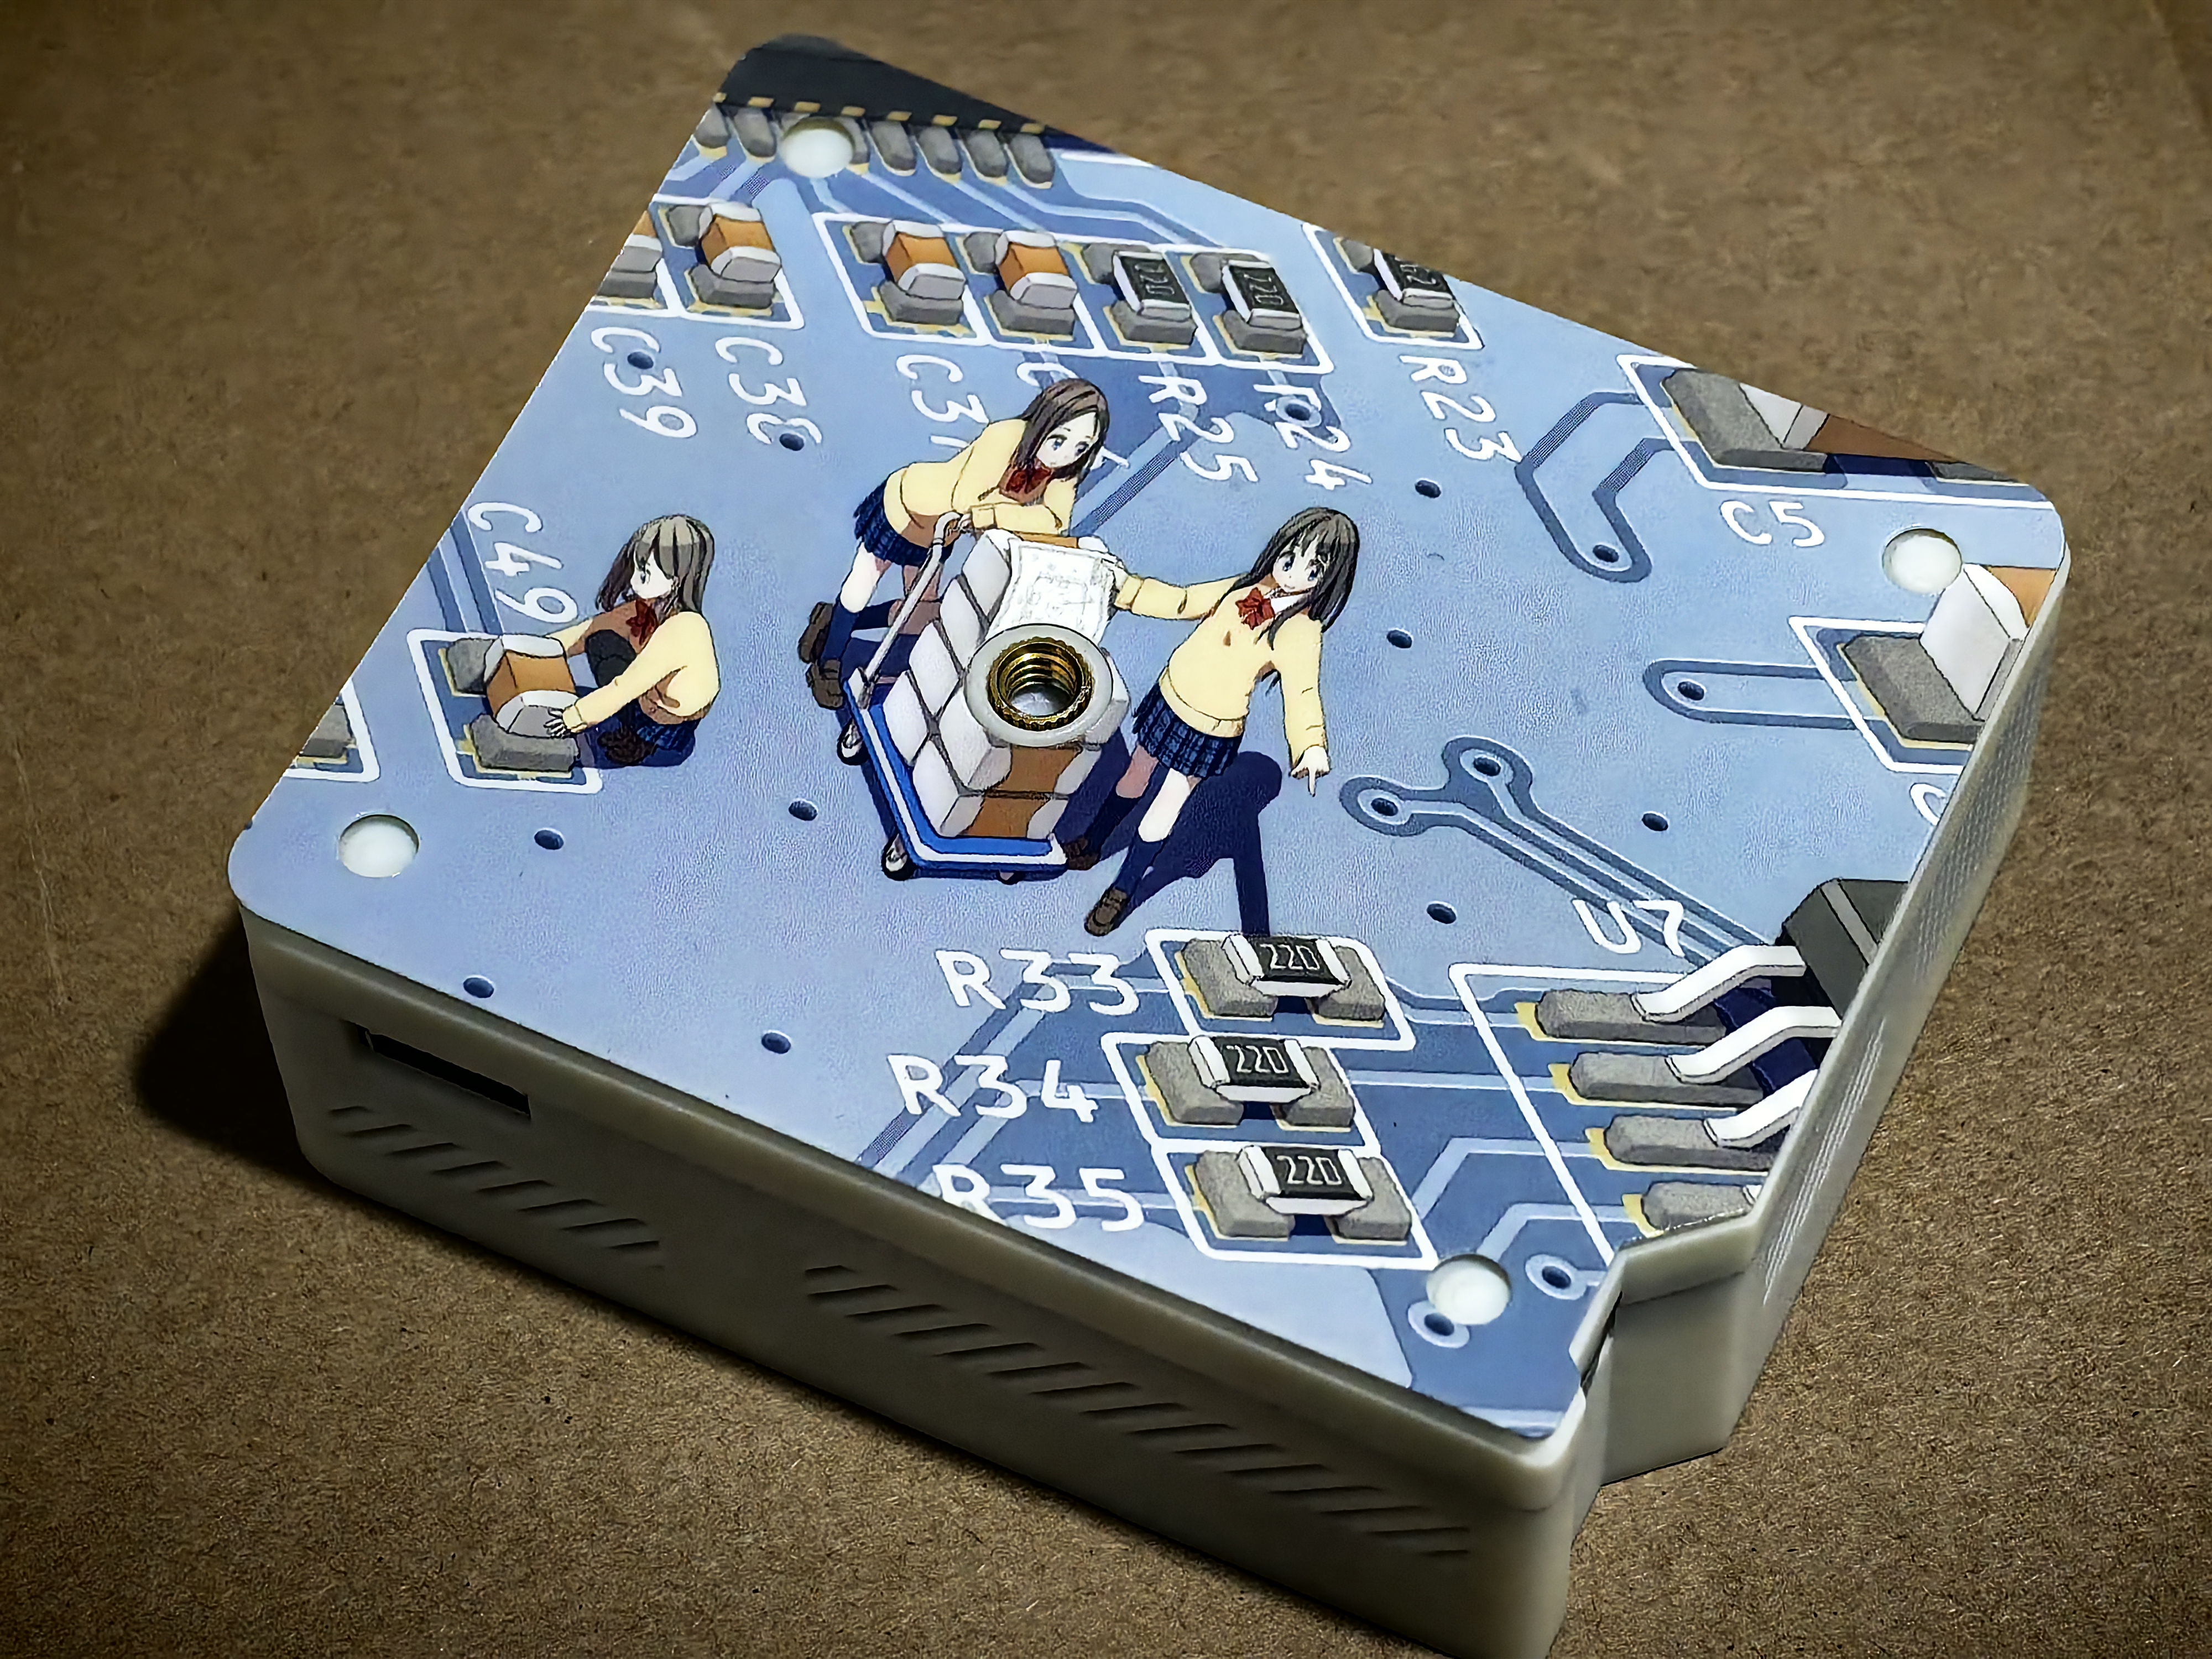
- Paste the front and back panels and you're done! Provide three styles of panels: simple version, two-dimensional version, and bear version (pay tribute to JLC custom mouse pad).
Project progress (Changelog)
The project is maintained for a long time, and it is hoped that the powerful colleagues will work together and put forward valuable suggestions.
2024-05-05
- Fixed the issue that the image quality settings were lost after restarting.
- Fixed the issue that the settings were lost after the hoisting settings were restarted.
- Update pre-installed software.
- Replace C68 and C69 capacitors to prevent potential safety hazards caused by less than 12V.
2024-04-29
- The wall thickness of the housing has been adjusted from 2 mm to 1.5 mm to prevent the FDM process from making it difficult to install the optical machine.
- Remove the protrusion at the bottom of the bottom cover to reduce the difficulty of 3D printing.
- Enhanced hot melt nut implant fault tolerance.
- Adjust the position of the fixed surface of the speaker to solve the problem of interference with a solid capacitor.
- The support sheet of the optical machine is increased and the cooling fan is moved forward to strengthen the connection between the optical machine and the main control board.
- Open TF card cutout.
- Update the panel cutout synchronously.
2024-04-13
- Enclosure and panel verification.
2024-04-09
- The HDMI IN display screen is displayed directly using the UVC protocol instead of CameraX's PreviewView.
- The Launcher grants USB permission by default, eliminating the need for pop-up boxes.
- If the HDMI is plugged in when the computer is turned on, the HDMI IN display screen is turned on directly.
- Support opto-mechanical optical axis adjustment and phase adjustment.
2024-04-06
- Support automatic start and stop of the fan according to the temperature of the optical machine (automatically on at 45°C, automatically off at 35°C)
- Fixed an issue where IR remote control did not respond to the HOME button.
2024-04-05
- Finish painting the shell.
- Finish painting the top and north sides of the shell.
2024-04-02
- Verify the MPU v1.1.0.
- Completed the verification of the dashboard v1.1.0.
- Complete custom desktop APP writing (support optical and mechanical parameter tuning, support HDMI input screen display, support HDMI plugging and unplugging response)
2024-03-22
- Completed the initial revision of the main control board Layout (v1.1.0)
- Completed the initial revision of the dashboard layout (v1.1.0)
2024-03-12
- Optimize the HDMI capture card related circuitry.
2024-03-07
- Complete the initialization code for MIPI to RGB.
- Complete CXN0102 power on, off, on, and off output.
2024-03-04
- Complete the verification of the main control board.
- Complete the dashboard verification.
2024-02-21
- Complete the initial layout of the main control board.
- Completed the first layout of the dashboard.
Description of the item
Note: The following recommended purchase channels are only suggestions, I also buy materials in this channel, I have no commission rebate, pre-sales and after-sales problems please negotiate with the corresponding merchants to solve.
| No. | Model | Tags | illustrate | Recommended purchase channels |
| 1 | CXN0102 | - | Sony optical machine, resolution 1280×720, commonly used in Xiaobao robot disassembly, magic mirror, etc | Xianyu search Xiaobao robot light machine |
| 2 | MS2109 | U4 | HDMI to USB chip, you need to burn the program in EEPROM (tag number U8), it is recommended to buy channel 1 to buy a set of chips to provide programming services, or channel 2 to directly disassemble the chip, I have bought it | |
| 3 | 24C16 | U5 | See MS2109 instructions | |
| 4 | ICN6211 | U2 | RGB to MIPI chip, there is no stock in LCSC | https://m.tb.cn/h.5ttHAts4gWU3eXm?tk=o8jaWkBssbR |
| 5 | CH213K | U6/U7/U8 | 0.5A low voltage drop current limiting function diode chip, there is no such material in Lichuang Mall | https://m.tb.cn/h.5Gh2jpi0CUMa9i2?tk=TwVRWkBGywG |
| 6 | Cooling fan | - | 50*50*10 [12V], CXN0102 cooling fan, not necessary | https://m.tb.cn/h.5B9BUkCeAEXgkNm?tk=Kuh2WKUwwL3 |
| 7 | Heat sinks | - |
45*45*10 with adhesive backing, CXN0102 heat sink, necessary! If you don't have a cooling fan installed, you can use a larger size and thickness. |
https://m.tb.cn/h.5zjbUYSW3MN9YdG?tk=YUfwWKUwd5n |
| 8 | loudspeaker | - |
The 2030 cavity is installed in a reserved position on the right side of the main control board. |
https://m.tb.cn/h.5A7zpKciF3zMhrd?tk=pdv1WK9PGgf |
| 9 | RTC battery | - |
CR2032 B line sequence |
https://m.tb.cn/h.gZjCNx1mEw4ek6T?tk=8aUtWJPf5BG |
| 10 | 39pin cable | - |
0.3 pitch 39pin in the same direction |
https://m.tb.cn/h.ga5sStpNX8yU9AV?tk=IAICWJPelFF |
| 11 | 31pin cable | - |
0.3 pitch 31pin in the same direction |
https://m.tb.cn/h.5AGUPNnS3sHFoyR?tk=KNx8WJPVt2W |
| 12 | 6pin cable | - |
0.5 pitch 6pin in the same direction |
https://m.tb.cn/h.gaI6VUzcpUkeXOo?tk=EC9RWJPVdeR |
| 13 | 3D printed top cover | - |
The STL file is attached |
- |
| 14 | 3D printed case back | - |
The STL file is attached |
- |
| 15 | 3D printed short keycaps | - |
The stl file is attached for the 10 buttons on the dashboard, 10 of which need to be printed |
- |
| 16 | 3D printed long keycaps | - |
The stl file is attached for the Taishan Pi onboard PWR keys |
- |
List of fasteners
| No. | Type | Size | Dosage | Recommended purchase channels |
| 1 | Hot melt copper nuts | M1.2*2.5*2 | 2 | https://m.tb.cn/h.5AecjZTscUgBwE5?tk=0RQUWKg1TYF |
| 2 | Hot melt copper nuts | M3*3*4.2 | 11 | https://m.tb.cn/h.5Ae23zj2jWMR4cB?tk=5bFtWKgXl5B |
| 3 | Hot melt copper nuts | 1/4*6*8 | 1 | https://m.tb.cn/h.5BPfntPv4sAEYfh?tk=vRMQWKg2MMV |
| 4 | Flathead screws | M3*12 | 4 | https://m.tb.cn/h.5BP51S5Po4Scomq?tk=Uec7WKgXbgW |
| 5 | Single-head hexagonal copper pillar | M3*8+6 | 4 | https://m.tb.cn/h.5zaxeKBh4UIOuIQ?tk=kD5AWKgXpQ5 |
| 6 | Single-head hexagonal copper pillar | M3*12+6 | 4 | https://m.tb.cn/h.5AeX5M5636MGRgX?tk=6wc0WKg2AUy |
| 7 | Round head screws | M1.2*6 | 2 | https://m.tb.cn/h.5Ae2Sv6fPK1Bs7l?tk=v3nKWKg2C3V |
| 8 | Round head screws | M3*6 | 2 | https://m.tb.cn/h.5BPUHP0yzUOR38J?tk=cDfgWKg2rss |
| 9 | Round head screws | M3*8 | 2 | https://m.tb.cn/h.5zay0kverOrU4nP?tk=VWt6WKgXIjb |
| 10 | Round head screws | M3*30 | 3 | https://m.tb.cn/h.5zay7SfLXJuvE9o?tk=9H5nWKgdNsK |
Schematic diagram of fastener assembly
 |
 |
 |
 |
 |
 |
 |
 |
 |
Firmware and shell acquisition
Link:https://pan.baidu.com/s/1C0nd4XRrlDxFH-a9CVPCKA?pwd=TSPI
PWD:TSPI
Software data acquisition
SDK:https://gitee.com/fengmoxi/tspi-cxn0102
App:https://gitee.com/fengmoxi/tspi-cxn0102-app
Acknowledgement
Thanks to the R&D team of "LC Taishan Pi Development Board" for bringing us a good-looking, easy-to-use, and low-cost development board;
Thanks to Wu Gong, the person in charge of the development board of LC and Chen Gong of the Spark Project, for their support and help to this project;
Thanks to Arzhe, Sakura and other partners in the "LC Development Board Exchange Group 8" for providing opto-mechanical related information in the initial stage of this project.
Open source references
Android TV motherboard uses "LC Taishan Pi Development Board";
The MIPI to RGB part refers to the open source project "Taishan Pi MIPI DSI to RGB Adapter".
Renderings


Designed by 风漠兮 (from OSHWHub)
Design Drawing
 The preview image was not generated, please save it again in the editor.
 Empty
Empty


Comment