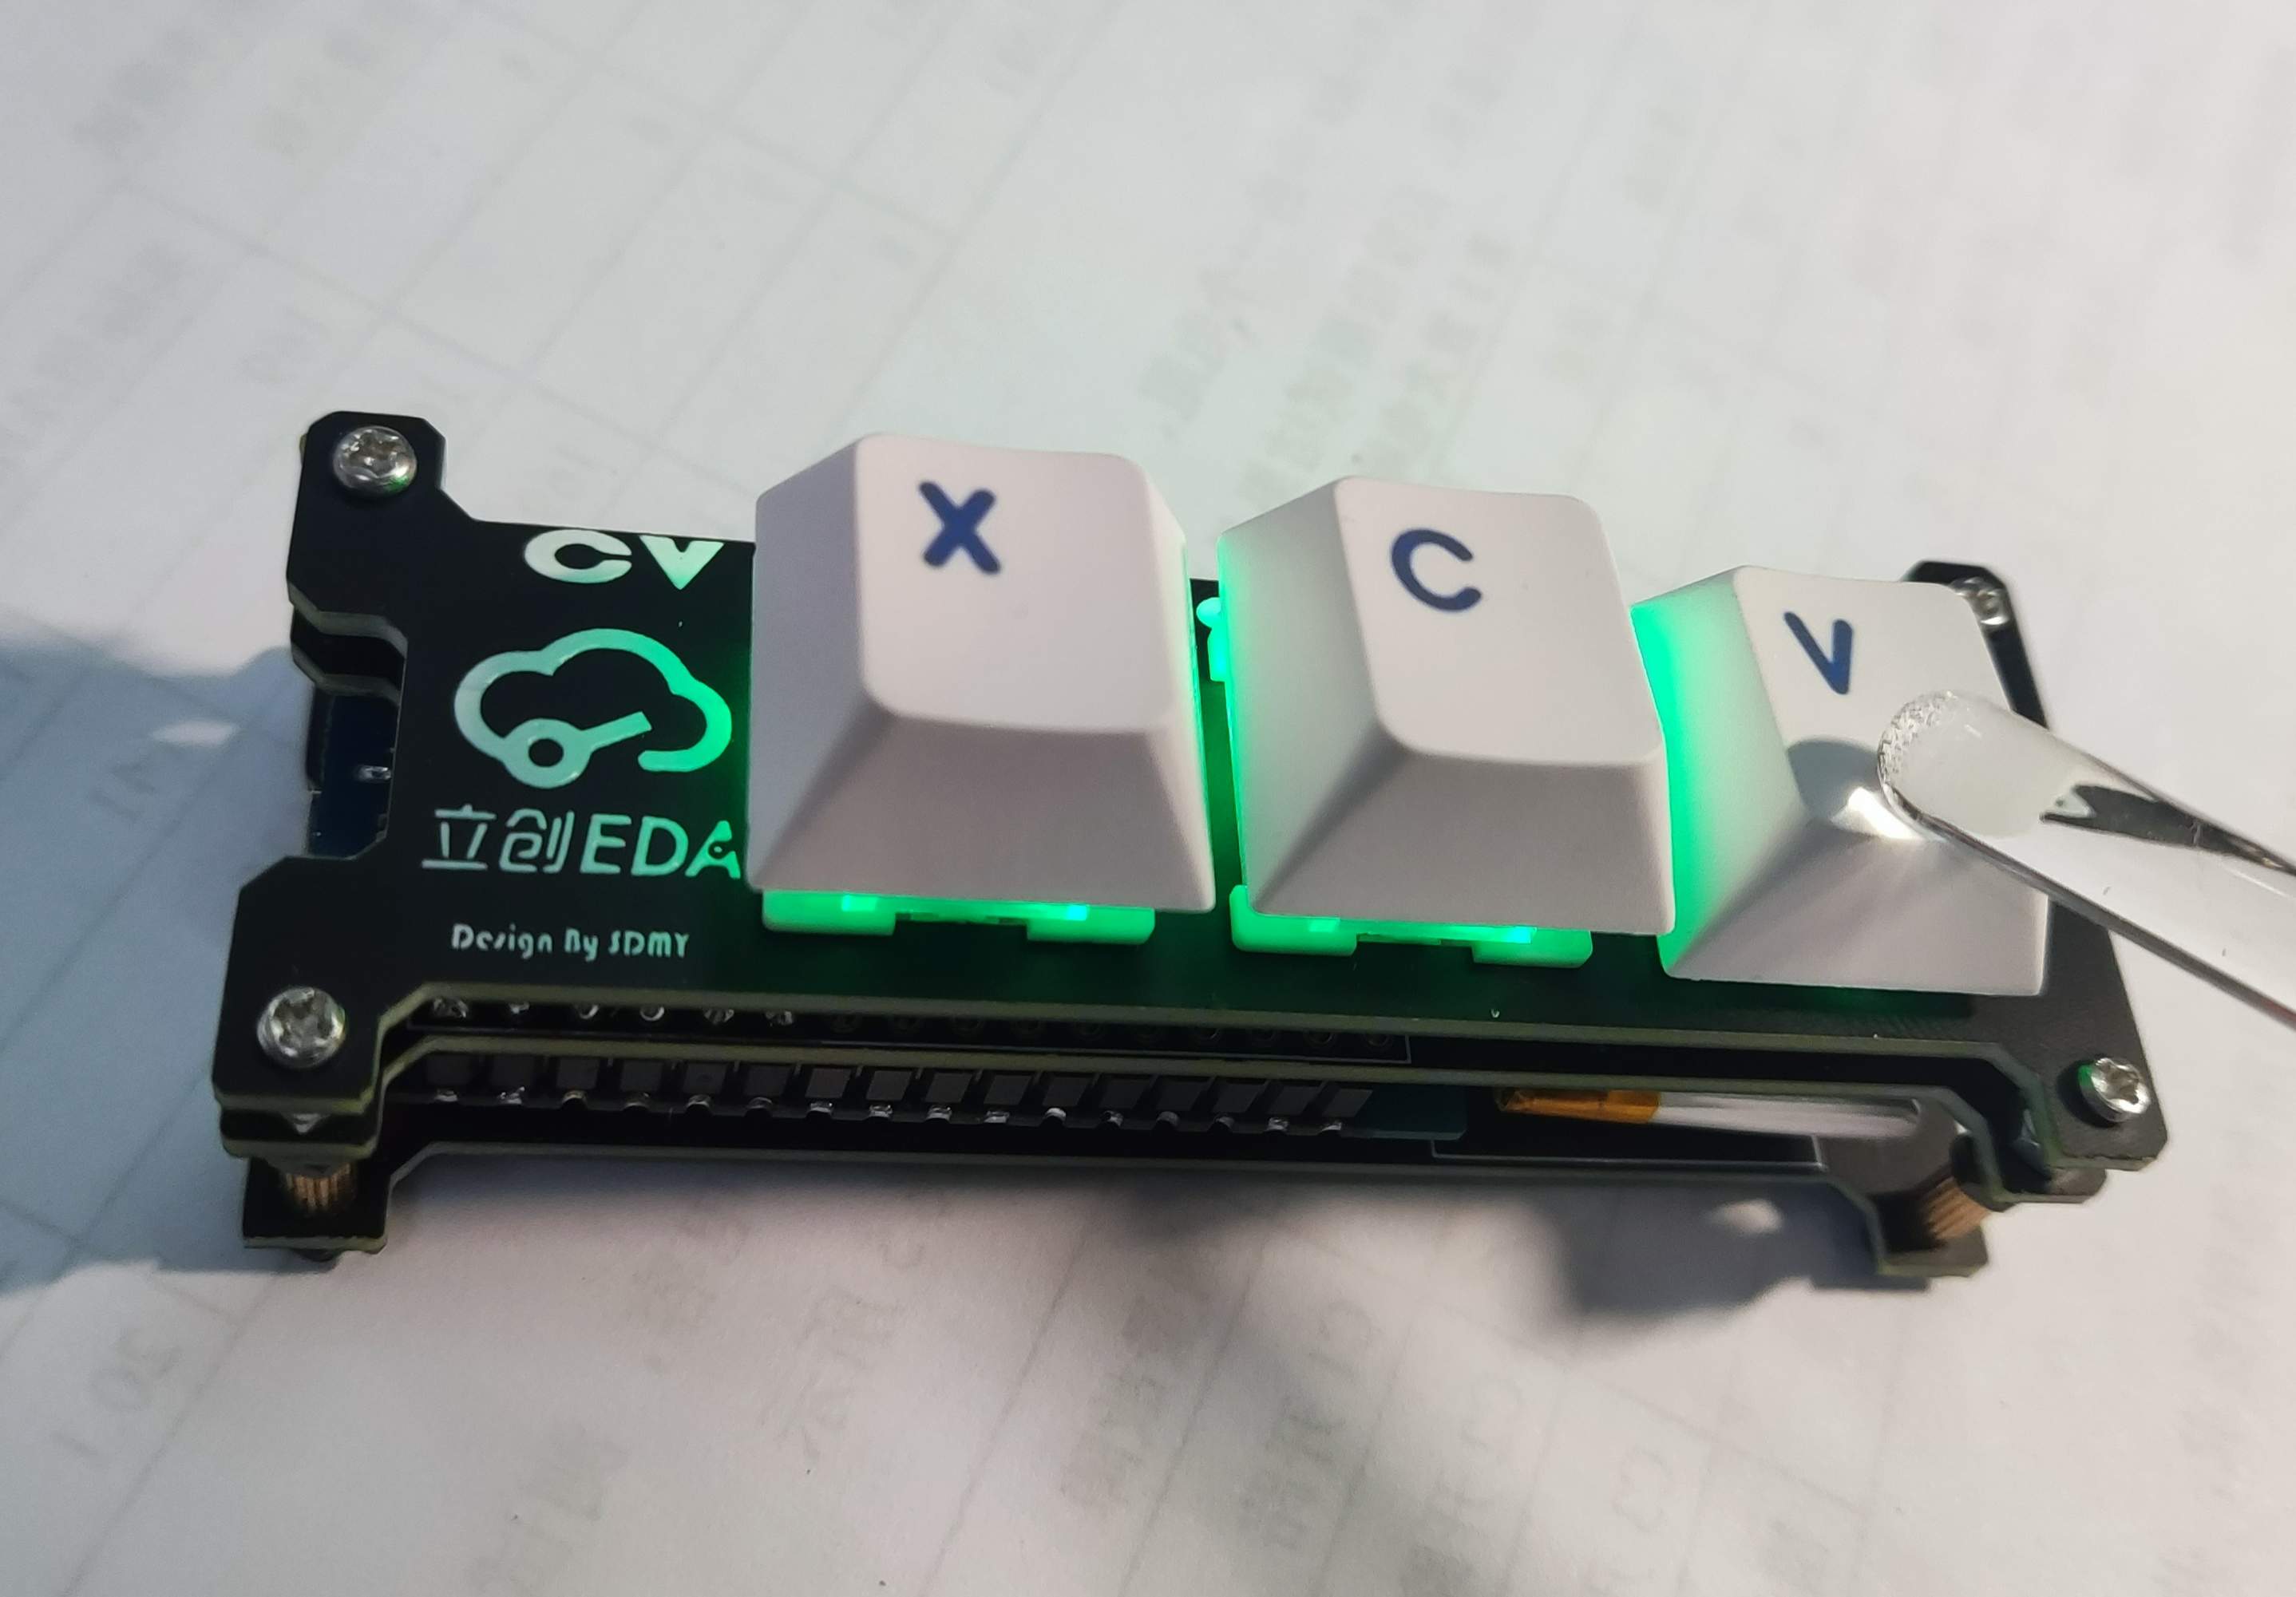
 Completed
Keyboard for CV engineers
PRO Keyboard for CV engineers
License
:GPL 3.0
Description
Well, I suddenly came up with the idea of making a Bluetooth keyboard based on ESP32. I first made a small toy to play with, and decided to play with it as a rechargeable Bluetooth keyboard with only three keys (CTRL, X/C, V).
Considering the difficulty and cost of open source production, this time ESP32 will be used as the main control and Arduino will be used for development. STM is too expensive. Now, it happens that ESP also has Bluetooth function, so there is no need to connect a separate Bluetooth. Of course, RGB and hot-swappable switches are indispensable.
Update log
The verification was completed on September 8, and the first version was uploaded;
On September 10, some formatting was edited and instructions were added;
On September 25th, the ESP32-c3 development board of board1 has been successfully verified.
Well, the project was officially released on September 8th, and the first version has been successfully verified.

Full-key hot-swappable, programmable RGB (WS2812 (shielded) b). Of course, the full-keys are also programmable key combinations. The current settings are CTRLX, CTRLC, and CTRLV (I think you can actually change X to Z and withdraw with one click) ).
Not too many RGB lighting effects have been added, and will continue to be developed in the future. Of course, those who are interested can adjust it themselves.
If you like it, please collect it, like it, leave a comment and leave your footprints~
Introduce:
This time the PCB is divided into three parts, the positioning board, the main control board, and the base board. I put them together and just cut them apart after I got them. There is no need to cut the board multiple times.
Kaihua's hot-swappable base for the axis seat is 14 yuan for 20 pieces. The RGB lamp uses WS2812 (this is a shielded word.) b. Stick the lamp backwards. Pay attention to the orientation when welding. It should be that the small triangle is in the lower right corner when it is facing forward.

The fixed screws are M2 screws, nuts, and studs. Just choose M2x12mm screws, M2 nuts, and M2 6+3mm studs.
The battery chosen is a polymer lithium battery, the size is 20mmx20mm, and the model is 402020 (in fact, the space can accommodate two stacked batteries.)
The power management part uses ETA9741 for charge and discharge management.
Introductory video link: https://www.bilibili.com/video/BV1Da41137fp
The materials that need to be prepared are as follows:
1: ETA9741x1, 0420 package 2.2uH inductor x1, 0805 package 22uF capacitor x2, 0603 package capacitor 10uFx1, 0603 package capacitor 1uFx2, 0603 package capacitor 100nFx3;
2: Kaihua hot-swappable shaft seat x3, reverse-attached WS2812()B lamp bead x3, MSK-12C02 switch x1;
3: 402020 polymer lithium battery x1;
4: ESP32-C3 Hezhou development board x1 ( can be replaced by board1 );
5: Choose 4 M2x12mm screws, multiple M2 nuts, and 4 M2 studs 6+3mm.
Note: Regarding the fourth item, the version of Hezhou's development board with serial port has always been out of stock, and I didn't know if I asked customer service. So PCB1 of this project is the ESP32C3 development board I drew myself. It is a keyboard-compatible PCB and has been successfully verified. In fact, Hezhou's board without a serial port can also be used, but you need to use an external serial port debugger for programming. This will make it possible to directly buy a development board without a serial port. If it is in stock, 9.9 free shipping.
Precautions for production
1: Please refer to the environment for developing ESP32C3 using Arduino IDE https://blog.csdn.net/weixin_42328389/article/details/121157234. When burning the Hezhou board, remember to change the FLASH MODE to DIO . I have uploaded the program and used libraries to the attachment.When burning the ESP32-C3 development board in this project, change the FLASH MODE to QIO and it can be used normally.Or you can use platformio development on VScode.
2: Pay attention to the direction of the RGB light.
3: Lithium batteries are generally protected when they come out. They must be powered off and activated before they can be used normally.
4: The assembled screws can be installed like this, the size is just right.
5: I wish everyone smooth production~~~
Designed by 上电冒烟 (from OSHWHub)
Link:https://oshwhub.com/z_star/CVgong-cheng-shi-zhuan-yong-jian
Design Drawing
 The preview image was not generated, please save it again in the editor.
 Empty
Empty


Comment