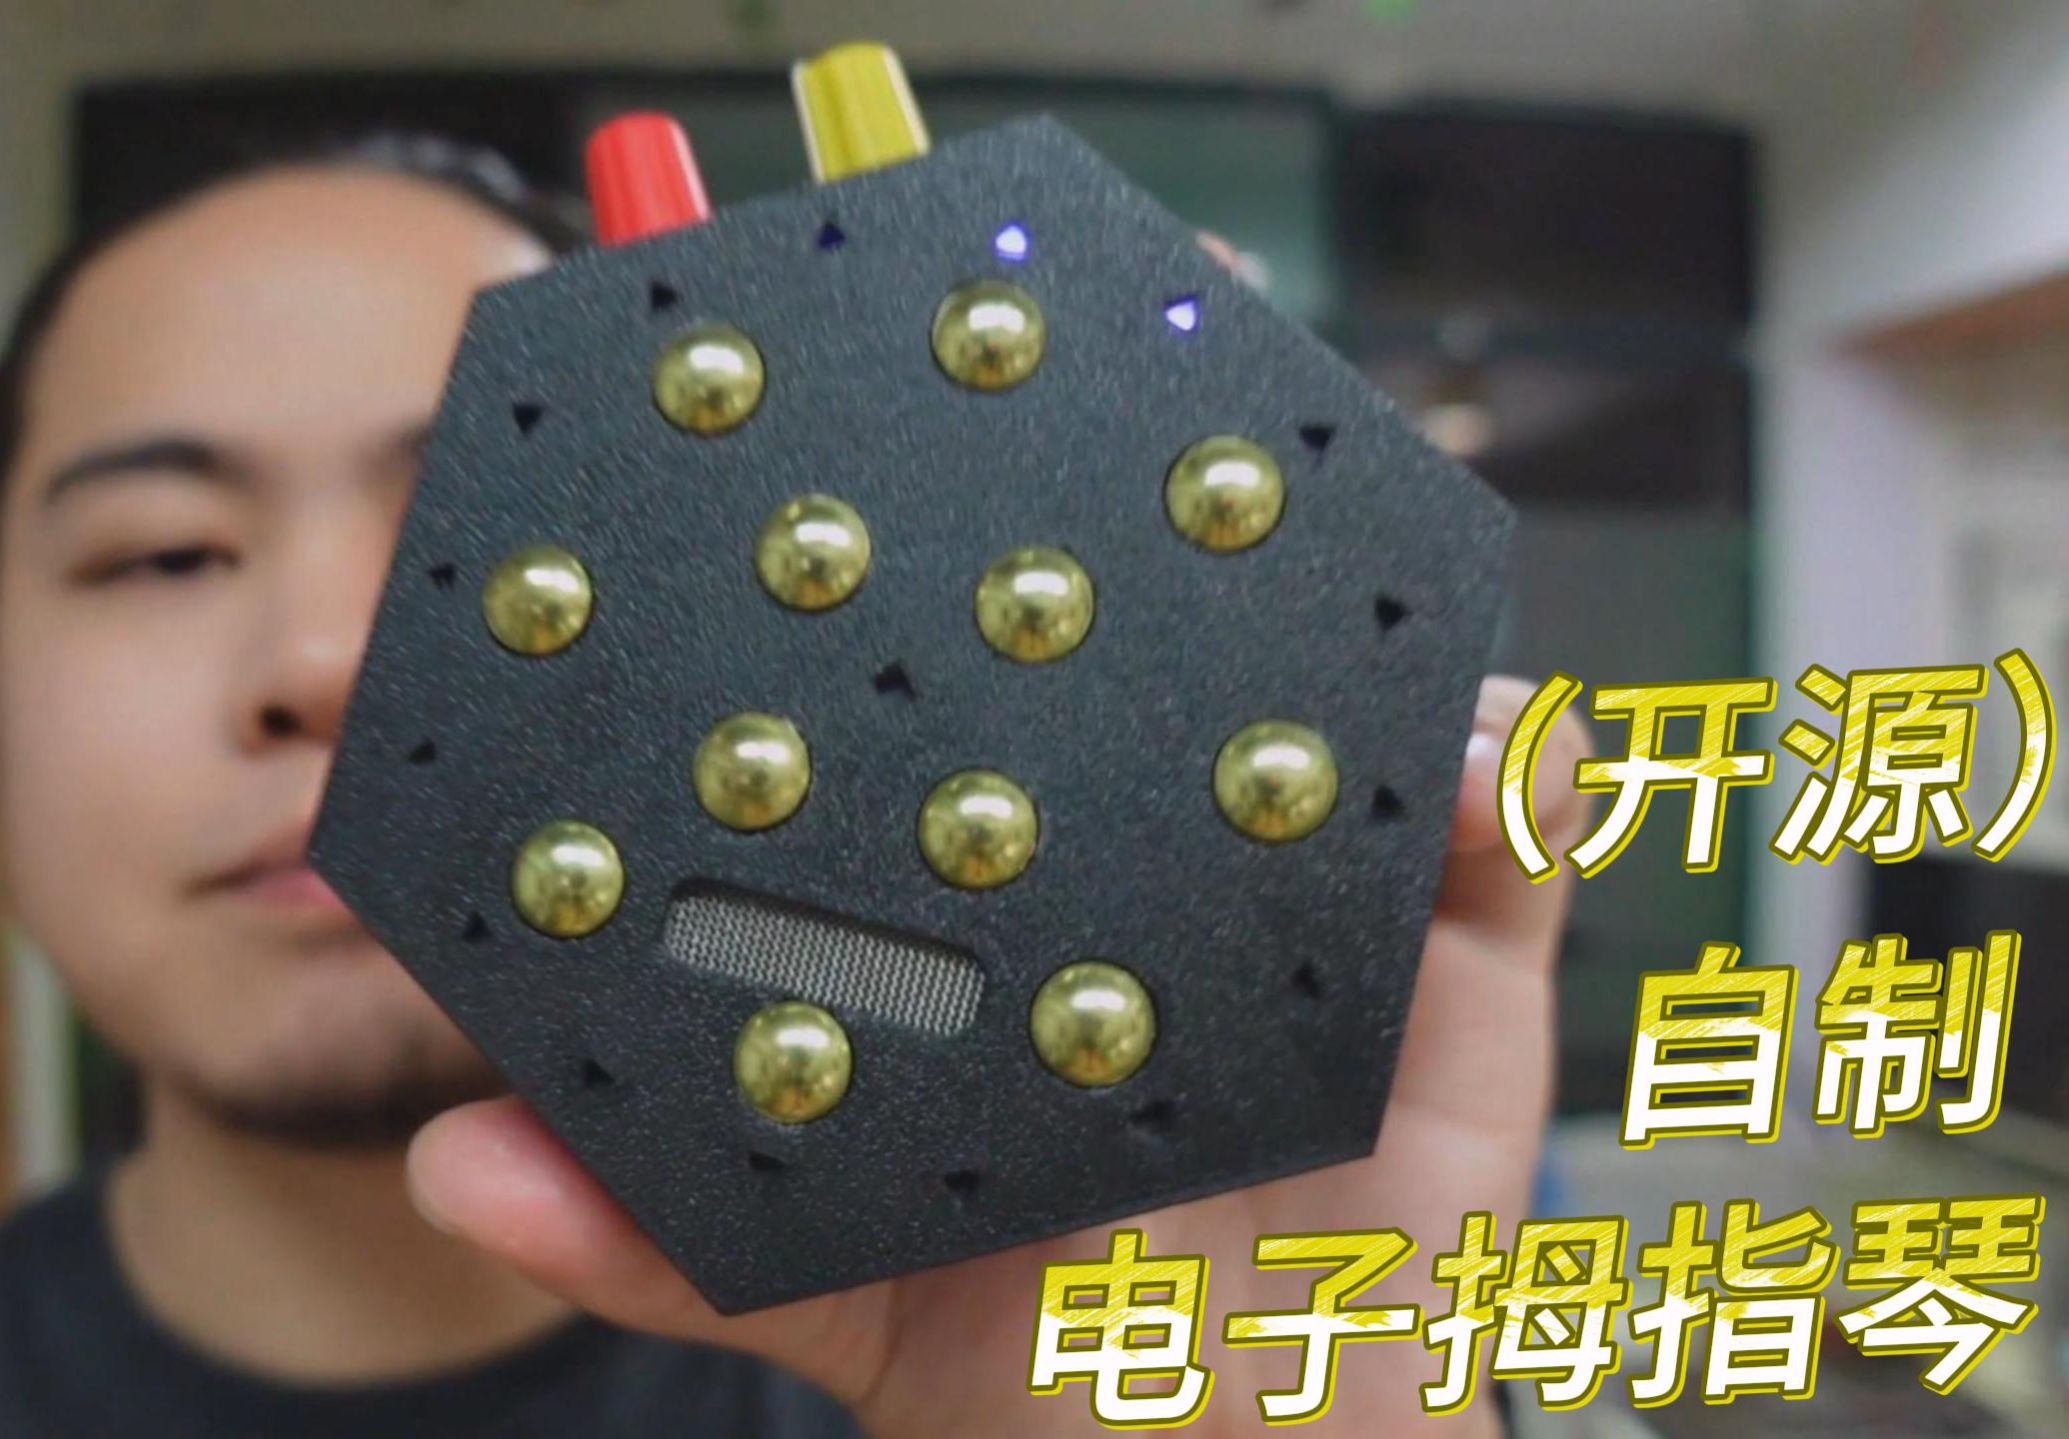
 Completed
Homemade thumb keyboard
PRO Homemade thumb keyboard
License
:GPL 3.0
Description
I used twelve tacks to use as touch keys and followed a zigzag layout that made up a full octave.
The thumb piano is polyphonic and can produce up to 6 notes at the same time, and can be bent accordingly by swinging. The two knobs on the left-hand side, one for controlling the current key, and the other for selecting the 16 adjustable scales. (Video link: https://www.bilibili.com/video/BV1o1421B7Ui/).

The overall circuit hardware adopts a relatively modular design and is easy to assemble. The size of the circuit board is controlled within 10*10 for everyone to play the board for free. The main controller uses Raspberry Pi Pico, which is convenient to upload firmware and does not require additional programming software. It is an electronic project suitable for everyone's homemade entertainment.
After we place an order for the PCB, we assemble the hardware against the PCB file, BOM and the following figure:
Notes:
1. MPU6050 and CD74HC4067 these two modules are optional and optional.
2. When you weld these modules, you can choose to use a short pin header to weld, so that the pin header will not protrude too much after welding.
3. The speaker I chose is 8 ohm 1 watt, size: length 34.8 * width 11.2mm * height 6.4, with cavity for your reference. (The positive and negative poles of the speaker are connected to the positive and negative poles of the L output of the PAM8403)
4. The lithium battery I chose is 3500mah, size: length 68 * width 48 * height 6.5 for your reference.
(The project firmware and shell model files have been placed in the attachment at the end of the article, so please take them by yourself.)


After installing all the components on the board, we attach the printed housing and attach the tacks to the PCB as shown below:

Install the tacks on the housing first.

Then trim off the excessively long protruding part of the tack.

12 wires are soldered to the CN1/CN2/CN3 contacts of the PCB for attaching tacks.

Thread the wire through the housing.

Finally, the wires and tacks are welded together.

After the hardware parts are assembled, let's upload the firmware code to the main controller:
1. First, connect the Raspberry Pi Pico to your computer via USB.
2. Press and hold the BOOTSEL button on your Pico and release. At this point, Pico will enter bootloader mode
3. Next, your computer will recognize the Pico as a removable storage device. At this point, you'll see a device called "RPI-RP2" or similar appear in your file explorer.
4. Make sure you have downloaded the attached . UF2 file, copy the file from your computer to Pico's removable storage device.
5. Once the upload is complete, disconnect the Pico from the USB connection to your computer.
6. Pico will automatically restart and start executing the program you uploaded.
Install the shell and start the music~
Designed by 機音匠 (from OSHWHub)
Link:https://oshwhub.com/systemofadown/homemade-electronic-thumb-organ
Design Drawing
 The preview image was not generated, please save it again in the editor.
 Empty
Empty


Comment