

 Completed
ESP32-C245 Wireless Soldering Iron
PRO ESP32-C245 Wireless Soldering Iron
License
:CC BY-SA 4.0
Description
Project Description
ESP32-C245 wireless soldering iron is a portable wireless soldering iron powered by a lithium battery. It uses a C245 heating core and supports TYPE-C fast charging to directly supply power and charge lithium batteries. It supports real-time measurement and display of soldering iron temperature, current, voltage, power and other parameters.
Function Introduction
1. Supports -100℃ ~ 450℃ temperature range measurement and temperature calibration functions.
2. Supports lithium battery power supply and TYPE-C dual power supply, automatically switching power supply and charging lithium battery.
3. TYPE-C input power supply: 5~20V/5A PD fast charge deception power default: 65W.
4. The TYPE-C interface supports program downloading and fast charging decoy power supply (distinguishing function through forward and reverse plugging)
5. 3 commonly used buttons for mode switching and parameter setting, 1 reset button for programming programs.
6. ST7735 0.96-inch 160*80 pixel color LCD display displays various parameters.
7. Support multiple function settings, save data when power off, low power consumption sleep 20uA and wake up by key.
8. When powered by lithium battery, the maximum heating power is 20W and the heating speed is slightly slower than 350℃. Welding above 350℃ is more difficult and the battery life is relatively tight.
9. The maximum available heating power when powered by TYPE-C is 99W and the current limit is adjustable.
Open Source Agreement
This project is licensed under the "CC BY-SA 4.0" license. Please do not use it for commercial purposes. Please attach a link to the original source and this statement when reprinting.
Project Properties
1. This project has been published for the first time and has not won any awards in other competitions. It is an original CC BY-SA 4.0 open source project by Negentropic Light.
2. Gitee warehouse connection: https://gitee.com/arduino2021/ESP32-C245.git
3. The light of negative entropy 2023-11-22.
Project Progress
1. Prototype and verify the schematic PCB design of ESP32 wireless soldering iron 1.0 in August 2023
2. Prototype and verify the schematic PCB design of ESP32 wireless soldering iron 1.1 in September 2023
3. In October 2023, design the shell structure of ESP32 wireless soldering iron 1.1 and go to Lichuang 3D for proofing
4. In November 2023, we will officially start writing code and conducting tests to solve some bugs and improve the design of software, hardware and structural shells.
5. A total of 2 versions of the project were iterated and more than 600 yuan was spent on PCB proofing, 3D proofing of the shell and purchase of components.
Design Principles
1. This project uses ESP32-S3FN8 as the main control to collect the soldering iron thermocouple temperature signal and current signal through the ADC to control the PWM drive PMOS switch to control the soldering iron temperature and heating power.
2. The HUSB238-002D chip is used for fast charging deception. However, this chip does not support the fast charging protocol very well and cannot deceive the output of some chargers.
3. TPS61088RHLR is used to boost the battery voltage of about 3.7V to 8V to power the soldering iron to increase the heating power.
4. The XB7608AJ is used to provide overvoltage, undervoltage, overcurrent, and short-circuit protection for lithium batteries, while the SLM6305 is used for lithium battery charging.
5. LIS3DHTR is used for motion detection to determine whether to enter deep sleep mode.
6. GS8552 amplifier is used to amplify the temperature signal and current signal of the soldering iron thermocouple.
7. Affected by the low-end current sampling circuit, the current during operation will affect the temperature signal of the soldering iron thermocouple. Therefore, the temperature signal of the thermocouple is intermittently sampled and the temperature is obtained by looking up the table.
Function Mode Button
1. Constant temperature heating mode: short press the K1 button to switch between standby and working modes, long press the K1 button to enter deep sleep mode, short press the K2 K3 button to set the target temperature, and long press the K2 K3 button to switch to different modes.
2. Function setting mode: Short press the K1 key to switch to different function settings. Press and hold the K1 key to enter and exit the more detailed parameter setting interface. Short press the K2 K3 key to turn the function on or off. Add or subtract parameters.
3. Calibration setting mode: Short press the K1 key to switch between different calibration parameters. Long press the K1 key to enter and exit the more detailed parameter setting interface. Short press K2. K2 enters to subtract, add or turn on or off the parameters.
4. Deep sleep mode: In deep sleep mode, short press the K1 key to wake up and enter the constant temperature heating mode interface. In the constant temperature heating mode interface, long press the K1 key to enter the deep sleep mode.
Constant Temperature Heating Mode
1. Short press the K1 key to switch between standby and working modes, short press the K2 K3 key to set the target temperature, and long press the K2 K3 key to switch between different modes.
2. When in standby, it only measures the temperature of the soldering iron without heating it and can be used as a thermometer.
3. Measure the soldering iron temperature during operation and heat the soldering iron temperature to the set target temperature.
4. Set the target temperature range: -99℃~450℃.
5. Soldering iron temperature measurement range: -200℃~450℃. The range and accuracy are affected by temperature calibration parameters.
6. Start the sleep time timing to enter deep sleep mode when no motion is detected. Reset the timing when motion is detected.
7. When the lithium battery voltage is detected to be lower than 3.2V, it will enter deep sleep mode.
Function Setting Mode
1. Short press the K1 key to switch between different function settings. Long press the K1 key to enter and exit the more detailed parameter setting interface. Short press the K2 K3 key to turn the function on or off by 1 to add or subtract parameters.
2. Maximum current setting: Set the maximum heating current under different power supply voltages to prevent excessive current from pulling across the power supply.
3. Working mode setting: Default standard heating mode, smart heating mode will automatically +50℃ when detecting large solder joints. Welding is not perfect at present.
4. Motion detection settings: Set acceleration detection threshold.
5. Sleep time setting: Set a sleep timer of 1~60 minutes to enter deep sleep mode after the time exceeds.
6. Screen orientation setting: Set the screen orientation by short pressing the K2 K3 keys.
7. Auxiliary lighting settings: Set the LED auxiliary lighting switch.
8. Buzzer switch setting: Set whether the buzzer sound is on or off.
9. Restore default settings: Set parameters to 1. Restore the default values of all parameters and save them.
Calibration Setup Mode
1. Short press the K1 key to switch between different calibration parameters. Long press the K1 key to enter and exit the more detailed parameter setting interface. Short press K2 K2 to enter and subtract, add or turn on or off the parameters.
2. Use an external accurate thermometer to measure the actual temperature of the soldering iron to adjust the set temperature value. Let the soldering iron reach the temperature value to be calibrated and then press the calibration switch to save the corresponding soldering iron thermocouple voltage.
3. When calibrating the voltage, the calibration starts from 0°C by default. Put the soldering iron tip into the ice-water mixture for a while and then calibrate step by step. 500°C may exceed the range.
4. It is best to use a professional thermometer and multimeter for temperature calibration, which is unreliable. The calibration parameters below 0℃ are not calibrated. The written values are theoretical calculations.
5. The default calibration parameters are calibrated with a multimeter and are not very accurate. The voltages of soldering iron thermocouples from different manufacturers are likely to be different and need to be calibrated before use.
6. In order to support the temperature range measurement of -100℃ ~ 450℃, the measurement accuracy of 0~ 450℃ has been sacrificed.
Software Description
1. This program is based on the Arduino IDE development source program and dependent libraries as well as the compiled burning files in the attachment. Xiaobai recommends using ESP official tools for burning.
2. Download and burn through the ESP official tool. You need to install esp32 flash_download_tool_3.9.5, load the burning bin file, configure the corresponding parameters, download and restart.
3. To compile, download and burn through Arduino IDE, you need to install the esp32 development board and related libraries and select the corresponding chip parameter configuration. Installation package version : esp32_package_2.0.14.
4. When the chip downloads the program for the first time, if there is no USB device, change the plug. If the USB is not recognized, you need to pull the P0 pin low (press the K3 key) and then press the reset button to enter the forced download mode.
5. After successful burning in forced download mode, you need to press the reset button to restart the running program. The screen does not display. Press the button to see if there is any response. If there is any response, the screen does not light up. Enter deep sleep mode and try to wake it up.
6. If the screen becomes unresponsive and does not display a black screen after successful burning, focus on checking the hardware welding and download parameter configuration. If an abnormality occurs, try burning the program again.
Hardware Assembly
1. EESP32-C245 wireless soldering iron consists of: main control PCBA + adapter board PCBA + lithium battery + shell + C245 soldering iron core.
2. The main control PCB and the adapter board PCB are made of ordinary RF-4 material 2-layer boards with a thickness of 0.8mm. The two boards are welded together through pin headers. Be careful not to reverse the welding direction.
3. The adapter board PCBA needs to be welded with 3 types of beryllium bronze crown springs O4.5-8mm / K10#-8 / K16#-6. Please refer to the picture for detailed information. Pay attention to ventilation. Beryllium bronze welding is toxic.
4. The shell is designed using SOLIDWORKS 2021. There are two sets of similar solutions. The large shell and the small shell can be used in common, but there is a little difference in appearance. You can choose one to use.
5. The lithium battery is recommended to use R&F 782768SV model aircraft battery cell with capacity of 1750mAh, length 68*width 27*height 7.2mm. For detailed information, see the picture. As long as the parameters are suitable, other models can also be used.
6. TFT uses ST7735 0.96-inch 160*80 pixel color LCD display with welded 13PIN interface. Note that ST7735S that must use ST7735 may not display.
7. The C245 soldering iron core uses Sugon’s C245-SK small blade soldering iron core.
Announcements
1. This project is CC BY-SA 4.0. If the open source project requires large-scale commercial use, it must be authorized by the original author.
2. This project uses a large number of 0402 package components, which is difficult to hand-solder, or it uses JLC SMT. The project is more difficult to reproduce, so we need to do according to our ability.
3. When welding model aircraft batteries, it is recommended to discharge the voltage to 3.3V before welding the positive and negative poles. Do not weld the positive and negative poles in reverse, otherwise magic smoke will be released.
4. For the large 3D printed shell, try to use materials with high printing accuracy. For the small shells close to the heating end, try to use high-temperature-resistant materials.
5. Some parameters may be abnormal after first use. It is recommended to restore the default settings.
6. Abnormal software-controlled PWM drive constant current function will cause excessive current to pull down the power supply. Try to use a high-power power supply to avoid this problem.
7. When welding large pads at high temperatures, the maximum 20W heating power of the lithium battery may not be enough. It is recommended to use a high-power power supply.
8. Component parameters are subject to the schematic diagram. Relevant software and hardware information on Taobao that is not available in Lichuang Mall is in the attachment. The schematic diagram has notes and relevant information.
9. This project is only a personal DIY project and has not been professionally evaluated and tested. There may be hidden bugs. It is not perfect yet. Copy it with caution and use it at your own risk.
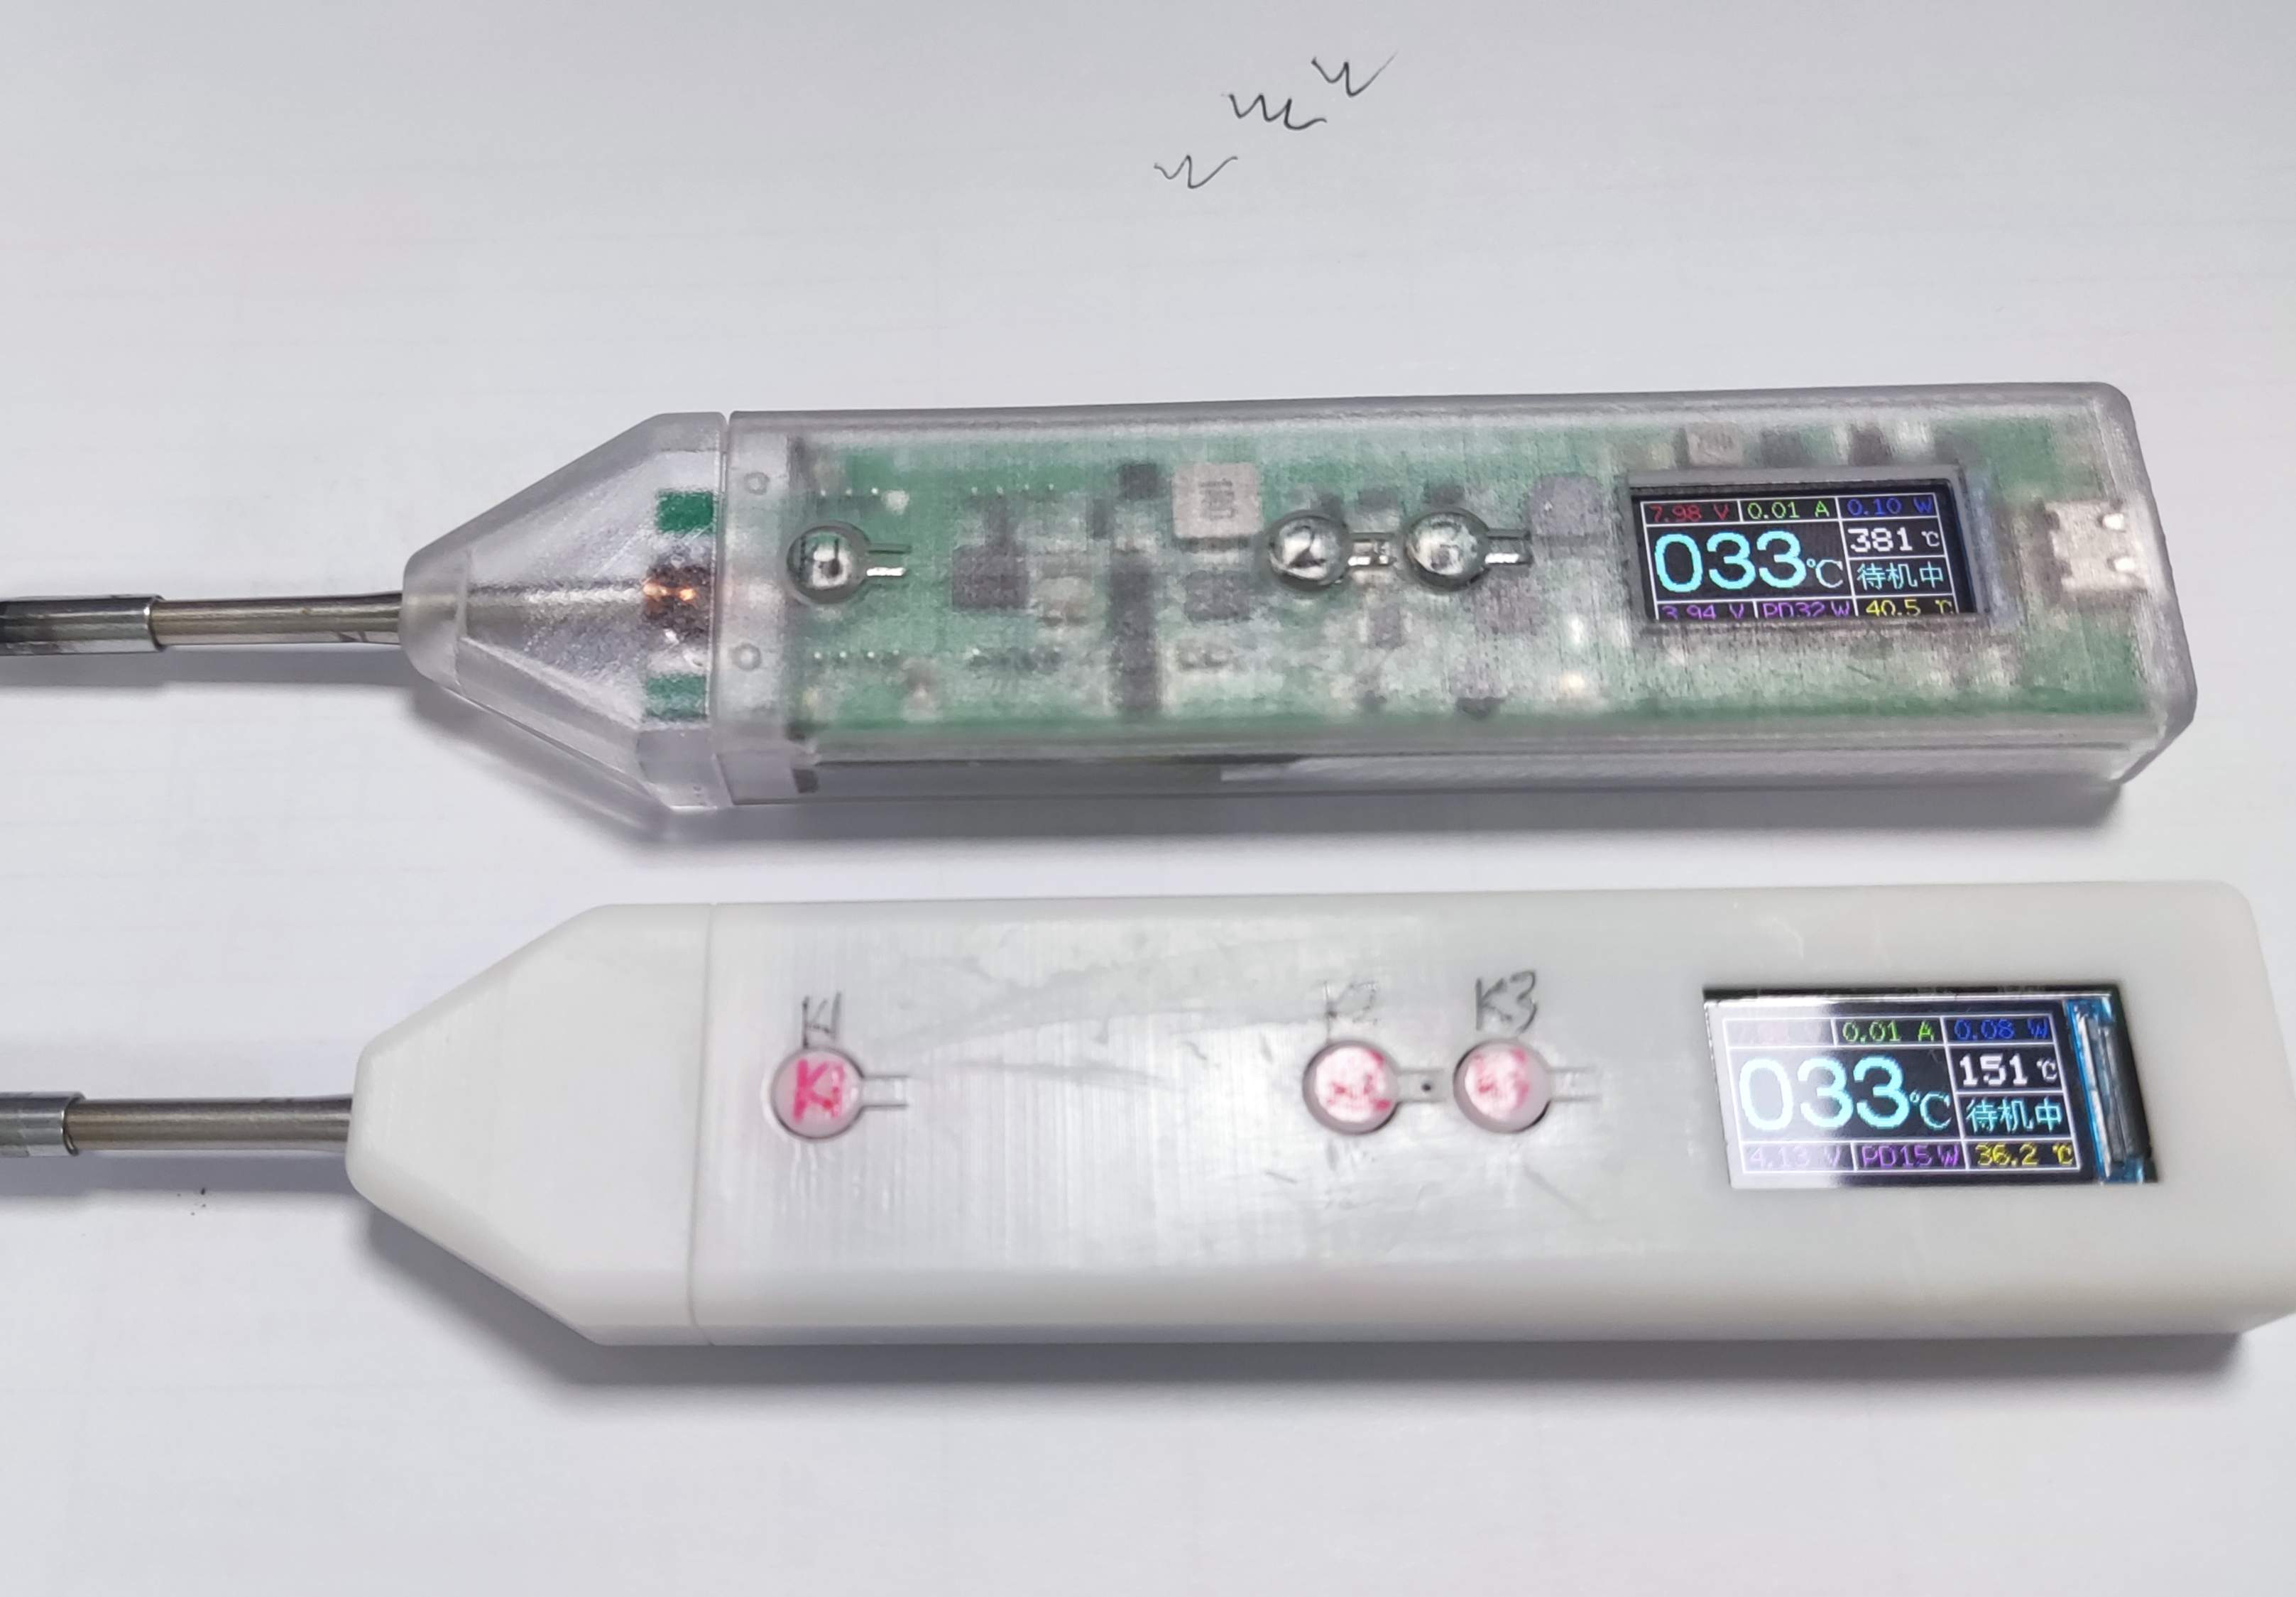
Physical Display


Designed by 负熵生之光 (from OSHWHub)
Design Drawing
 Empty
Empty
Comment