 Completed
[Details] Turtle Treasure linux intelligent small computer (based on Taishan Pi)
PRO [Details] Turtle Treasure linux intelligent small computer (based on Taishan Pi)
License
:Public Domain
Description
Design purpose: to learn Linux embedded development through Taishan Pi development board.
Project: Intelligent small assistant based on Taishan development board linux embedded platform.
PS: This project mainly refers to the small mobile phone project that was learned from the Taishan Pi training camp.
Document: [Fat Girl Mobile] Practical Project Materials - Feishu Cloud Document (feishu.cn).
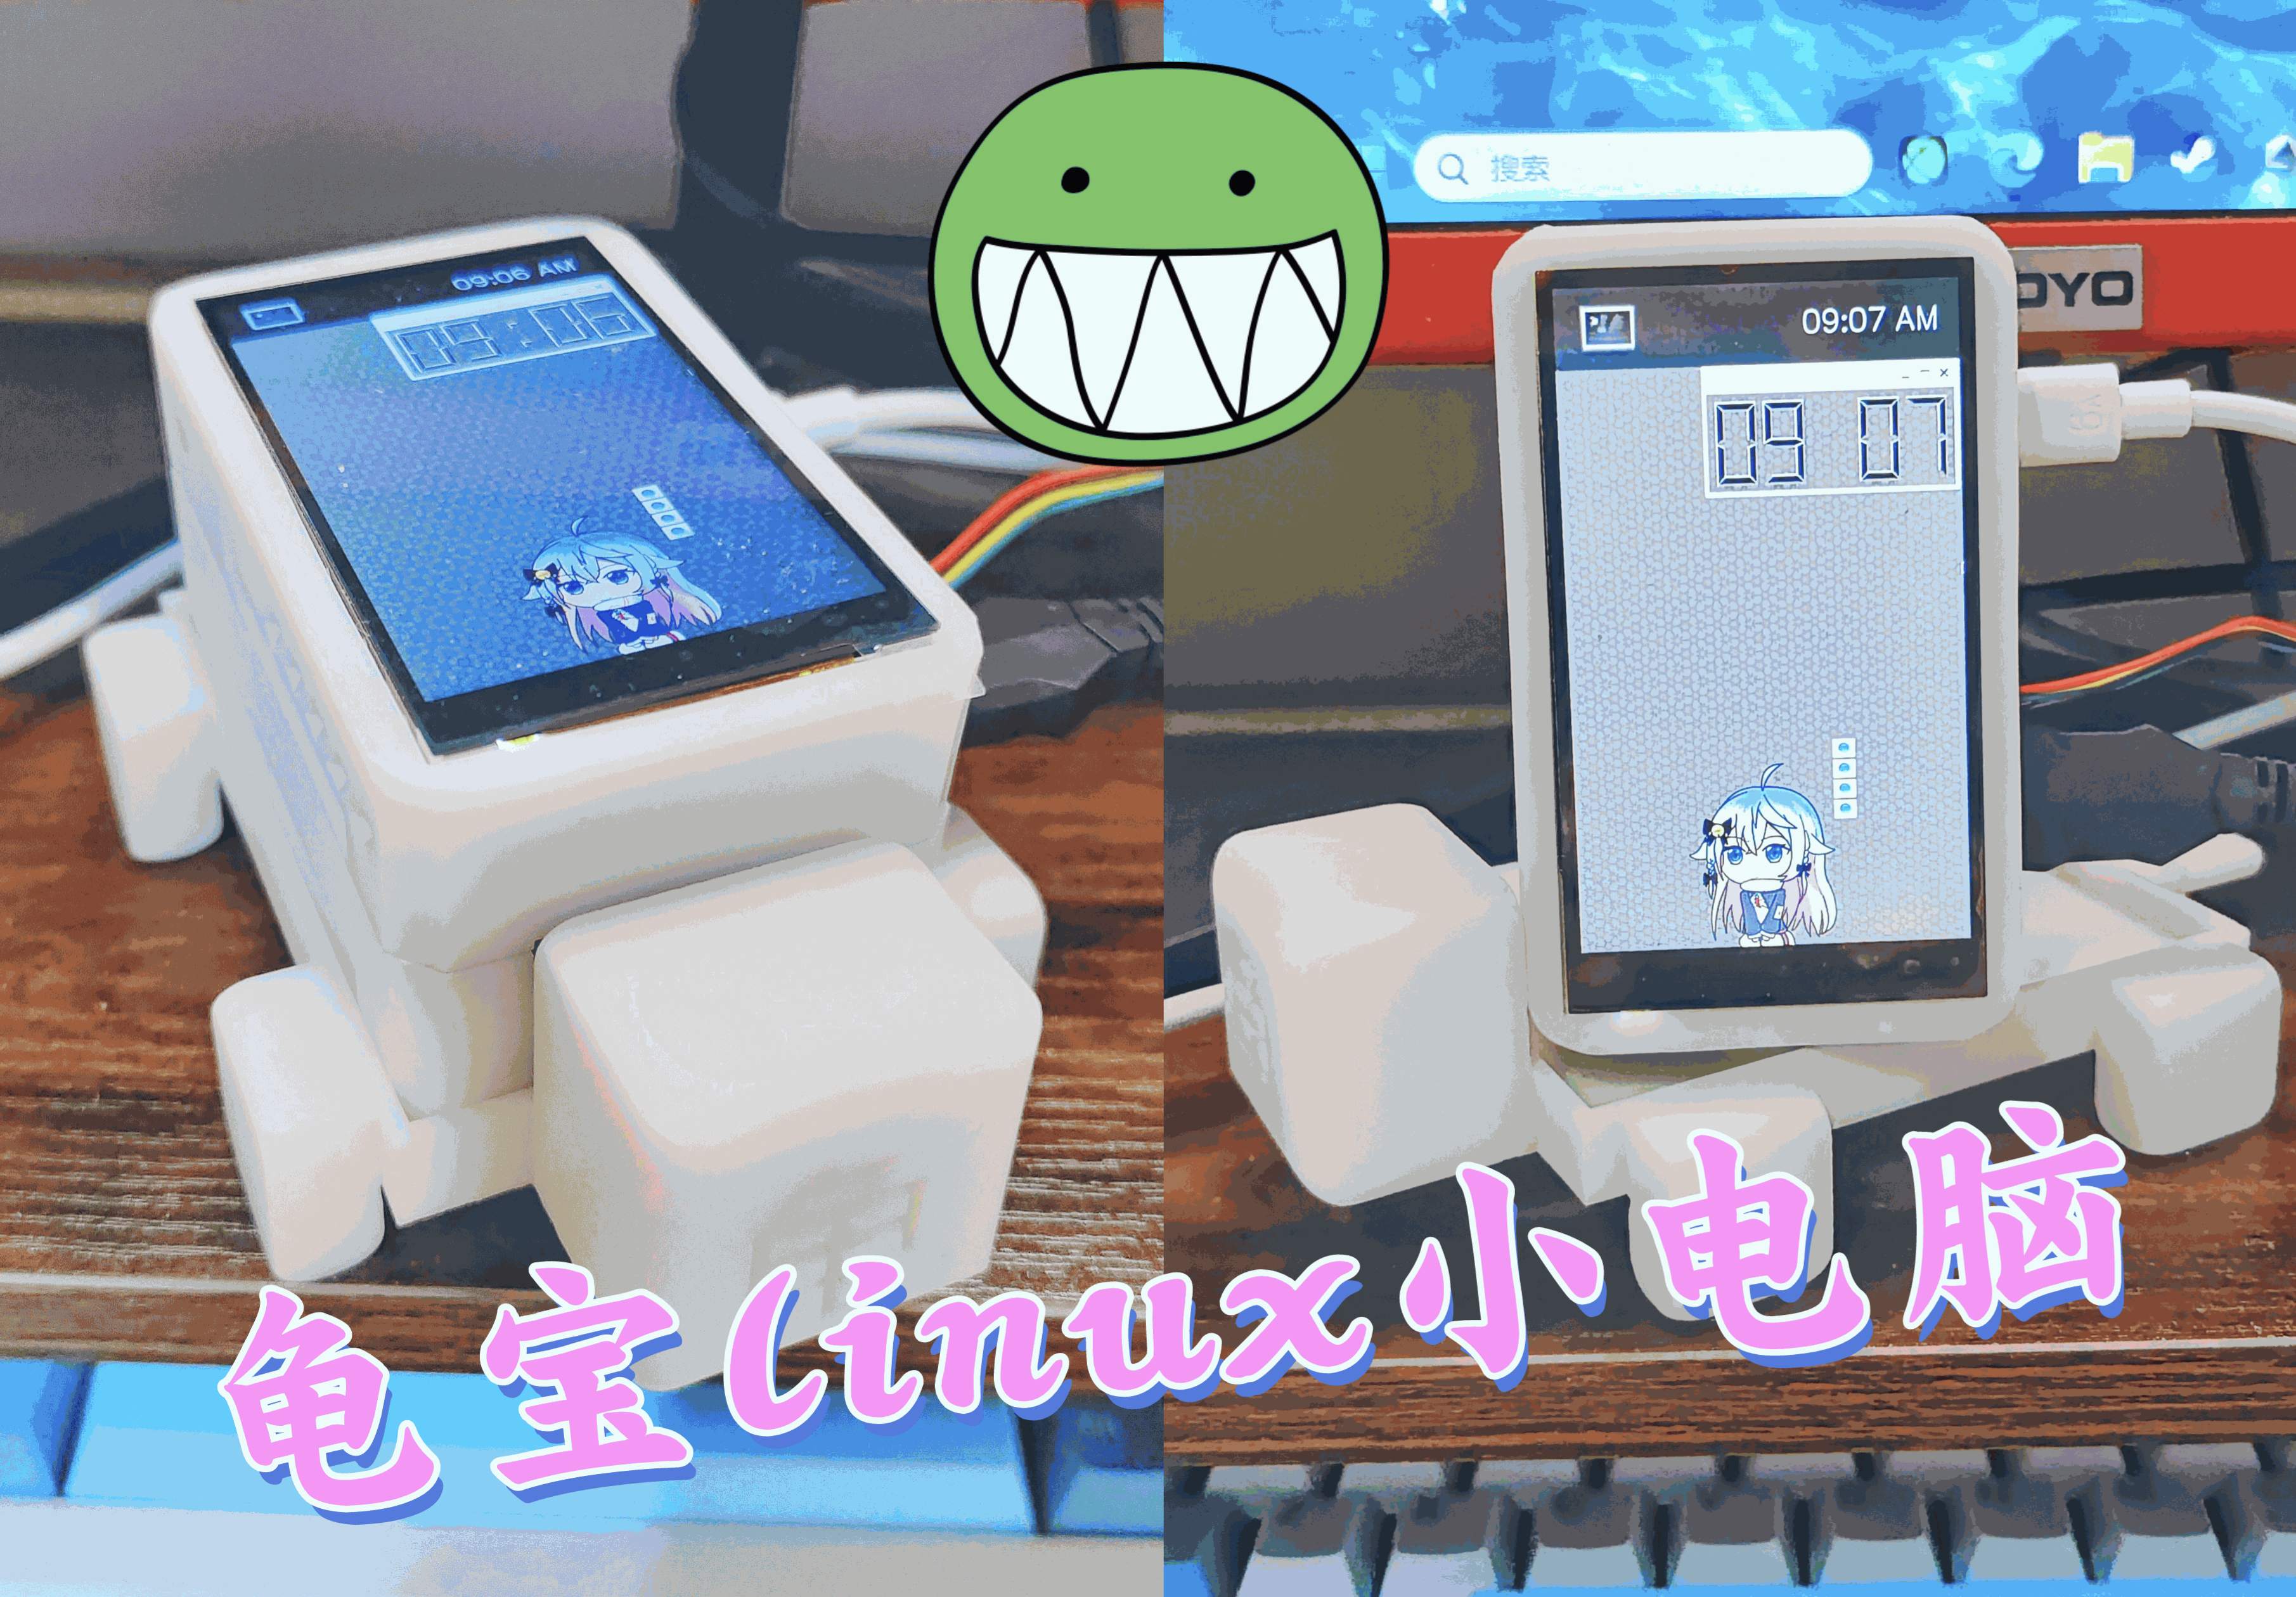
Finished product display:


Circuit hardware part
Schematic Design:
(1) Core board: Taishan Pi of LC development board
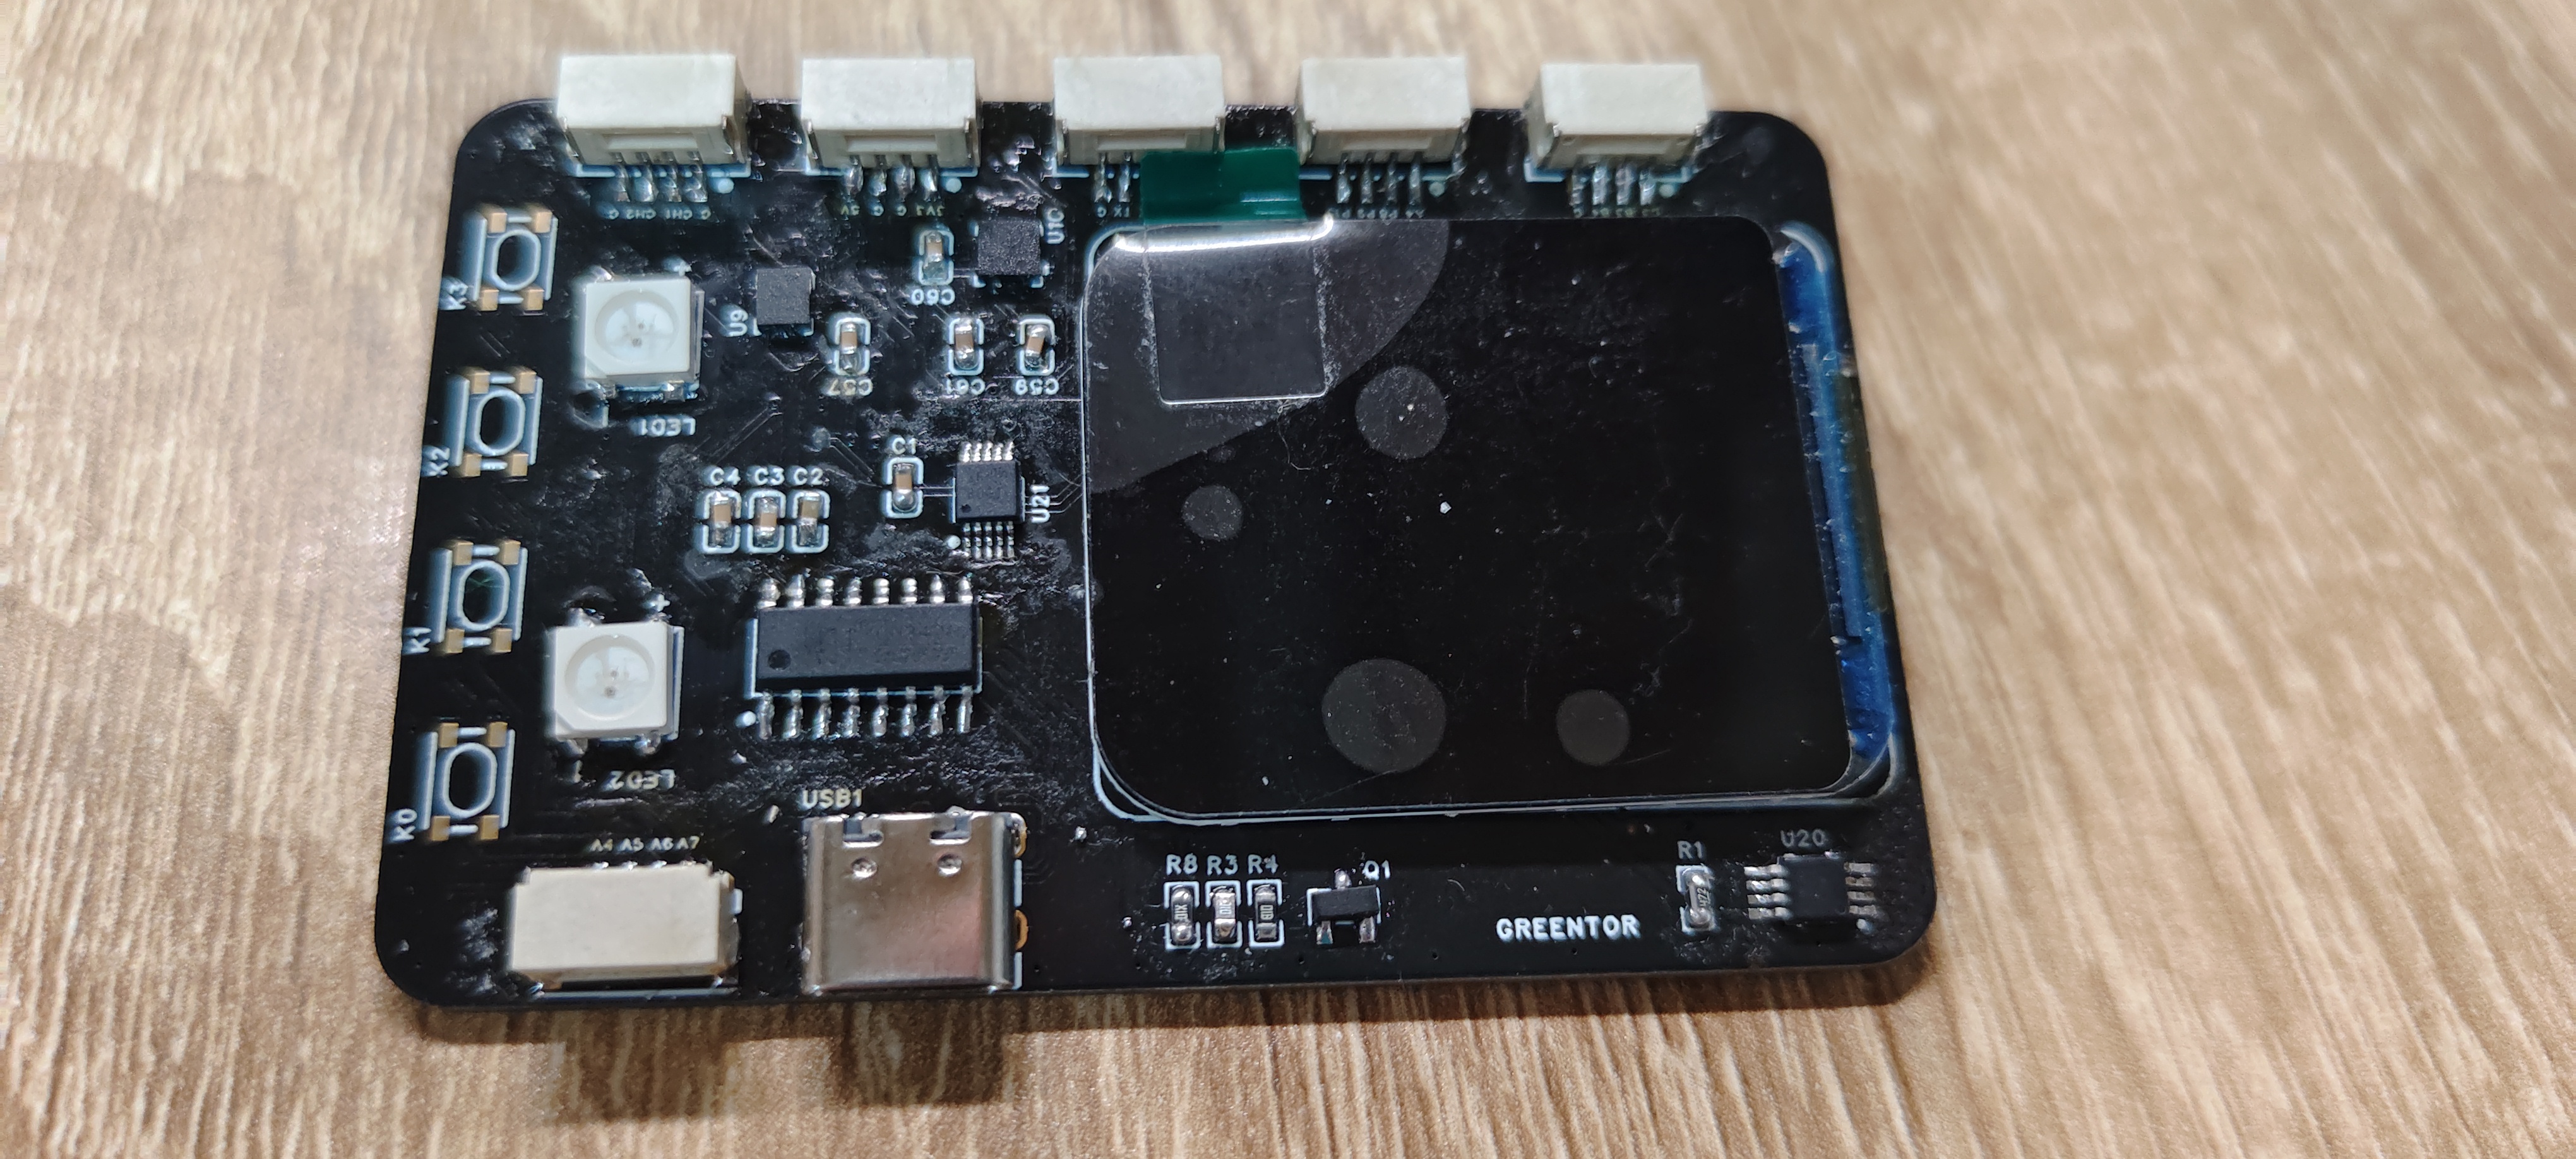
(2) Top-level application expansion board:
Through the 40pin GPIO, SPI and other peripheral channels drawn by Taishan pi, the top-level application expansion board is designed.
It can be used to learn embedded application development under the Linux system.
The expansion board uses a 40pin female header to be directly connected to Taishan Pi, and the pin header connection is not firm and requires a certain amount of support.
Top-level application shield configuration:
1. 1.69 inch SPI interface TFT LCD screen, which can be used for learning embedded screen development, porting LVGL and so on. 
2. DS18 temperature sensor, a classic temperature sensor device, is used to measure the outside temperature. 
3. ADS1115 16-bit ADC converter, using I2C communication, can be used to collect voltage.
Only two passages are elicited here. 

4. WS2812 RGB lantern can be easily controlled by using the gpio port and can be used for dazzling lights.  5. Four buttons.
6. CH343 USB to serial port, leading to the RX and TX interfaces of Taishan Pi.
The onboard ch343 realizes serial port to USB communication.  7. QMI8658C 6D attitude sensor, the design refers to the design of the Li-create development board esp32c3 actual combat, adding attitude sensor, can increase the physical playability of the device.
8. QMC5883L geomagnetic sensor, the design refers to the design of the Li-tron development board esp32c3 actual combat, used to learn the geomagnetic sensor and realize the electronic compass. 
(2) Mid-level media expansion board:
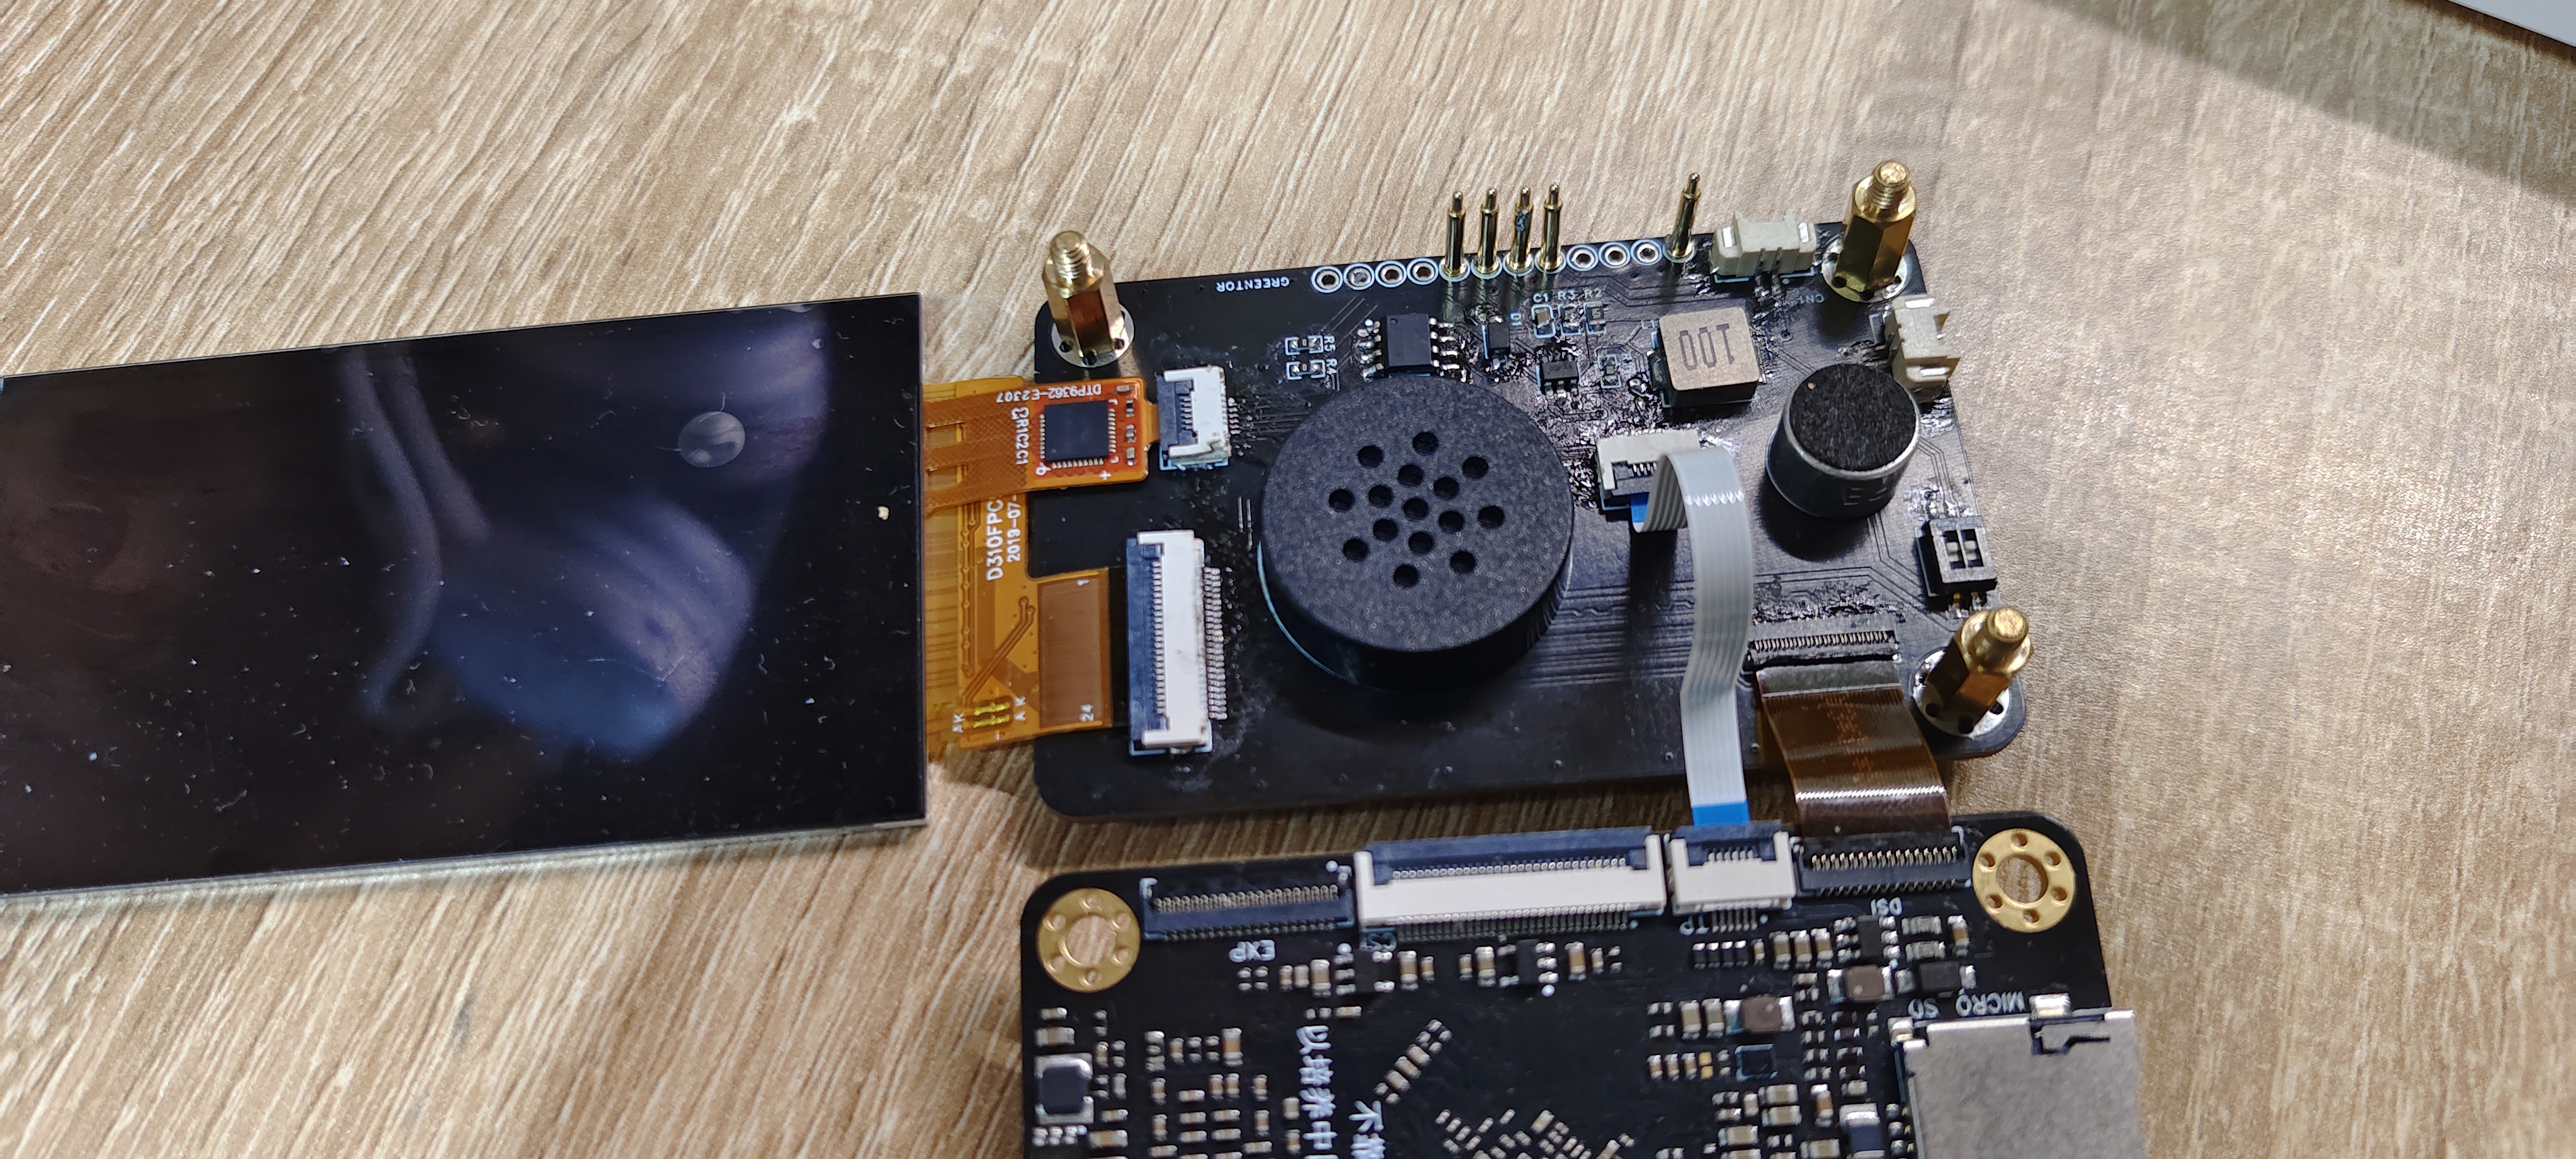
The mid-level media shield is designed as a reference to the 3.1-inch screen shield in the bootcamp, with microphones and speakers on board.
Use supports such as hexagonal studs to connect with the core plate.
Top-level application shield configuration:
1. 3.1-inch MIPI screen and touch interface, which can be connected to the 3.1-inch MIPI touch screen of Daxianjia. 

2.3W speaker and microphone, connected to the Thunderpay core board through Pogo pins from the touch points on the bottom of the core board. It is connected to the microphone interface and the built-in speaker and microphone on the board. 
3.the screen backlight circuit, the screen is small, the backlight should not be too large, so the backlight interface of the core board is not directly used, and the backlight circuit is designed to use i2c control PWM to realize the stepless dimming. 
(3) Bottom high-speed expansion board:
There is no design at present, and at first I planned to use the underlying 39pin expansion board of the official design of the LCKFB.
PCB Design:
Top-level Application Shields:
There is no high-speed signal in the expansion board, and the parts that need to be considered such as radio frequency can be simply connected when layout.
Pay attention to the assembly when laying out.
Mid-Layer Media Shields :
The MIPI signal traces are wrapped with a ground wire, taking into account the equal length of the differential wires. 
Hardware Samples: 

I didn't use washer water after soldering, so I looked terrible.
Welding difficulties:
fpc seat welding is a difficult point, pin spacing is very small, 0.3mm, tin Soldering iron or air gun can be used, but the subsequent treatment of tin to use soldering iron, it is recommended to use with tin absorption belt, the effect is very significant, after the tin iron heating a suction can solve the basic tin
It is recommended to use a jig for the welding of pogo pin. I used the in-line type, first at the bottom heat the soldering pad, add a little tin, insert the probe from above and straighten it, then remove the soldering iron cooling and fixing.
Shell assembly part
Shell Design:
The overall project is a top expansion board, so we can not directly use the shell design of the training camp Wu Gong design using the 3D shell design, size and other reference to the fat girl mobile phone shell design, because this project is to make an intelligent assistant turtle treasure, shell design uses the elements of the turtle, the design of the top cover, the bottom cover, the base top cover and the bottom cover using magnetic suction connection, reference to the video.
Magnetic adsorption - the second posture of the box and the lid is the second _Bilibili _bilibili
The bottom cover opened the interface hole, added some decoration and heat dissipation, and the connection between the screen and the board and the shell is directly fixed, which is the friction damping fixed base simple design of a turtle shape, and the main part is not fixed connection, the main shell can be directly put on as the turtle shell :)

Shell assembly:
The assembly is fixed with M3 studs and screws, and the POGO pin and stud screw parameters are as follows:


Assembly process:


Note: The screen is not stable when placed directly into it, and subsequent fixing can be done with glue or double-sided tape, etc.
When putting the magnet, you must distinguish the magnetic pole, it is very, very easy to overturn.
Software Part:
Screen Driver Design:
The screen, touch, and backlight drive all refer to the program of the learning camp. A bug was found in the configuration of dsi device tree. Under the debian system on board, if dsi uses vp1 output, the screen cannot display the desktop normally. There is only one mouse pointer, and the touch is normal. 
QT transplantation:
The intelligent assistant application of this project intends to use qt to write, the design of the program uses qt creator programming on windows, and cross-compiled on the virtual machine ubuntu system to generate qt applications available on the linux system of Taishan.
QT's transplant is built according to the transplant tutorial shared by the big guys in the document co-construction[ Co-construction ] Transplant QT5-Feishu Cloud document (feishu.cn)
Problems with compiling QT:
1.Before compiling QT in ubuntu, you need to download the dependent library, otherwise it is easy to report errors in the future.
sudo apt-get install bison build-essential gperf flex ruby python libasound2-dev libbz2-dev libcap-dev \
libcups2-dev libdrm-dev libegl1-mesa-dev libgcrypt11-dev libnss3-dev libpci-dev libpulse-dev libudev-dev \
libxtst-dev gyp ninja-build libglu1-mesa-dev libfontconfig1-dev libx11-xcb-dev libicu-dev
2. Make is prone to errors when compiling
aarch64-linux-gnu-gcc: Command not found
After verification, the aarch64-linux-gnu-gcc folder environment variable pair was added to the tutorial
The sudo operation did not work, please refer to the details for details.
Therefore, you need to manually add the path into the etc/sudoers file, and then you can cross-compile QT successfully.
3. Transplant compiled QT library generated to Taishan pi, set the environment variables, and then run written QT program is easy to encounter problems, either run the program no reaction, or reported linuxfb error, my system is sdk. Compiled debian, after the experiment found that QT program run before chmod change permissions, run with sudo to start linuxfb normally.
4.After porting the QT library generated by compilation to Taishan, set the environment variables, and then run the QT program written, it runs normally, but the picture does not show, only the control, and then go to the Internet to search for information for a whole day, tried a variety of methods. Check the picture format, change the environment variable, change qt program and so on, almost can try all tried, finally failed, hope that one day the big guy can give a solution.
Replacement Options:
After consideration, can not make the debian system Tarzan to run the qt program normally, the co-built documentation tutorial also introduces the buildroot transplant qt, before I have compiled buildroot, simply try, in the buildroot menuconfig interface set qt library, choose their own dependencies.
The first time to use the interface Settings, suddenly feel the power of buildroot, set up after the full compilation will not take long to generate the image, burn the board, with the mount u disk to transfer the cross-compiled qt executable file into the board, and then the program runs successfully :-), since qt development linux officially on the road. 
QT Design:
TODO
Top-level application shield driver:
TODO
Designed by greentor (from OSHWHub)
Link:https://oshwhub.com/greentor/based-on-lichuang-taishan-development-board-game-machine-project
Design Drawing
 The preview image was not generated, please save it again in the editor.
 Empty
Empty


Comment