

 Completed
Universal remote based on ESP32
PRO Universal remote based on ESP32
License
:GPL 3.0
Description
Project Description
The ultimate goal of this project is probably a universal remote control with a touch screen that can be customized, but unfortunately the current UI interface infrared code is written to death, if there is a big guy interested in joining the development.
Open-source protocol
GPL 3.0
Project-related features
- LVGL draws a beautiful UI that can touch the screen.
- Modifiable IR code (modify source code)
Project properties
Replica and slightly modified, all materials are currently available in China.
Original open source address:
Project progress
It's done, and the source code can be downloaded directly from the GitHub link above.
Design Principles
- Master control.
With the ESP32-PICO-D4, the peripheral circuitry is very simple. The disadvantage is that it is difficult to weld.

- Interface.
It adopts a type-C interface and is equipped with a resettable safety and ESD protection device.

- USB to TTL and auto-download circuit.
CH340C is used as the serial port to USB chip, and SC6206 supplies power to it separately to avoid leakage when using battery power.

- Power supply.
The TP4054/4057 is used to charge the lithium battery, and the CHRG pin is connected to an IO of the ESP32 to determine whether to plug in the power supply.
Later, the combination of the classic P-MOS+ diode is used as a switching circuit for USB direct power supply and battery power supply.
The LDO uses the HT7833 with a quiescent current as low as 1ua to power the subsequent power IC, and the capacitance here is recommended to increase the capacitance value and then merge a few.


- Three-axis gyroscope
STMicroelectronics' LIS3DHTR for the pick-and-wake function of the remote control.

- Button
The buttons are matrix scanned.

Software Description
There's nothing to say about this, install vscode and install the platformIO plugin, configure the ESP32 environment and import the project, and import the Github code directly.
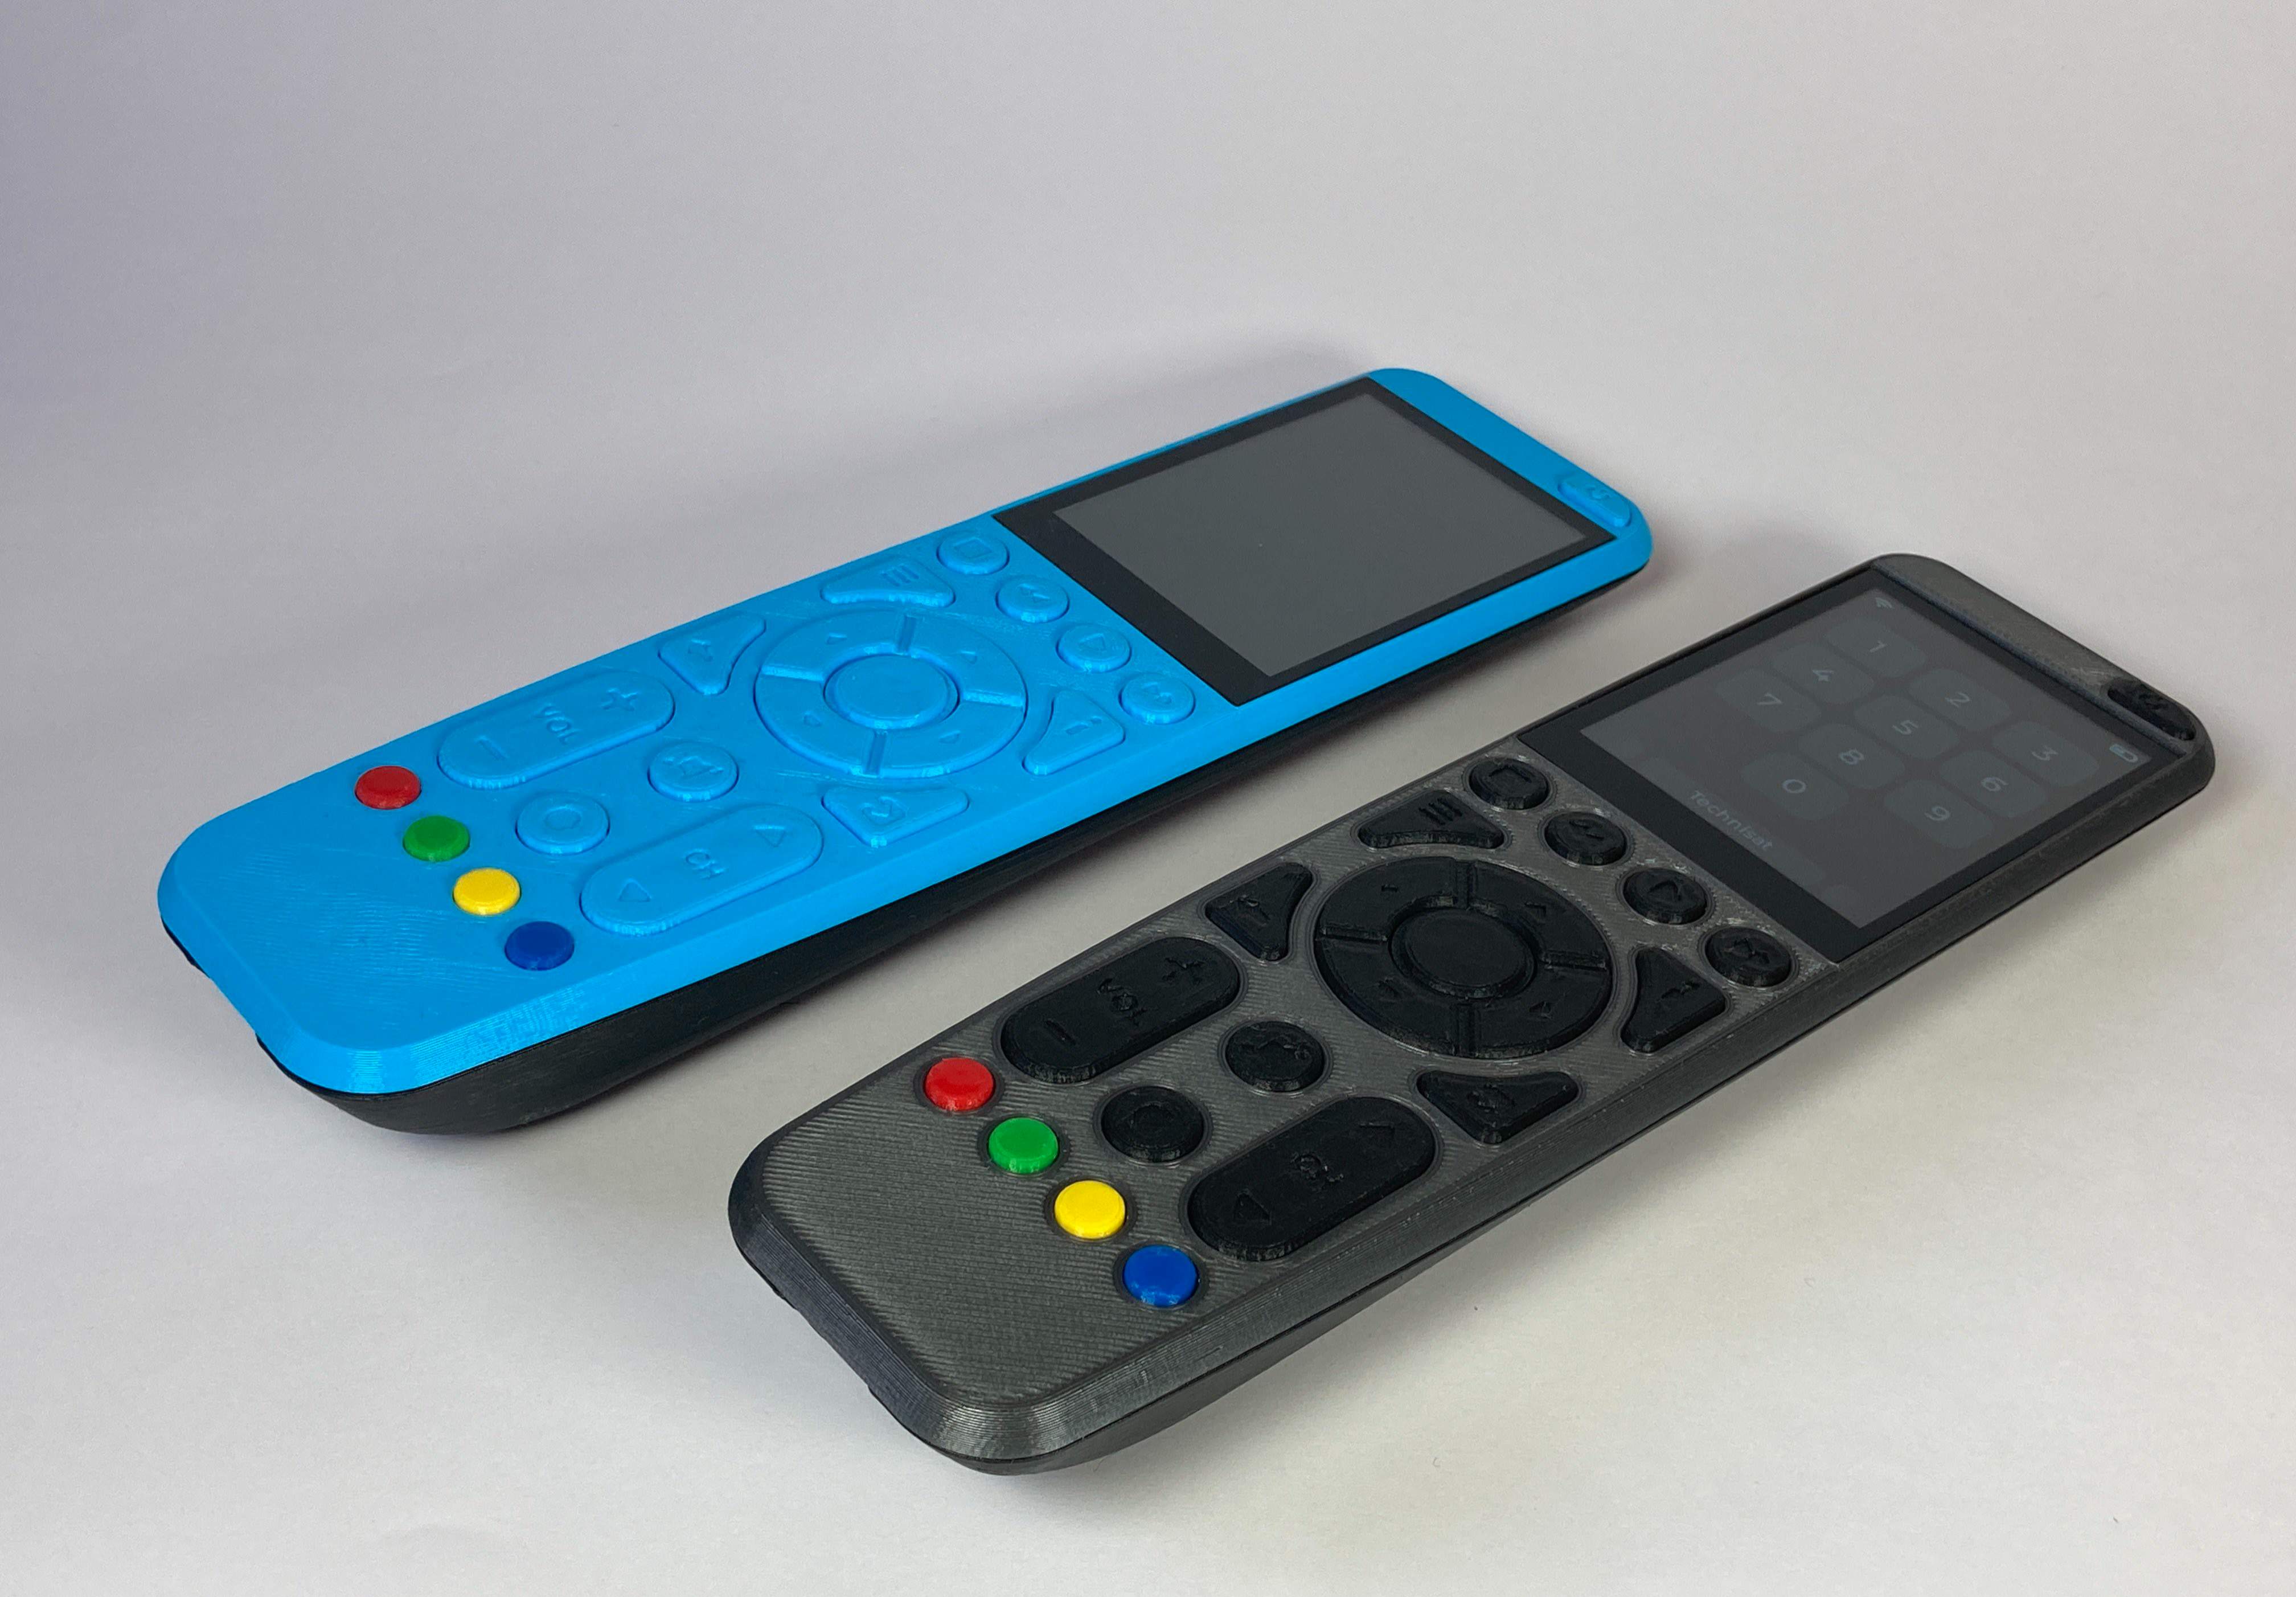
Physical display


Design considerations
ESP32-PICO-D4 is more difficult to weld, so it is recommended to use a heating plate to complete the welding (it is better to open a stencil). Here's how:
- Apply an excessive amount of solder paste on the pads around the perimeter, and the middle pads must be less pictures.
- Put on the chips and heat.
- Use a soldering iron to drag off any excess tin around.
There's nothing else to say, just normal welding.
Other
Designed by 全幼儿园最帅的男人 (from OSHWHub)
Design Drawing
Intellectual Property Statement & Reproduction Instructions
This is an open-source hardware project. All intellectual property rights belong to the creator. The project is shared on the platform for learning, communication, and research only; any commercial use is prohibited. If your intellectual property rights are infringed on EasyEDA, please notify us by submitting relevant materials in accordance with the Rules for Complaints and Appeals of IPR Infringement.
Users must independently verify the circuit design and suitability when replicating this project. All risks and consequences are borne by the user, and the platform assumes no liability.
 Empty
Empty
Comment