

 Completed
Touch lighting desktop
PRO Touch lighting desktop
License
:CC BY-NC-SA 3.0
Description
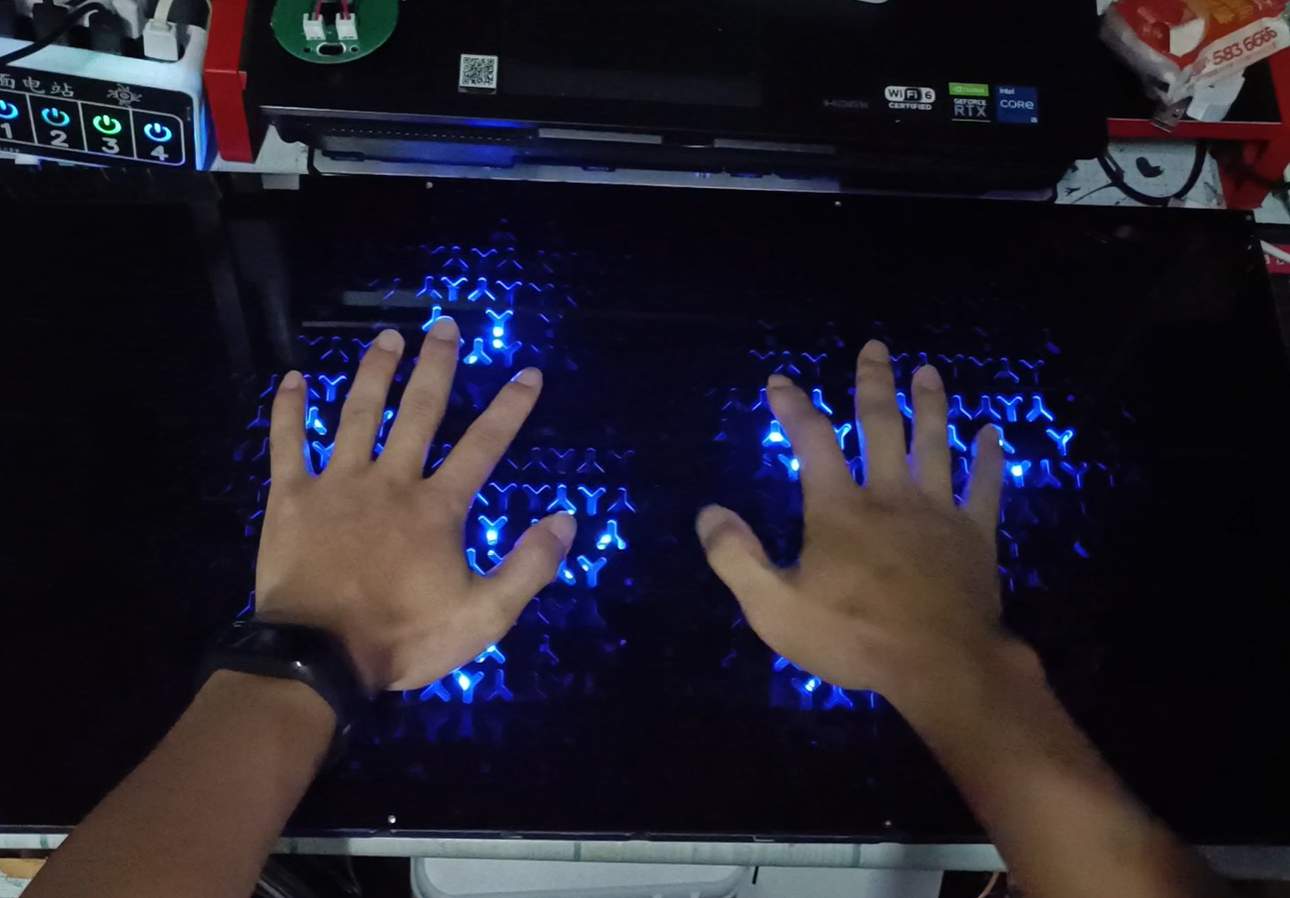
1. The first version of the project realizes the basic functions but there are still many deficiencies, I hope to inspire you, it is not recommended to reproduce and wait for the update and improvement.
2. It is composed of two PCBs on the upper and lower to form an independent module, each module is 10cmx10cm, and multiple modules are spliced with how much area is needed.
3. You need to prepare two pieces of acrylic with the same size as the area to be made, one for the top layer for light transmission, and one for the bottom layer to fix. It is fixed with screws after tapping through drilling.

4. Adjust the voltage before use, the voltage is between 10V-11.5V, the higher the voltage, the brighter the light, just adjust it to suit yourself.
5. When using multiple boards for splicing, power supply to other boards through the 3P interface with 2.54 pitch, except for the first board, which is fully welded, the other boards are only welded with lamp beads and plug-ins.
6. When connecting the 3P cable, pay attention to the line sequence not to be reversed, one power input and one power output.

7. The attachment has 3D printed fixed parts, fixed with M3 self-tapping screws. Make the most basic fixations. and connect the power supply cable.
8. On the bottom surface of the PCB, use the prepared wooden board of the same size or acrylic to punch the hole through the hole of the PCB and fix it with screws.

9. After the bottom surface is fixed, buckle the top PCB on, and test whether it can be used and adjust the brightness of the light.

10. Finally, the top layer is fixed with translucent acrylic, which is recommended to be fixed with black translucent and tapped.

Designed by 不想等快递的阿伟 (from OSHWHub)
Link:https://oshwhub.com/liuwenchao/chu-mo-deng-guang-zhuo-mian
Design Drawing
 Empty
Empty
Comment