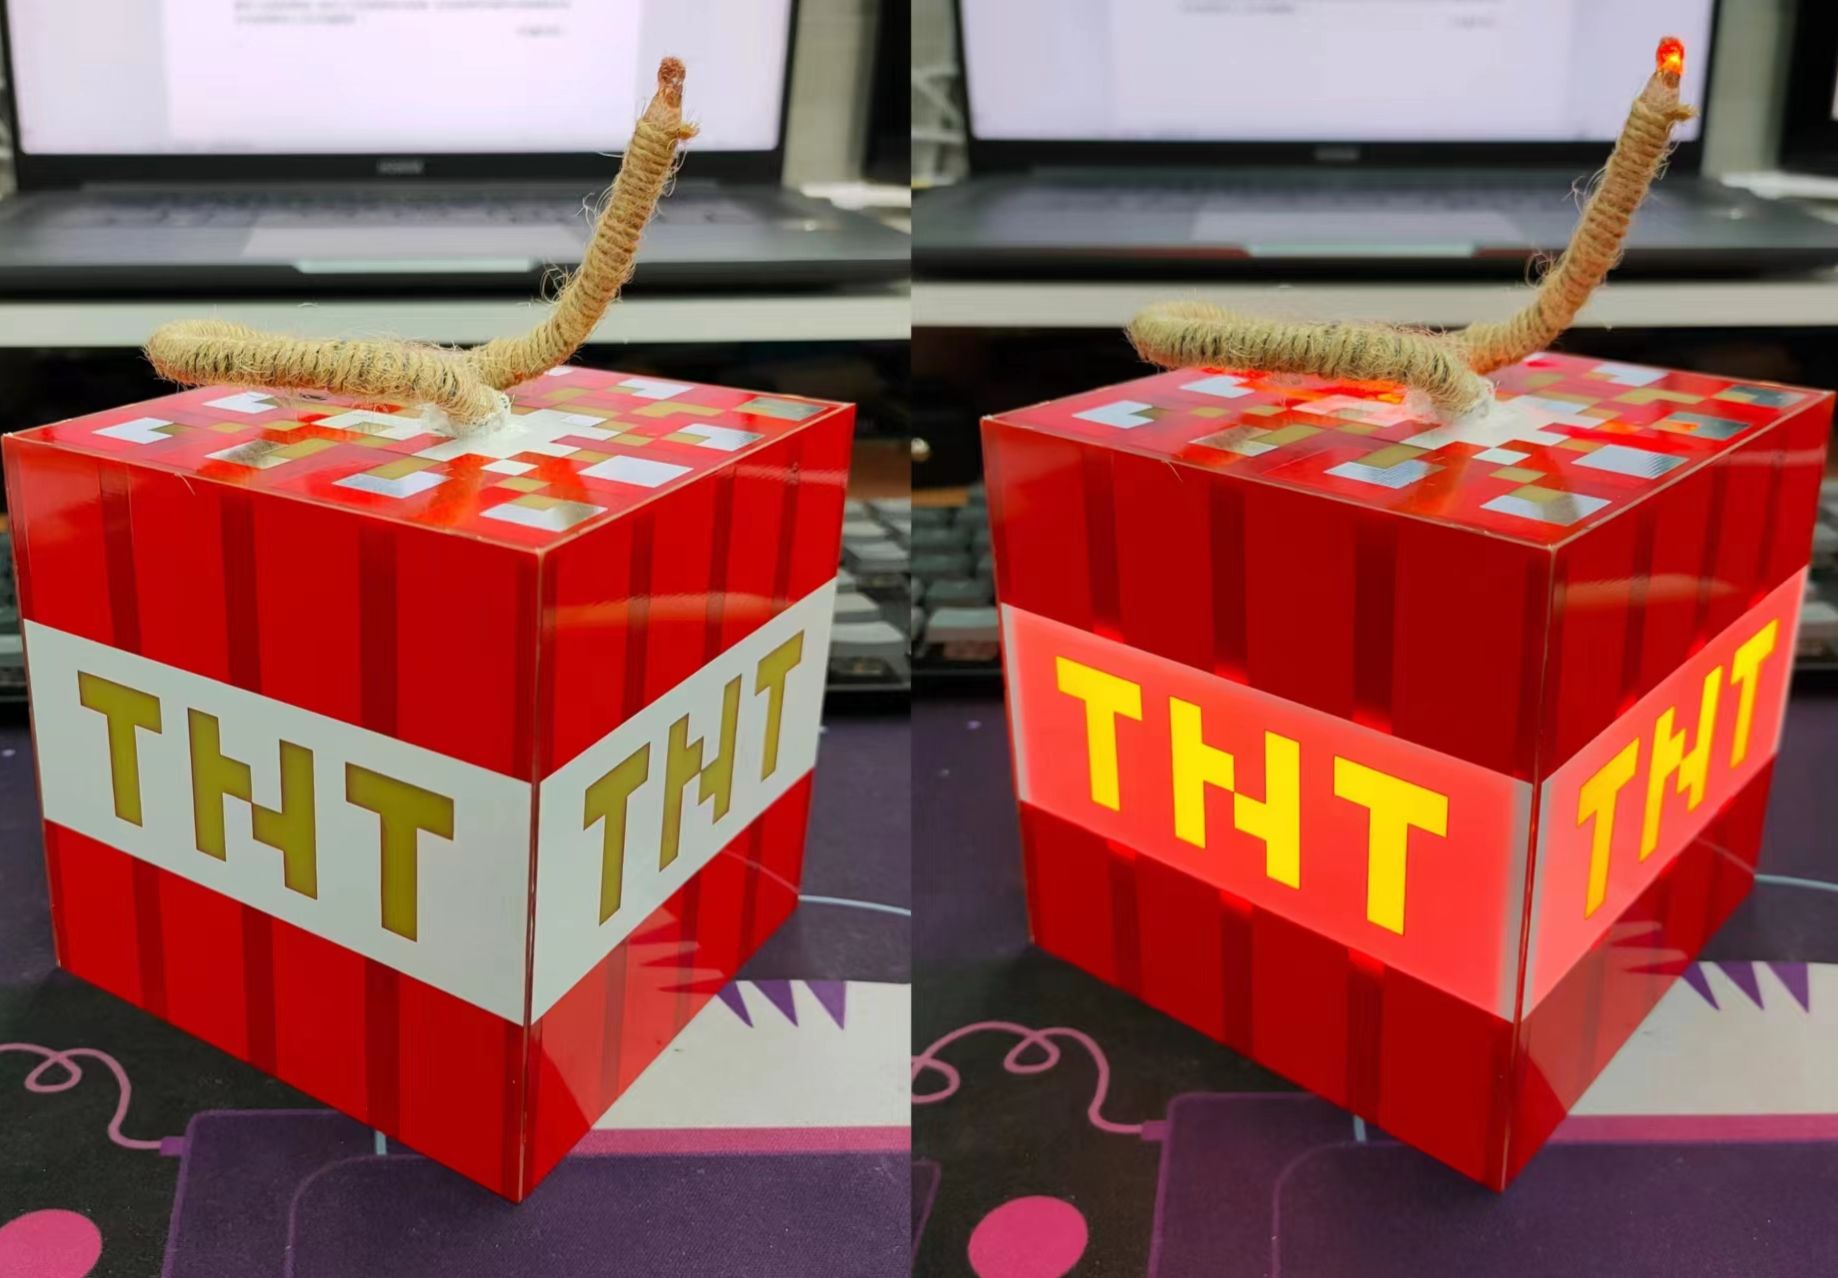
 Completed
TNT Atmosphere Light
PRO TNT Atmosphere Light
License
:MIT License
Description
I've been finishing my graduation project recently and haven't done any new projects, but two free prostitution coupons every month can't be wasted! I happened to have some snowflake lamp components left over from making a while ago, so I thought I could use them to make a simple TNT lamp~ (it can even be used as a storage box)
1. Effect Display


2.Hardware
Just purchase the components according to the BOM table or schematic diagram. You also need to prepare silicone rubber, double-sided tape, EVA sponge tape, etc. If you need the lead head to be able to emit light, you can buy a small LED lamp bead. There is no need to buy the automatically generated ones such as wires and Short contacts and 5V input and output modules and LED lamps that usually need to be purchased separately are specially marked.


2.1 Touch chip circuit

Using the SGL8022w touch chip, according to the instructions in the data sheet below, in this project OTP1=1, OPT2=0 are set to the brightness memory stepless dimming mode. When welding tantalum capacitors, pay special attention to the direction of the positive and negative electrodes.

2.2 Charge and discharge module

Because using USB cable for power supply will not be ideal for the overall effect, we still use 18650 lithium battery charge and discharge for power supply. The lithium battery charge and discharge module is used directly. The picture and link of the module are as follows. The advantage is that it is relatively small and It has 5V input and output on the same port, but the disadvantage is that it is a bit expensive.

The above is the connection of PDD, which needs to be opened by mobile phone. If you directly search for the name below, you should be able to find it. The same model will work, but it does not necessarily need to be bought from the same company.
In order to avoid opening holes in the board, I used a SMD 18650 battery holder. There is a small bump on the battery holder for positioning. It is not used here and needs to be polished off. Because it is a patch, the installation of the battery box is not very firm. You still need to pay attention when removing the battery. During the design, two battery holders were designed with weight balance in mind. The two battery holders are connected in parallel. In fact, only one is enough. You can also use other batteries instead of 18650 batteries. Just connect the positive and negative poles of the 3.7V lithium battery in the correct shape.
2.3 LED lamp beads and touch wires

To power the light strip, you need to select 5V USB power supply or battery power supply through the solder pad, and you need to match the corresponding current limiting resistor. The schematic diagram uses 5V, which corresponds to a 20R resistor. The length of the light strip can be selected from 26mm or 38mm. The positive pads of the two types of lamp beads are the same, and the middle pad is required for 26mm. As shown in the picture above. If the lead head does not need a lighting effect, you only need to solder the touch wire. In the picture above, a piece of tin-absorbing tape is soldered to the touch wire end to increase the contact area. If you need a lead head lighting effect, you can add an LED to the wire and then use heat Shrink the tube to package the touch wires with the LED wires (pay attention to leaving the touching part of the touch wires), and finally fix them for beautification. For example, double-sided tape and straw rope are used here to create a lead effect, and silicone rubber is used to fill the gaps and fix them.
3.Assembly
3.1 Bottom and sides
The following two PCB boards need to be prototyped. There are two pads for connection on each of the four sides of the side board and the top/bottom board. The size of the side board is 10*10cm and the thickness is 0.6mm. To facilitate installation, the top/bottom panels are slightly smaller than the side panels.


Considering the thickness of the side panels, it is recommended that the panels of the side panels be connected as shown below.

After the side panels are welded, the bottom panel is welded. After the welding is completed, you will get a small TNT box without a top cover. In order to avoid light leakage, the edges of the seams can be filled with silicone rubber or pasted with opaque tape.


Paste EVA sponge tape about 1mm away from the edge of the box to support the top plate and avoid light leakage, as shown below:

3.2 Top surface
After the top component is welded, it is shown in the figure below:


3.3 Assembly and effect display
Designed by SMALL_DA (from OSHWHub)
Design Drawing
 The preview image was not generated, please save it again in the editor.
 Empty
Empty


Comment