

 Completed
Snow atmosphere lamp
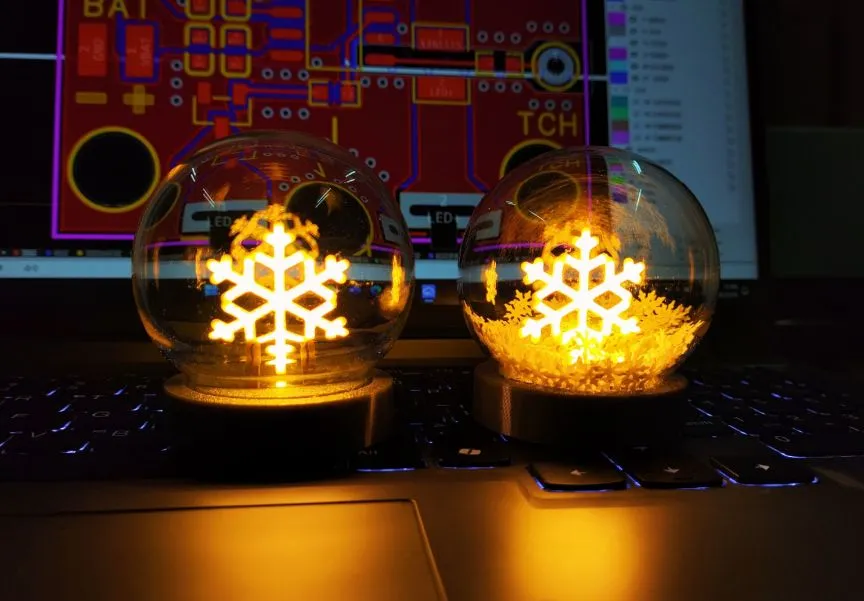
PRO Snow atmosphere lamp
License
:CC BY-NC-SA 4.0
Description
Notes:
●To reproduce this open source work, you need to have a certain hardware foundation.
●Snowflake lanterns contain lithium batteries. Lithium batteries are dangerous in storage, charging and discharging.
●This work has a simple circuit and is suitable for novice DIY.
●The control module integrates a single-channel touch stepless dimming IC, which can realize touch dimming and touch switch lights.
● Built-in lithium battery and battery charge management module, which can be lit without direct power supply.
●The contents of the lampshade can be filled freely.
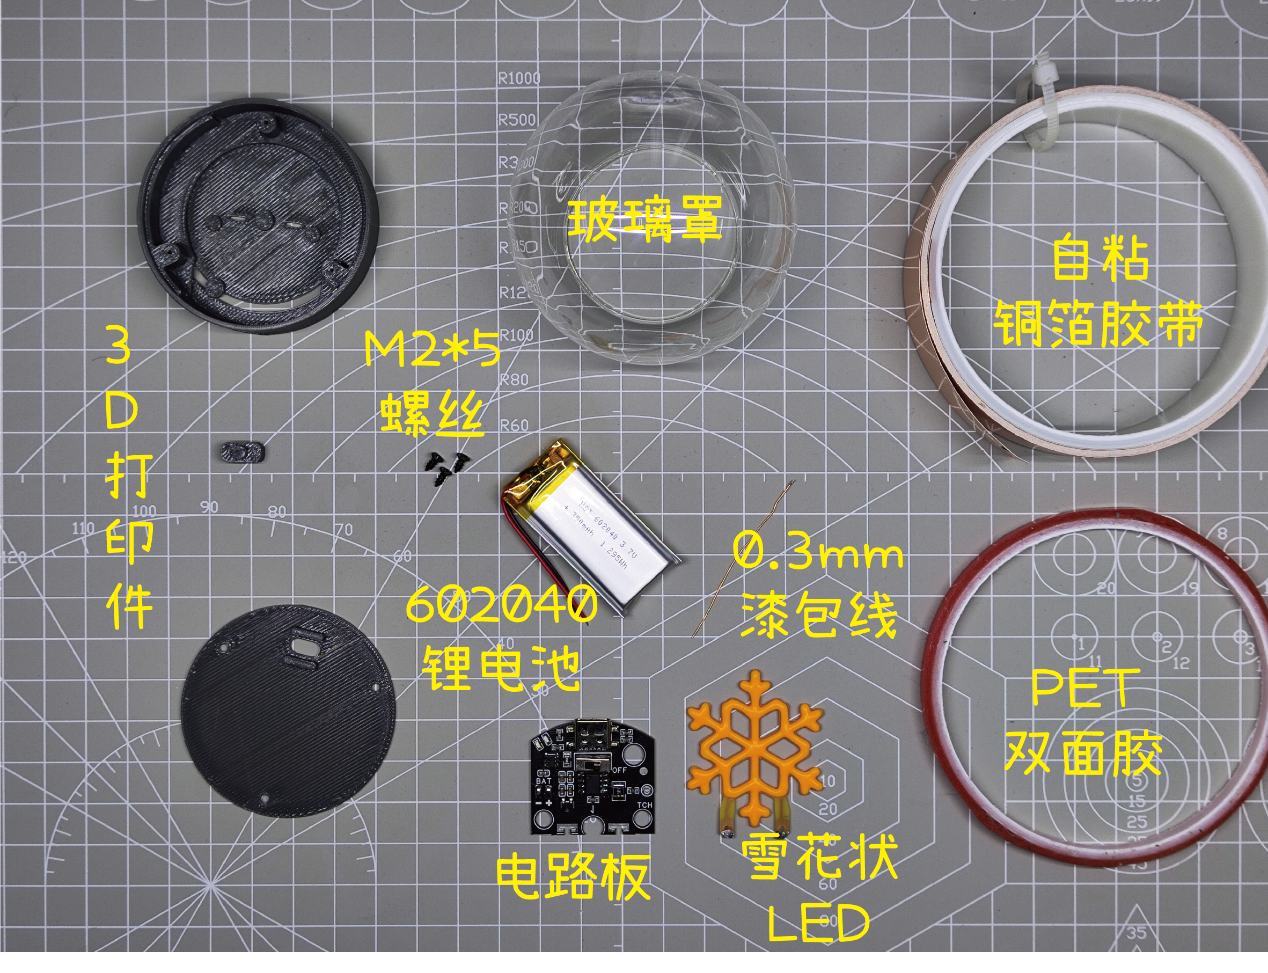
1.Bill of Materials:
|
Fittings |
Quantity |
Use |
|
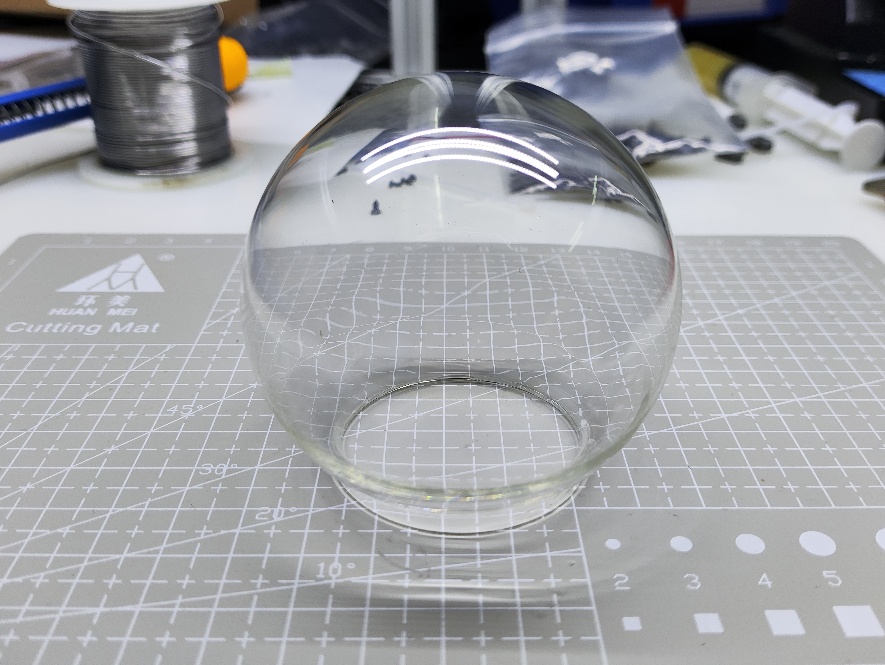
Spherical glass cover (Diameter 65mm, Height 50mm, Opening 40mm) |
1 |
Glass lampshade |
|
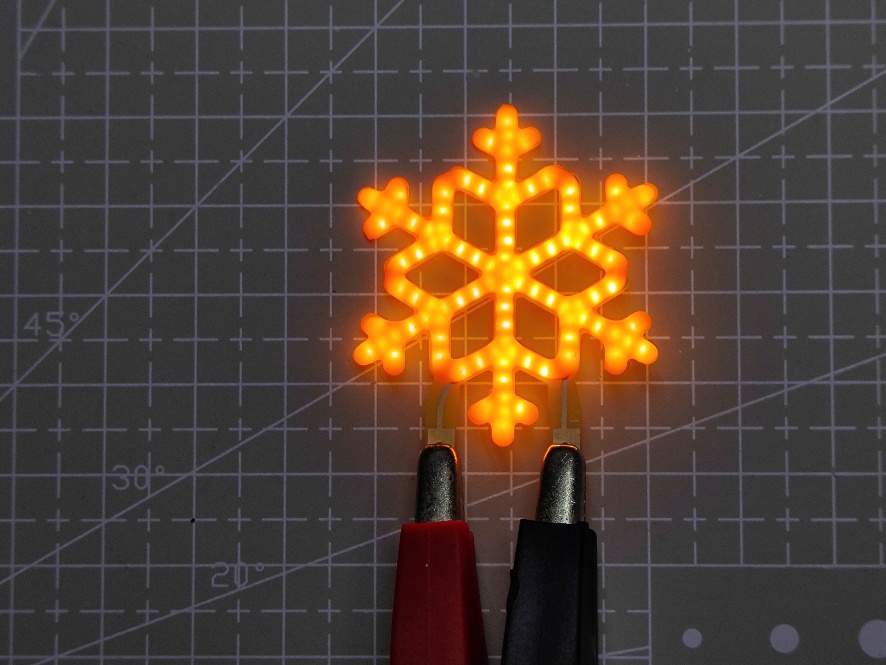
Snowflake lamp beads |
1 |
Luminescents |
|
M2*5 self-tapping screws |
3 |
Fixed base housing |
|
3D prints |
3 |
Base shell |
|
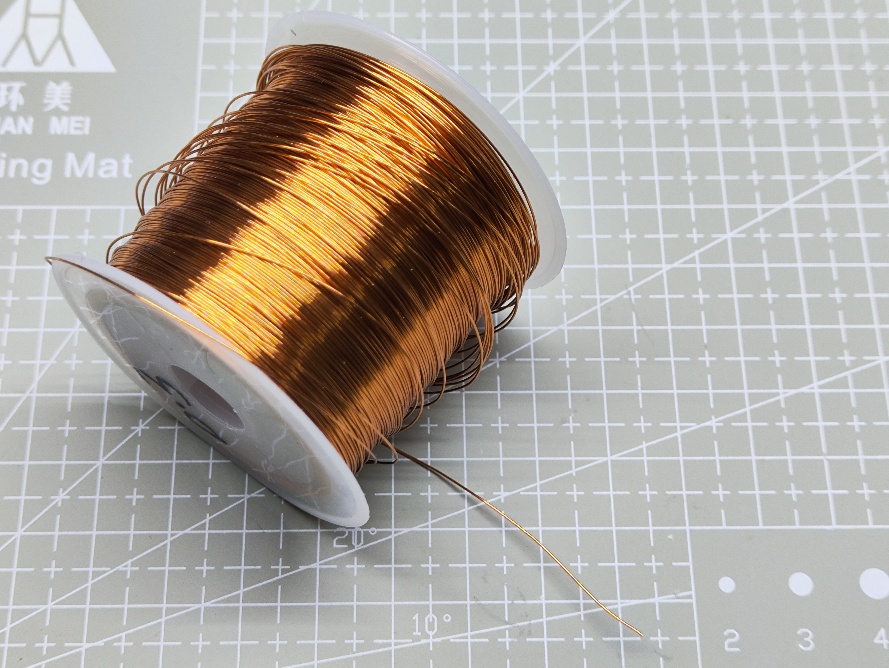
φ=0.3mm enameled wire |
1 |
Touch-sensitive cable (TCH) |
|
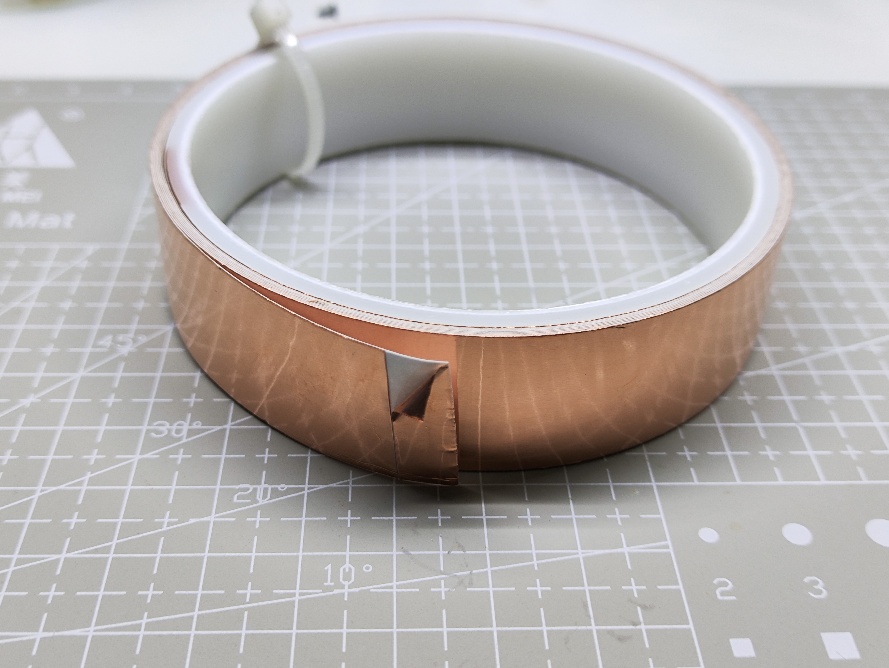
Self-adhesive copper foil tape |
1 |
Touch-sensitive function sensing end |
|
Snowflake lamp circuit motherboard |
1 |
Drive the motherboard |
|
602040 lithium battery |
1 |
Energy storage and power supply |
|
Barley paper |
1 |
Insulation |
|
PET double-sided tape |
1 |
Secure the base and battery |
|
T-8000 glue |
1 |
Fix the base and shade |
2.Hardware Introduction:
Basic hardware consumables:
Self-adhesive copper foil tape: The sensing surface used for touch sensing functions is pasted to the back of the object to be sensing. Connecting the TCH pins with wires enables touch-sensitive functions.
Enameled wire: Scratch-free enameled wire is used as a connecting wire between TCH and touch-sensitive surfaces.
Glass cover: diameter 65mm, height 50mm, opening diameter 40mm, used as a protective cover for snowflake lanterns.
Snowflake lamp lamp beads: the driving voltage of 3V can emit light on the front and back sides.
Lithium battery charging management:
The lithium battery charge management chip TP4057 is used to realize the charging of lithium batteries. There are two open-drain status indication outputs, which can be connected to two LEDs of different colors to indicate the battery charge status.
LED Driver:
The dual-channel touch chip RH6618A is used to achieve touch stepless dimming, the chip's stepless dimming PWM frequency is up to 25KHz, which makes the dimming process smoother, and the chip can output a PWM signal, and the output PWM signal controls the NPN type transistor to drive the lamp beads with a larger current to achieve stepless dimming. RH6618A Built-in capacitive touch sensing circuit, touch dimming can be achieved by touching the TCH pins.
When the light is off, both short press and long press the touch surface to turn on the light. When the light is on, press and hold to adjust the brightness of the light.
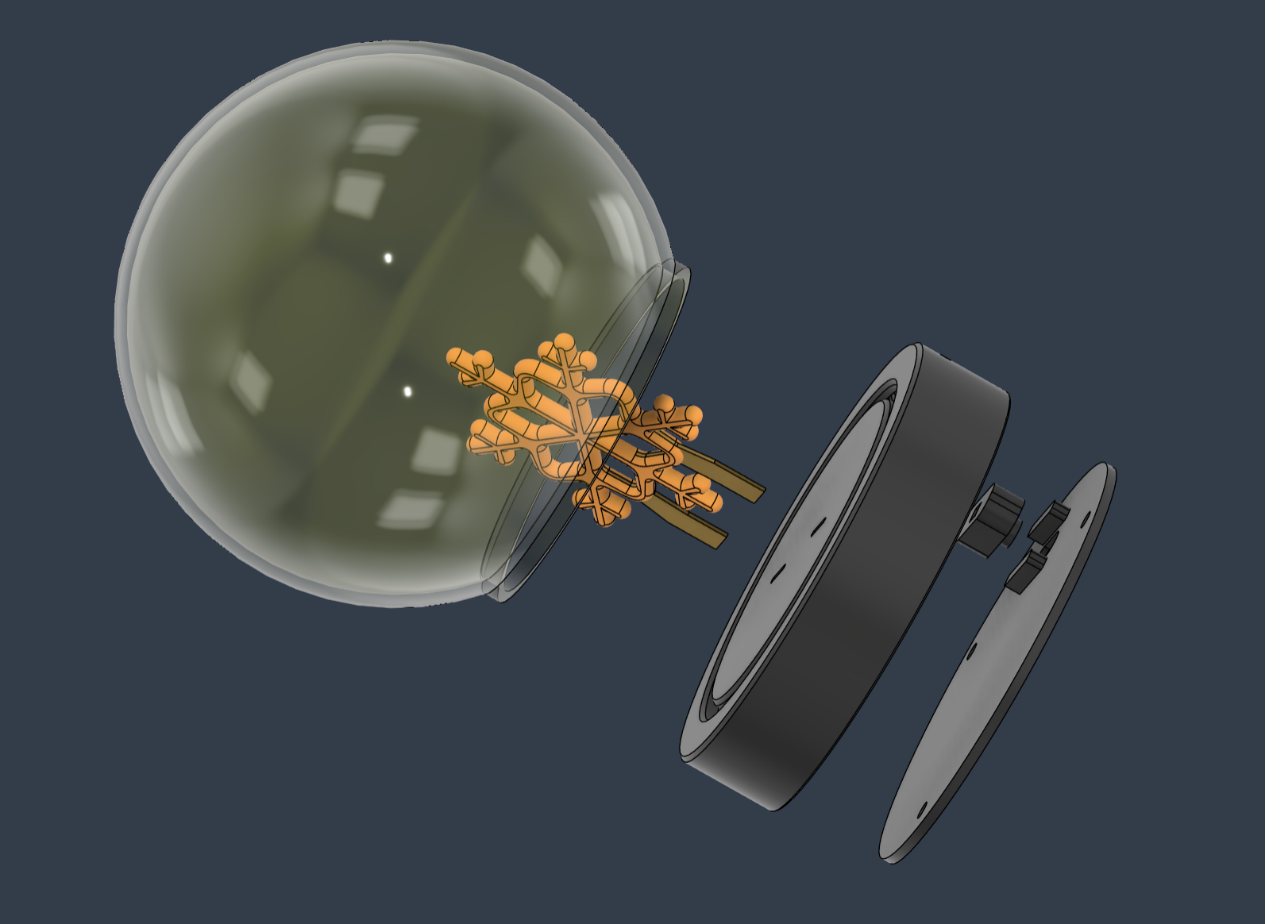
3. 3D Models and 3D Printing:
The model was modeled using Fusion 360.
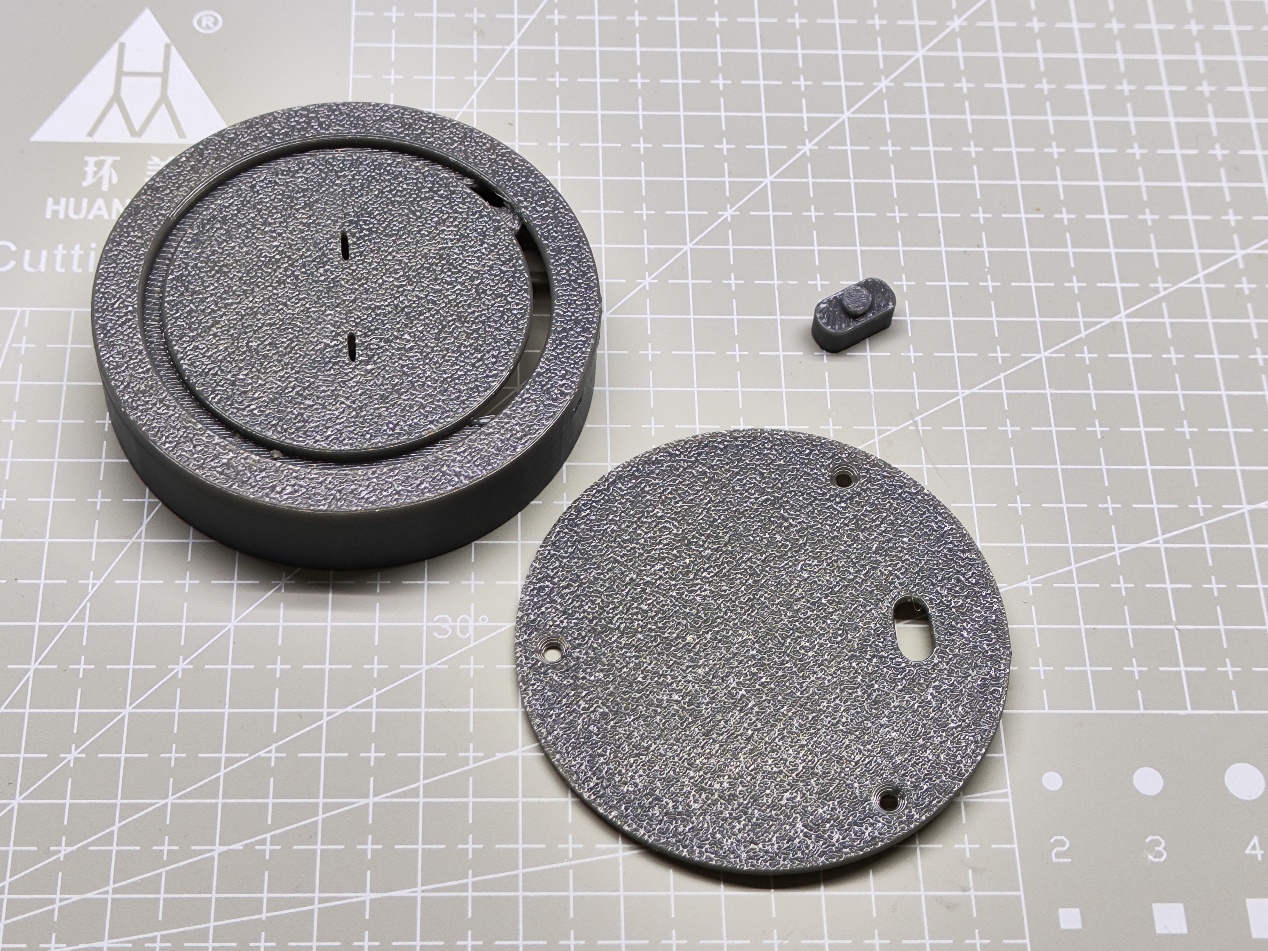
The shell is 3D printed using FDM (fused deposition technology). The material is PETG.
4. PCB Layout and Proofing Process:
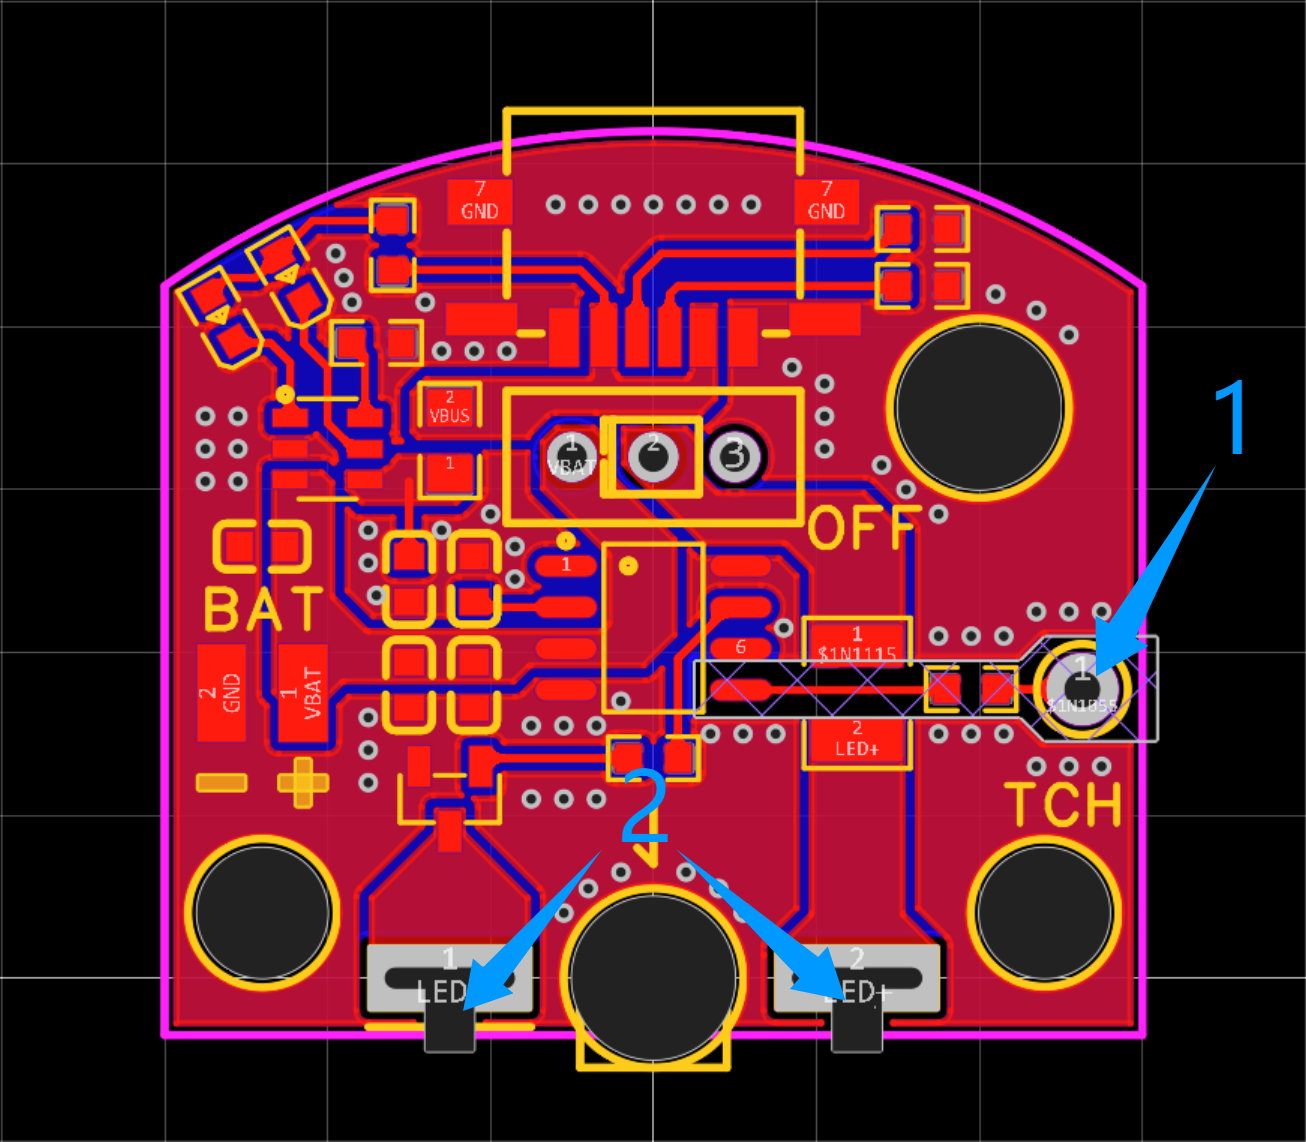
- The TCH pin is susceptible to interference, and the line needs to be kept at a distance from other lines.
- There are square slots in the pads of the snowflake lamps for easy soldering. An error is reported during the DRC check. Ignore the DRC error.
- Proofing process: There is a groove on the snowflake lamp pad, which will cause the copper skin of the grooved part of the pad to be broken when the gong edge. But that doesn't affect the production. If part of the copper is damaged when accepting slotting, the conventional proofing process can be selected, and the risk of accepting bare copper is emphasized. If you don't accept it, you can delete the two square grooves yourself (but it will become difficult to weld) or do a half-hole process (which costs more).
5. Production process:
1. Insert the circuit board into the base shell (the protrusion of the base is aligned with the hole and pressed to fix it.)
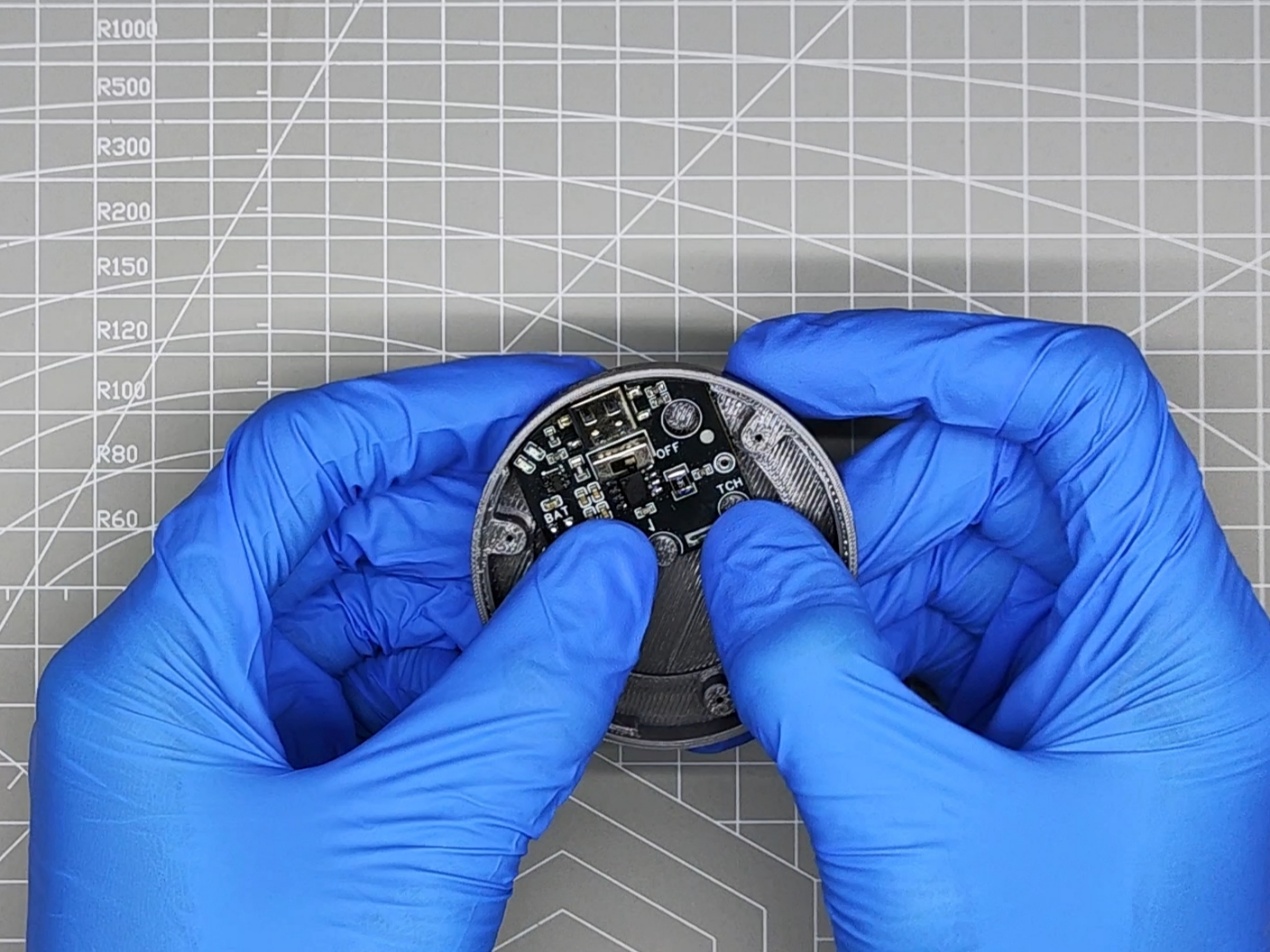
1. Insert the circuit board into the base shell (the protrusion of the base is aligned with the hole and pressed to fix it.)
3. Welding snowflake lamp beads, the positive pole of the lamp beads is on the left, and the negative pole is on the right (the negative pole is marked)
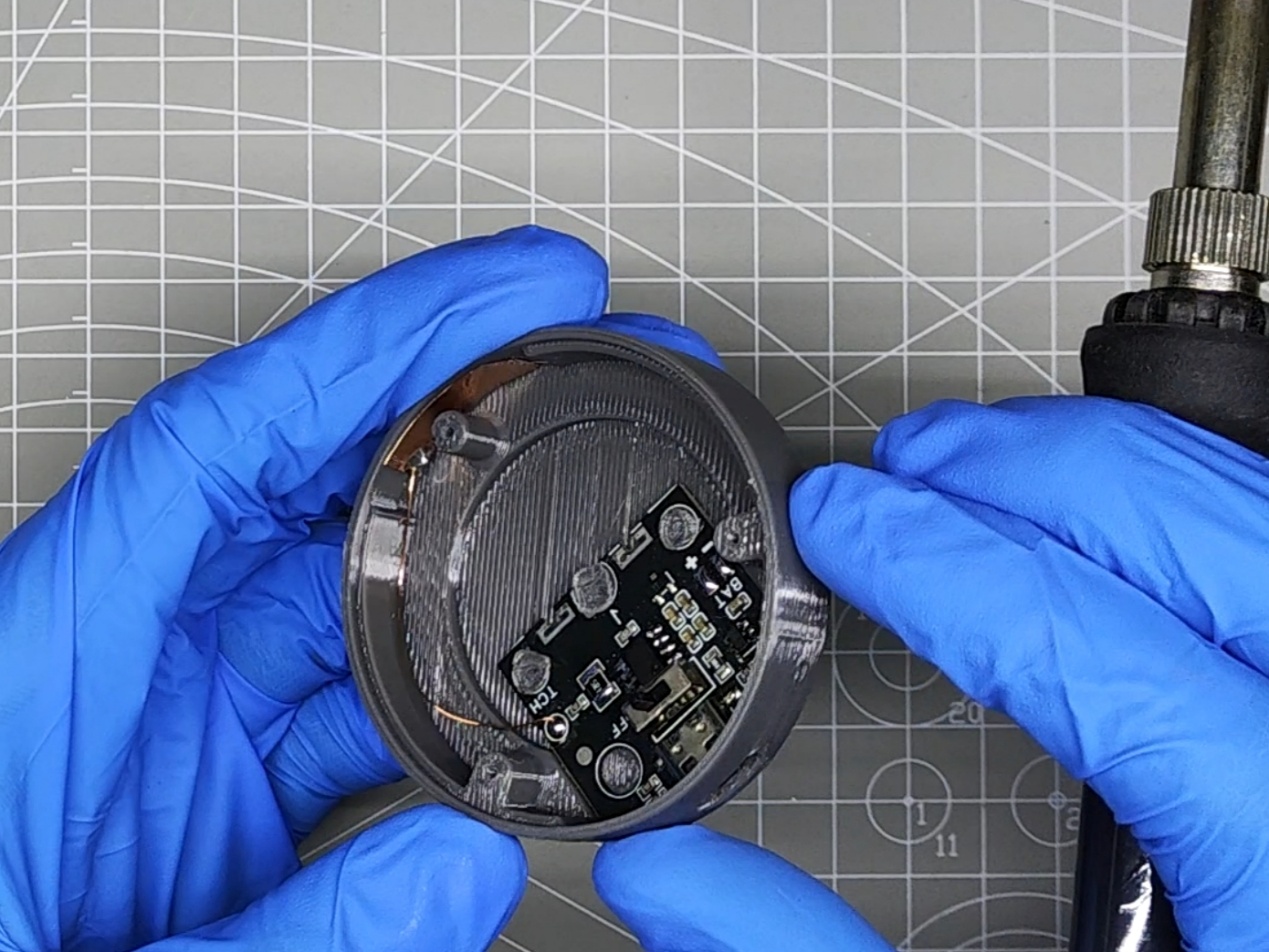
4. Connect the lithium battery to the motherboard, and insulate the solder joints with barley paper between the solder joints and the battery.

5. Install the switch slider on the switch, cover the inner cover of the base and make screws.

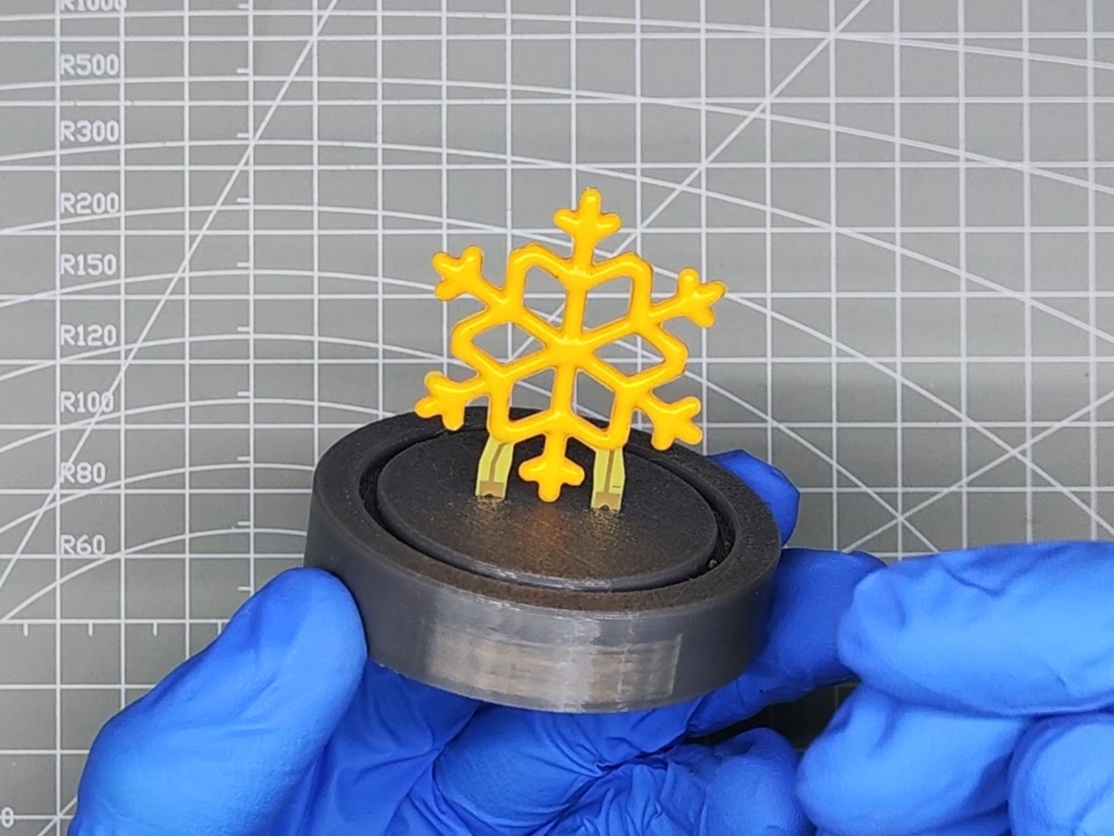
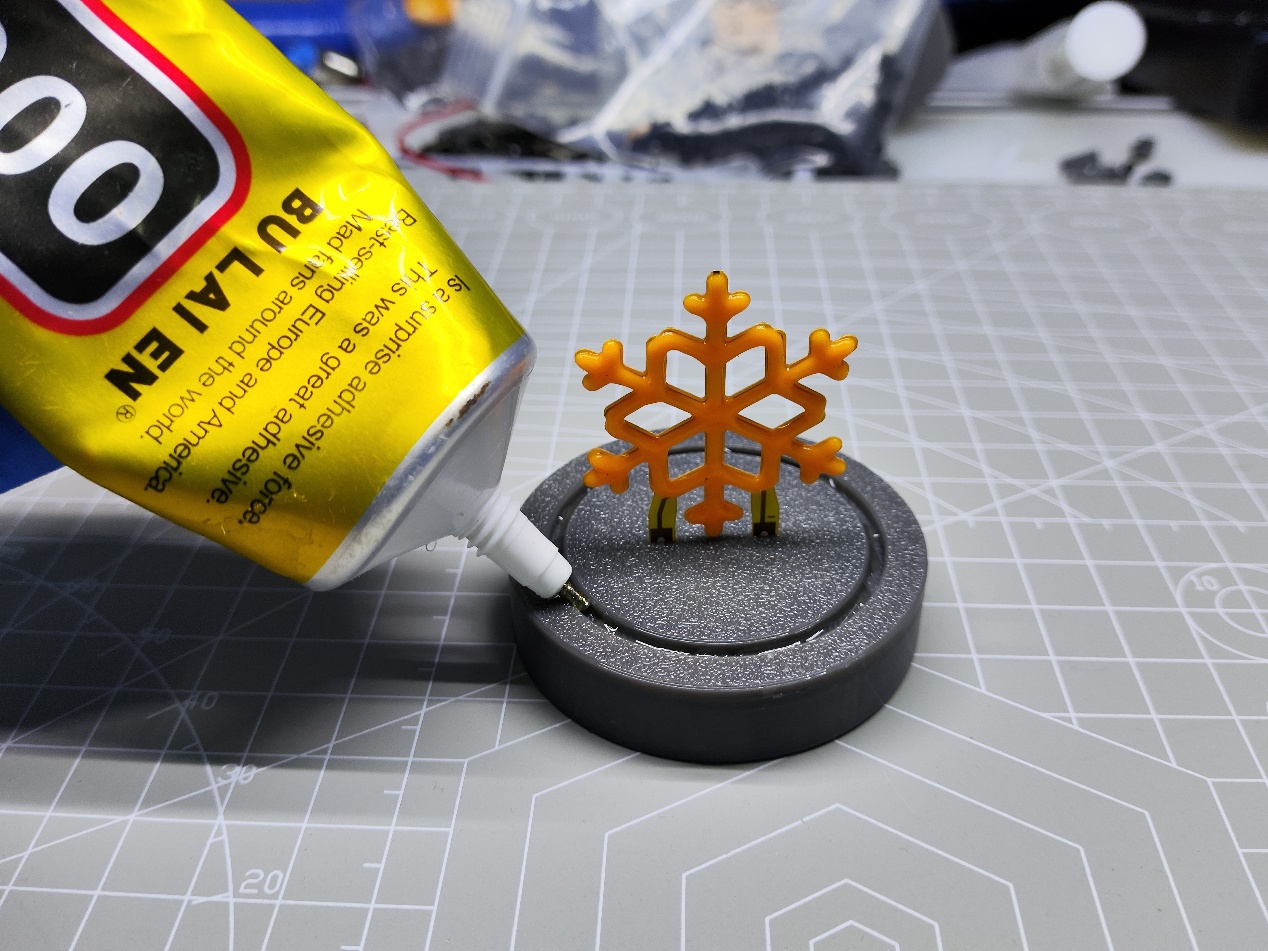
6. Apply glue inside the groove of the base. After applying glue, cover the glass cover, and put snowflakes and other decorations in the glass cover in advance.
7. Completion:

6.End
The video of this work has been posted to Bilibili, you can search for the UP master: "Nucleon" to find the demo video and tutorial of this work.
Video link↓↓↓↓
【Open Source】Snowflake atmosphere lamp
7.Modification History:
| Version | Date | Modifications |
| V1.1 | 2025.01.16 | Open source for the first time |
| V1.2 | 2025.01.17 | Added video links, notes, and print files |
Designed by 核子-Nucleon (from OSHWHub)
Design Drawing
Intellectual Property Statement & Reproduction Instructions
This is an open-source hardware project. All intellectual property rights belong to the creator. The project is shared on the platform for learning, communication, and research only; any commercial use is prohibited. If your intellectual property rights are infringed on EasyEDA, please notify us by submitting relevant materials in accordance with the Rules for Complaints and Appeals of IPR Infringement.
Users must independently verify the circuit design and suitability when replicating this project. All risks and consequences are borne by the user, and the platform assumes no liability.
 Empty
Empty
Comment