

 Completed
3-key keypad - Quick hand version ZY-03S
PRO 3-key keypad - Quick hand version ZY-03S
License
:GPL 3.0
Description
This keyboard uses QMK firmware that @zhaqian12 adapted to domestic chips:
Firmware link: GitHub - zhaqian12/qmk_firmware at zhaqian
Paste a keyboard made by the big guy himself: 50% low-profile hot-swappable keyboard - JLC EDA open source hardware platform (oshwhub.com).
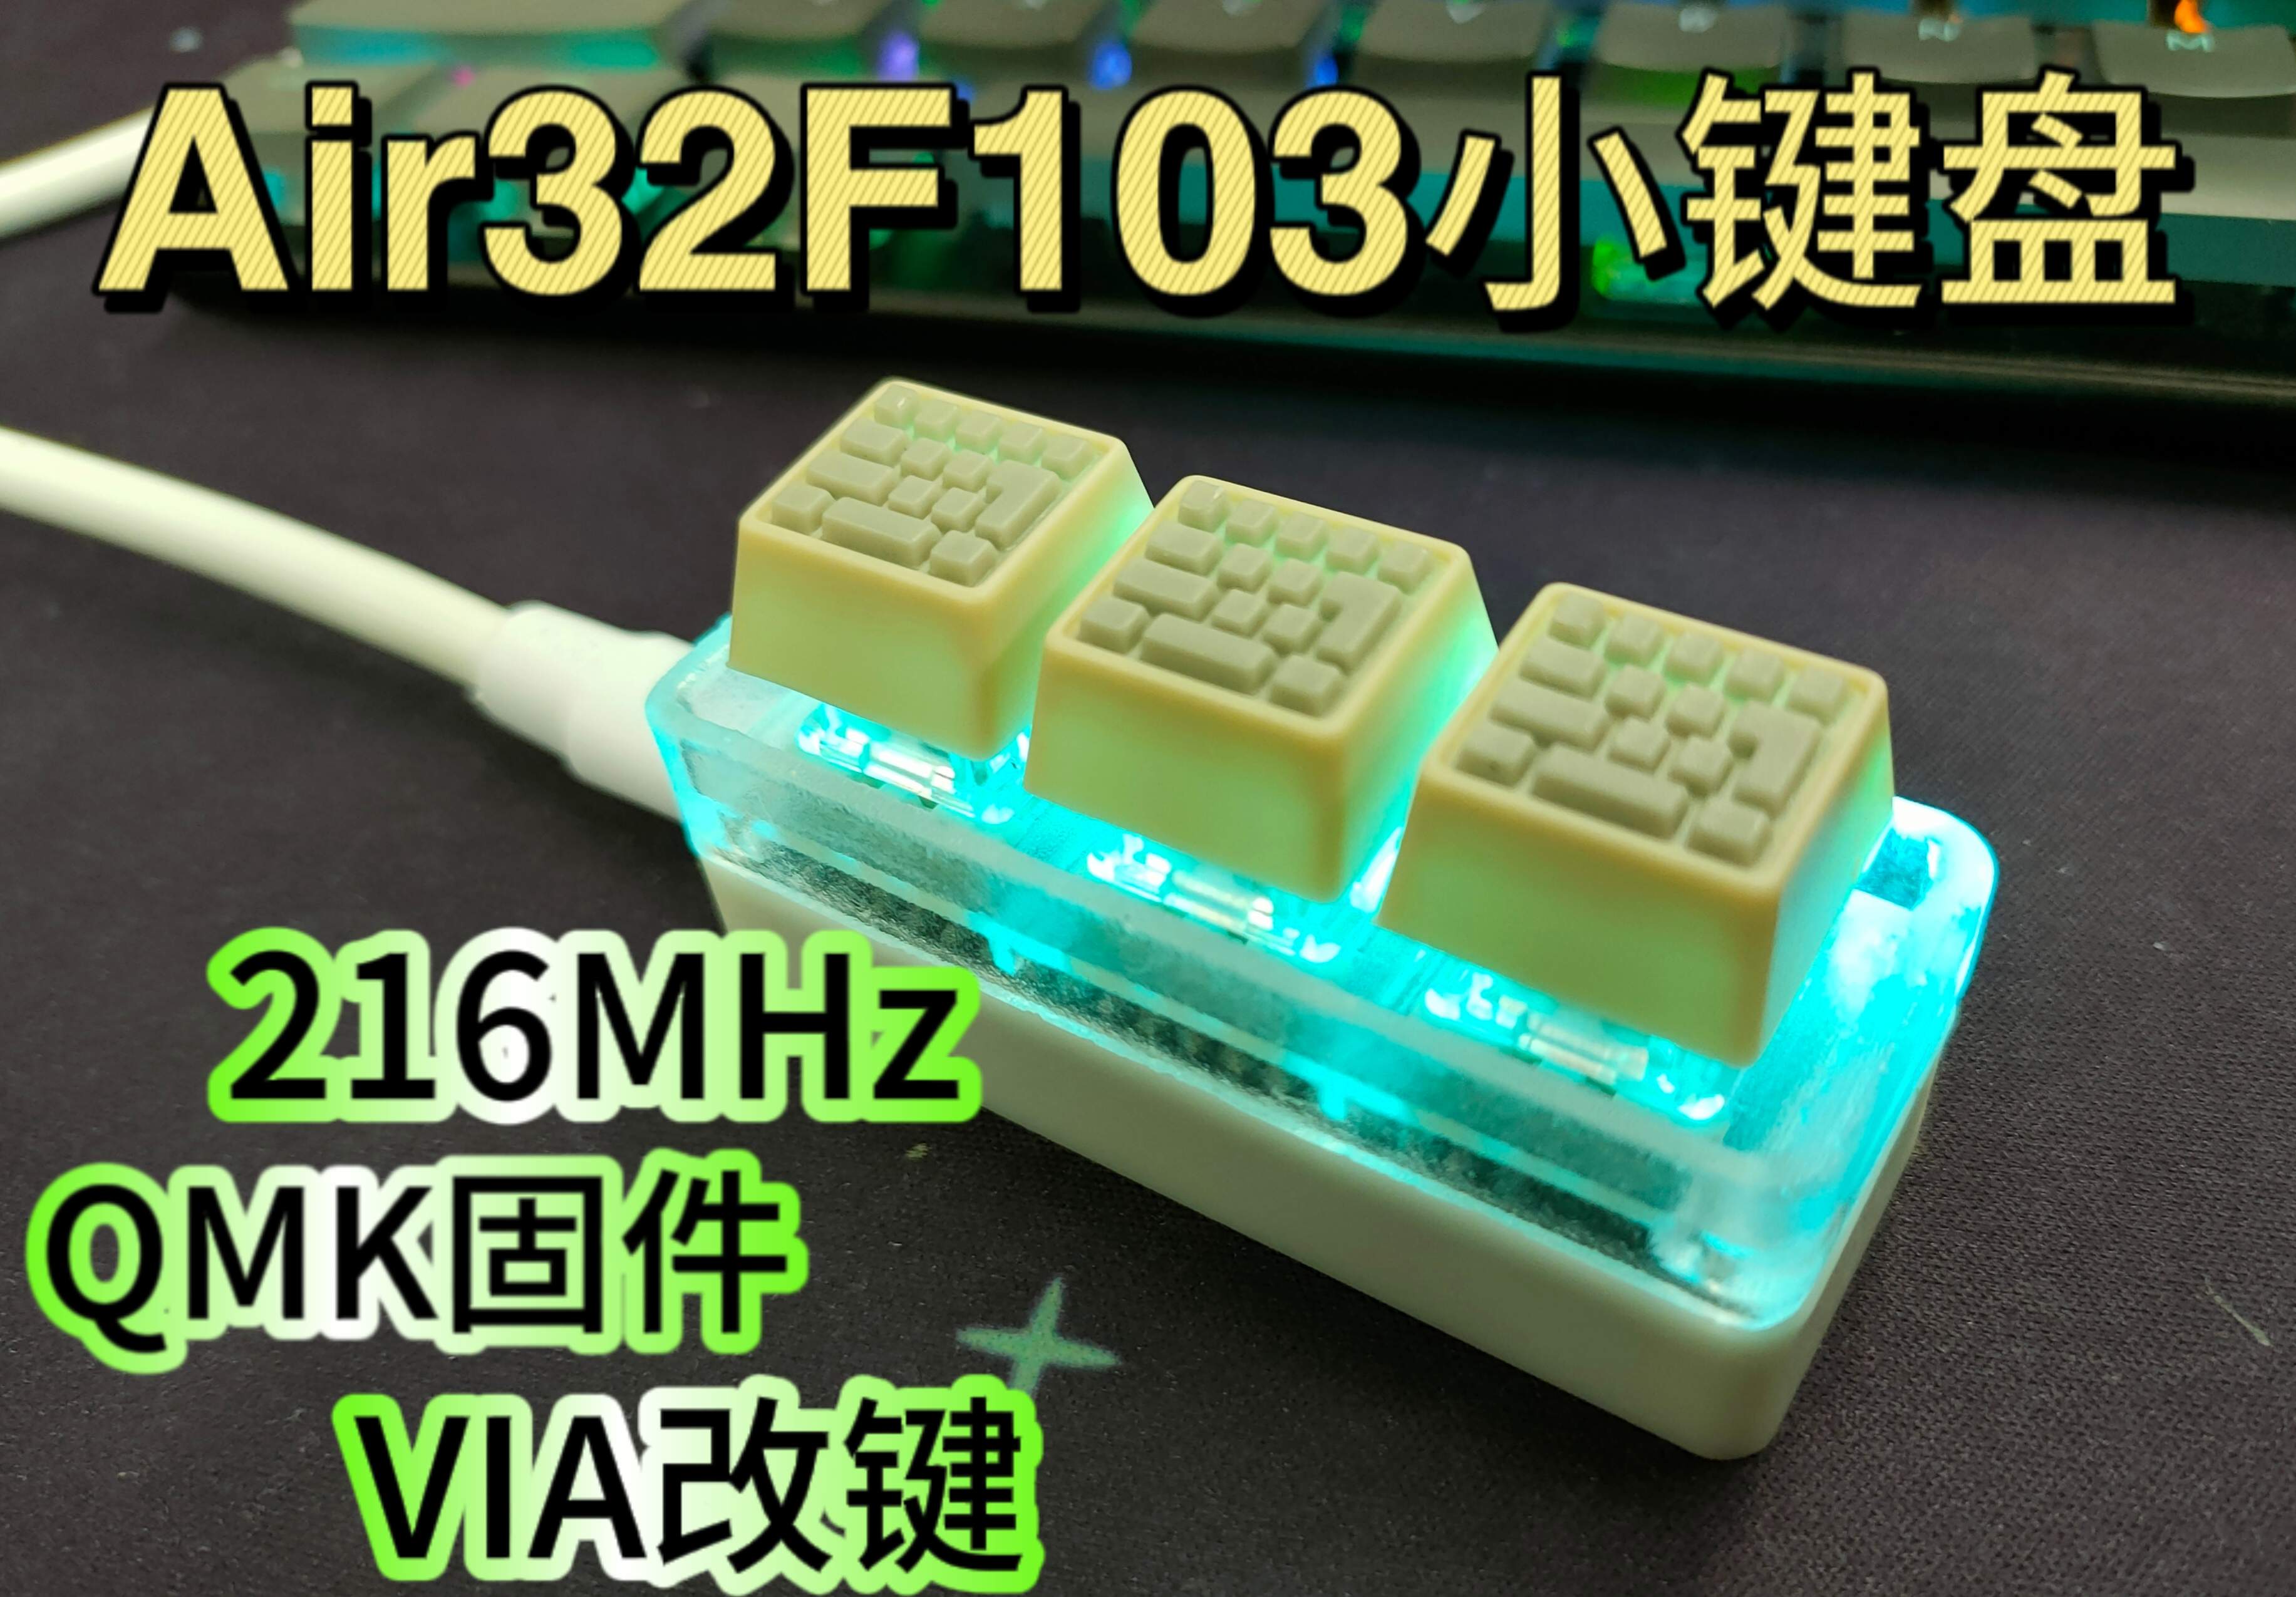
1. Finished product effect display
Station b video link: [DIY] Colorful lighting/custom key change Three-button keypad that can be used quickly_Bilibili_bilibili


2. Material preparation
The automatically generated BOM materials are incomplete, so you have to prepare them yourself.
Burning equipment: ST-LINK V2, 4Pin programming pin header (optional), Dupont wire.
Development board: Air32F103 development board.
Keyboard components: 0603 100nF capacitor, WS2812B 3528 reverse color lamp beads, hot-swappable base, mechanical keyboard switch body, keycaps.
Housing: Bottom/Top Shell (see attachment for model), M2*4 flat head screw (optional), Diameter 2/thickness 2.5mm magnet (optional)
Note: You can also try to burn with other tools other than ST-LINK V2; If there is no programming pin header, you can solder the wire first and then take it off after burning; Screws and magnets were originally used to fix the board, but it was found that the shell could be clamped tightly or not.

3. Production process
3.1 Firmware burning
(1) Download the ST-LINK Utility (attached is also attached) and open the software.

(2) Select the Open File option.

(3) Select the bootloader of UF2 provided by the firmware author.

(4) ST-LINK V2 is connected to the SWD interface of the development board, do not disconnect it until the programming is completed.

(5) Click the connect button in the upper left corner, and there will be a message prompt when the connection is successful.

(6) Click the upper button in the picture below, click Start in the pop-up window to start burning, and wait for the progress bar to complete.

Note: The above is to enable the development board to download the .uf2 firmware via USB, and there is no need for ST-LINK after completion, and then use a USB cable.
(7) After completing the above operations, connect the development board to the computer with a USB cable, if nothing else, the following window will pop up.

(8) Copy the zy03s_via.uf2 file in the attached file to this folder, the window will disappear automatically, and the development board will be connected to the computer as a keyboard.

3.2 Hardware Production
(1) Solder the Air32F103 development board as shown below, note that because of the shell design, the two pins close to the USB do not need to be soldered, because there are not many pins used in the work, and some of them can not be soldered, and the whole can be fixed.

(2) Place the board in the base shell and align the Type-C port.

(3) Solder the components on the keyboard board as shown below.

(4) Install the soldered keyboard board on the base shell, and weld it with the pin header of the development board, and the four corners can be fixed with screws.

(5) Install the keyboard switch body on the top case, pay attention to the side of the AIR32 inside facing the side of the USB opening of the bottom shell, and also pay attention to the direction of the switch body not to install it incorrectly. There are magnets at the four corners of the magnet (not installed here), and the envisioned magnet can be magnetically attached to the bottom shell screws to play a fixed role.

(6) The top shell and bottom shell are plugged together through the shaft body (pay attention to whether the shaft is installed correctly before installation)

(7) Connect to USB and you can use it, the default buttons are CTRL C V.

4.VIA key change and light control
You can control it through the following webpage, and of course, you can also download the client on the official website, and the operation of the two is basically the same.
Web link: VIA (usevia.app).
(1) Open the Show Design tab option under the settings menu above, and a brush icon will appear.

(2) Under the brush menu, first cancel the option shown in Figure 1 below, and then click the upload button to select the zy03s.json file in the attachment file.

(3) Select the ZY03S keyboard and click OK.

(4) In the keyboard icon interface, you can modify the lights and keys.

5. Other
(1) Enclosure printing material
The shell is 3D printed in the three-dimensional monkey, and the top shell in the renderings is made of 8001 (semi-permeable) material, and the bottom shell is made of 9000R material, which has a double skin milk effect, and the look is not bad.
(2) Flash the new firmware
If you want to re-flash the firmware, you can double-click the rst button or press and hold the keyboard close to the USB button to power on to enter the burning mode.
(3) Model description
This model is mainly small and quick to use, and there is also a 3-button with knob and OLED version, which is linked below.
3-Key Keypad-Knob Display Version ZY-03 - JLC EDA Open Source Hardware Platform (oshwhub.com)
Designed by SMALL_DA (from OSHWHub)
Link:https://oshwhub.com/small_da/3jian-xiao-jian-pan-kuai-su-shan
Design Drawing
Intellectual Property Statement & Reproduction Instructions
This is an open-source hardware project. All intellectual property rights belong to the creator. The project is shared on the platform for learning, communication, and research only; any commercial use is prohibited. If your intellectual property rights are infringed on EasyEDA, please notify us by submitting relevant materials in accordance with the Rules for Complaints and Appeals of IPR Infringement.
Users must independently verify the circuit design and suitability when replicating this project. All risks and consequences are borne by the user, and the platform assumes no liability.
 Empty
Empty
Comment